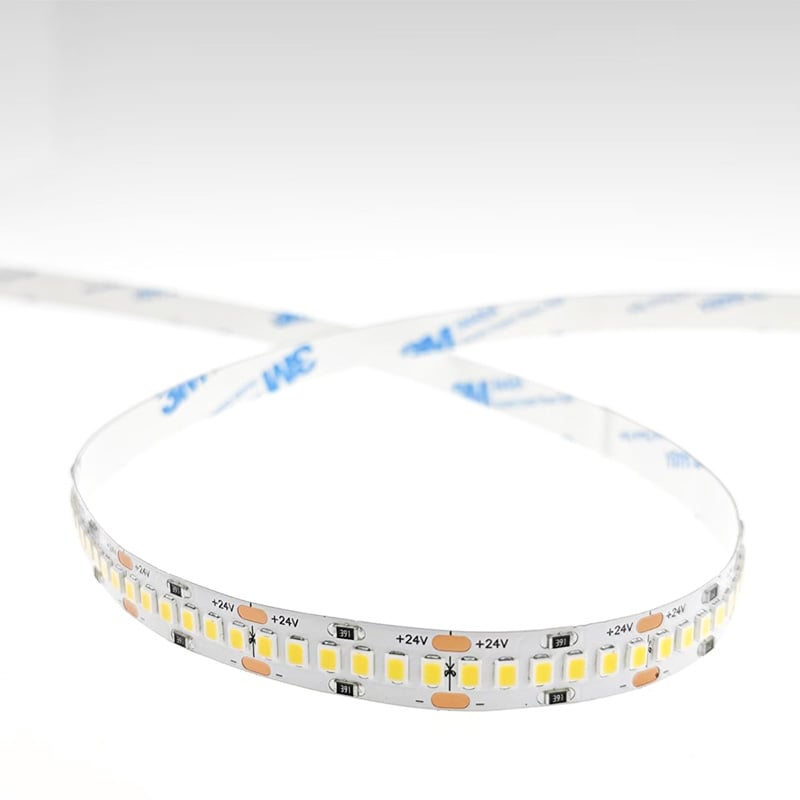
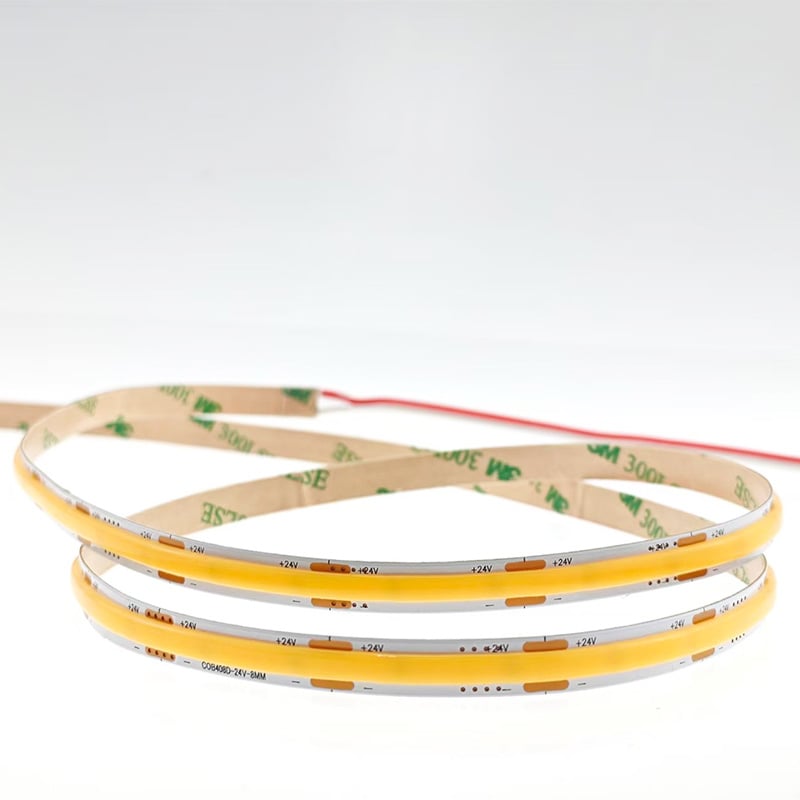
You've specified the perfect LED strip. The specs check out. The design looks flawless on paper. Then installation day comes — and problems emerge. Flickering lights. Uneven brightness. Premature failure. Angry clients. The harsh reality is that most LED strip failures in commercial projects are not product defects — they are specification and installation errors. And they are almost entirely avoidable. This guide walks through the seven most common mistakes seen in commercial LED strip projects — from hospitality to retail to office fit-outs — and provides practical solutions for each.
Mistake #1: Treating Lighting as an Afterthought
The problem: Lighting is planned at the end of the design process, squeezed into whatever space remains. LED strips get tucked into shadow gaps, ceiling coffers, or under joinery without proper consideration for access, maintenance, or heat dissipation.
The consequence: Drivers end up in inaccessible locations. Strips are installed without adequate clearance for heat dissipation. Maintenance becomes impossible without demolishing finished surfaces.
The solution: Integrate lighting planning during the schematic design phase. Define functional lighting requirements before architectural details are finalised. Consider driver placement, access panels, and thermal management from day one.
For specifiers: Ask your supplier for driver placement recommendations early — not after the ceiling is closed.
Mistake #2: Undersizing the Power Supply
The problem: Choosing a power supply that matches the strip's nominal load — with no safety margin.
The consequence: The power supply runs at 100% capacity, overheating, reducing lifespan, and potentially shutting down during peak demand. Flickering, dimming, or complete failure follows.
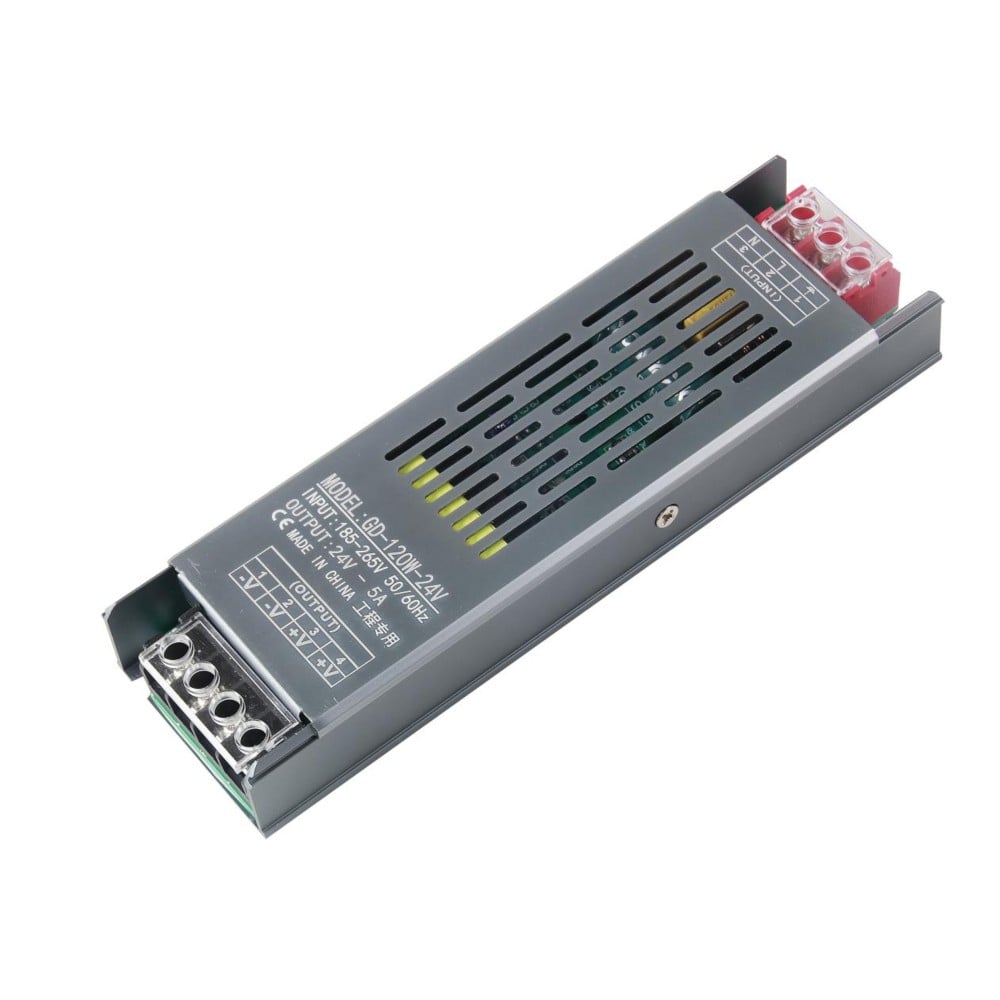
The solution: Always add a 20-30% safety margin. If your strip draws 100W, specify a 120-130W driver. For outdoor or high-ambient-temperature installations, consider 40-50% margin.
For specifiers: Calculate total wattage (W/m × total metres) and multiply by 1.25. Specify that number — not the exact load.
Mistake #3: Skipping the Aluminum Channel
The problem: Mounting LED strips directly onto surfaces without aluminum profiles to save cost or installation time.
The consequence: LEDs overheat. Junction temperature rises. Lifespan plummets. A strip rated for 50,000 hours at 65°C might last only 10,000 hours at 105°C. The adhesive fails. The strip sags or peels.
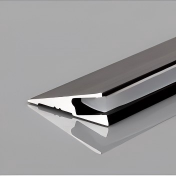
The solution: Always house LED tape inside an aluminum profile with a diffuser. The metal acts as a heat sink, drawing warmth away from the LEDs. For commercial installations, this is non-negotiable — not optional.
For specifiers: Specify aluminum channels as a mandatory component, not a recommended accessory.
Mistake #4: Ignoring Voltage Drop on Long Runs
The problem: Running long LED strip lengths from a single power feed point without accounting for voltage drop. Voltage drops as current travels along the strip — resistance causes voltage to decline with distance.
The consequence: The far end of the strip is noticeably dimmer than the near end. Colors shift — white becomes yellow or pink. The installation looks unprofessional.
The solution: Choose 24V over 12V for runs over 5 metres. Specify strips with heavier copper PCBs — 3oz or 4oz copper reduces resistance and voltage drop. For very long runs, plan power injection points every 5-7 metres. Some architectural-grade strips use constant-current regulation to eliminate voltage drop entirely.
For specifiers: Calculate maximum run length without power injection before specifying. If your run exceeds that length, add injection points to your wiring diagram.
Mistake #5: Overlooking Color Consistency
The problem: Specifying "3000K" strips without checking MacAdam ellipse (SDCM) or binning.
The consequence: Two strips from the same order look noticeably different when installed side by side. One appears warm; the other looks greenish or cooler. The inconsistency is obvious and unacceptable in commercial spaces.
The solution: Specify strips with SDCM < 3 (3-step MacAdam ellipse). For premium commercial projects (retail, hospitality, galleries), demand SDCM < 2 with single-binned LEDs. Ask your supplier for binning certificates before ordering.
For specifiers: Add "SDCM < 3" to your specification sheet. If your supplier can't provide it, find one who can.
Mistake #6: Choosing Low CRI with Poor R9
The problem: Specifying CRI 80 strips for commercial applications where color appearance matters.
The consequence: Skin tones look pale and sickly. Wood finishes appear flat and lifeless. Retail products look unappealing. Food displays look unappetizing.
The solution: For commercial applications, specify CRI ≥ 90 as a minimum. For retail, hospitality, and premium residential, demand CRI ≥ 95 with R9 ≥ 50. For high-end projects (galleries, luxury retail, cosmetics), specify R9 ≥ 80-90.
For specifiers: Don't stop at CRI. Add R9 to your specification. If a supplier can't provide both, they're not the right supplier.
Mistake #7: Incompatible Control Systems
The problem: Choosing LED strips and drivers without verifying dimming protocol compatibility.
The consequence: Lights flicker, buzz, or don't dim at all. The control system doesn't communicate with the drivers. The project fails handover.
The solution: Match the dimming protocol to the application:
· PWM — LED strips and DIY projects
· 0-10V — commercial spaces with existing low-voltage control wiring
· DALI — smart buildings requiring scene control and integration
· DMX — RGB and dynamic colour projects
· TRIAC — residential retrofits with existing wall dimmers
For specifiers: Verify driver compatibility with your control system before ordering. Request a test sample and test it with your actual controller.
Quick Reference: Commercial LED Strip Specification Checklist
Specification Minimum Requirement Premium Requirement
Voltage 24V (for runs 5m) 24V or 48V
Copper weight 2oz 3oz or 4oz
CRI ≥ 90 ≥ 95
R9 ≥ 50 ≥ 80
SDCM (MacAdam) < 5 < 3
Power supply margin 20% 30-40%
Aluminum channel Mandatory Mandatory
PWM frequency ≥ 1.25kHz ≥ 25kHz (for video)
Final Thoughts
Most commercial LED strip failures are not caused by defective products — they are caused by avoidable specification and installation errors. By planning early, specifying correctly, and choosing the right components, you can deliver projects that perform flawlessly for years.
 Hot News
2026-07-24
2026-07-24
2026-07-24
2026-07-24
2026-07-24
2026-07-24
 EN
EN