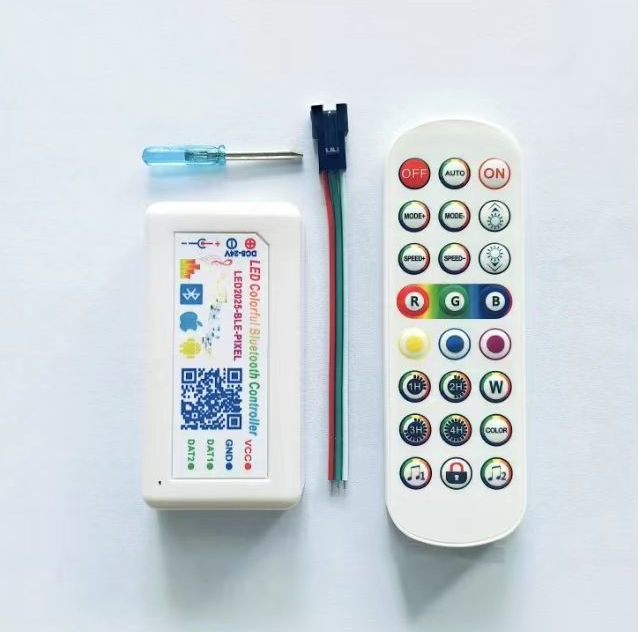
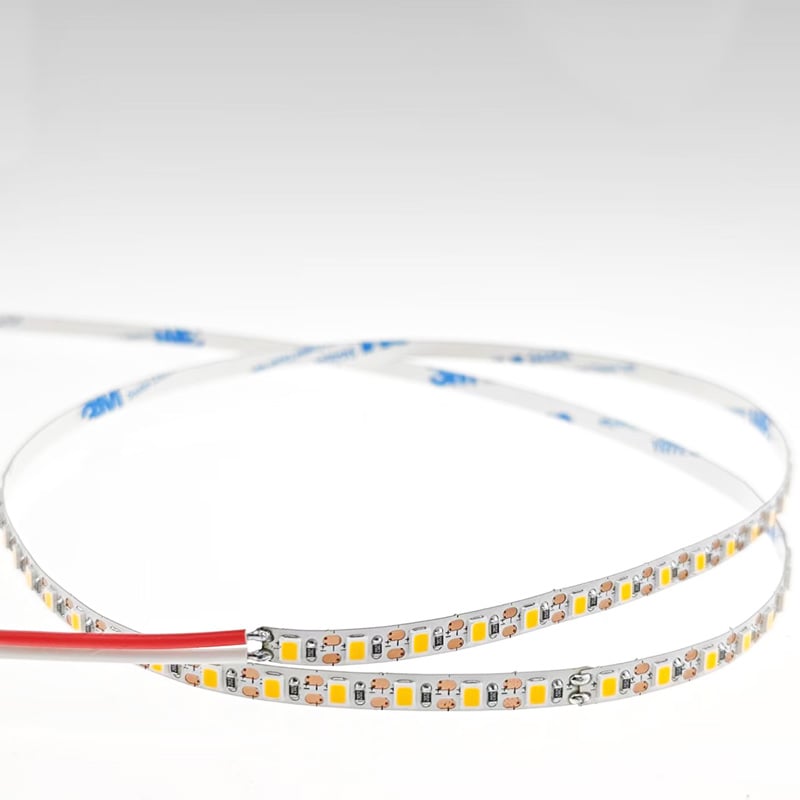
LED strip lights seem simple enough – peel, stick, and plug in. Yet improper installation leads to flickering, peeling strips, burnt-out sections, and even fire hazards. Here are 10 common mistakes and how to avoid them.
1. Skipping the Planning Phase
Rushing into installation without a clear plan leads to mismatched components, inaccessible power supplies, and cluttered wiring. Before buying, map your entire layout – strip route, power supply location, wire paths, and control placement.
2. Incorrect Measurement
The most common DIY error: inaccurate measurements. Strips that are too short create inconsistent lighting and shadows; excess strips are difficult to manage. Always measure twice, add 10–15% extra, and account for corners and obstacles.
3. Wrong Power Supply
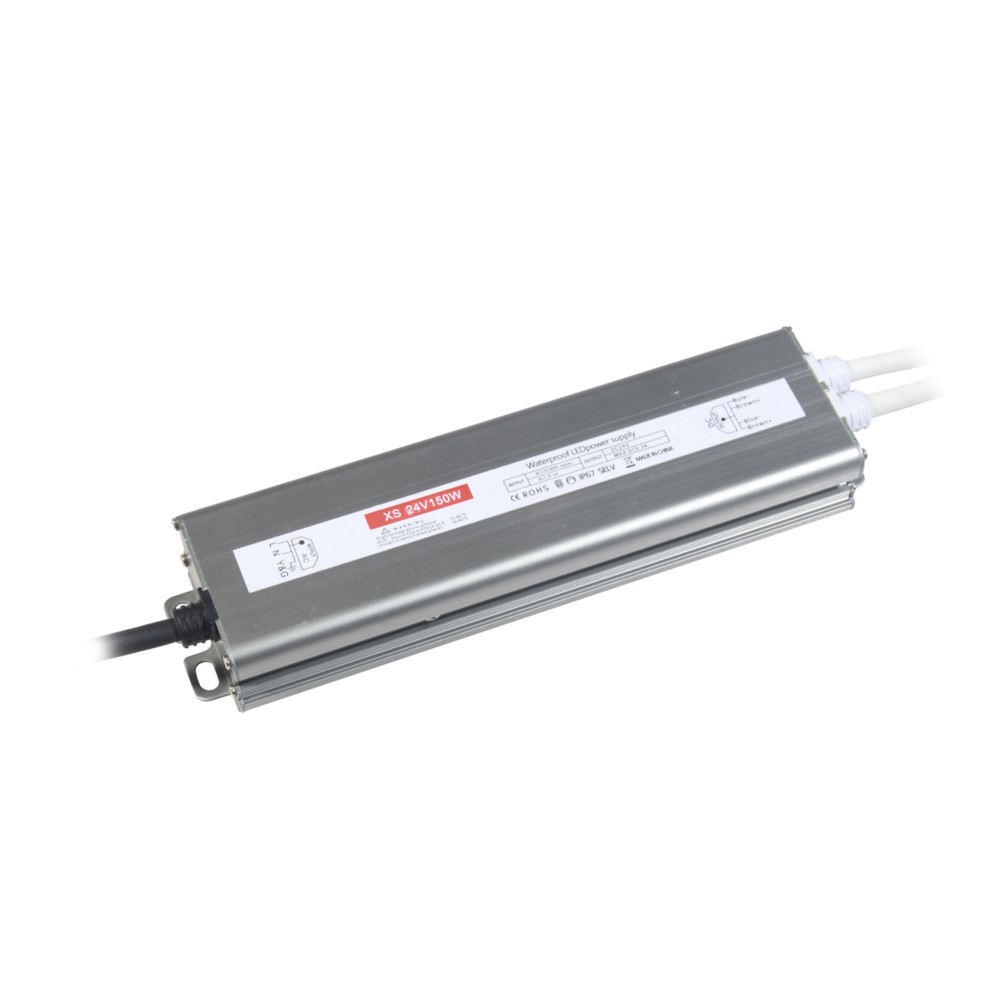
Using incorrect voltage (12V vs. 24V) or underrating wattage causes dim lights, flickering, or premature failure. Calculate total wattage (W/m × total metres) and add a 20% safety margin.
4. Cutting in the Wrong Place
LED strips have designated cutting marks with copper pads. Cutting elsewhere breaks the circuit, making sections non-functional. Cut only at the marked copper points with sharp scissors.
5. Poor Surface Preparation
Dirty, dusty, or uneven surfaces contaminate adhesive tape, causing strips to peel and fall. Clean thoroughly with isopropyl alcohol and ensure the surface is dry and smooth before applying.
6. Forgetting to Test Before Mounting
Peeling the entire strip, sticking it down, and discovering a dead section means rework and ruined adhesive. Always test the complete system on a tabletop before permanent mounting.
7. Ignoring Voltage Drop on Long Runs
Daisy-chaining strips beyond recommended lengths causes the far end to appear dimmer. For runs over 5 metres (12V) or 10 metres (24V), use parallel wiring or inject power at multiple points.
8. Not Sealing Cut Ends on Waterproof Strips
Cutting an IP65/IP67 strip without resealing the end lets moisture in, causing corrosion and shorts. Always seal cut ends with silicone glue or heat-shrink tubing.
9. Bending at Sharp Angles
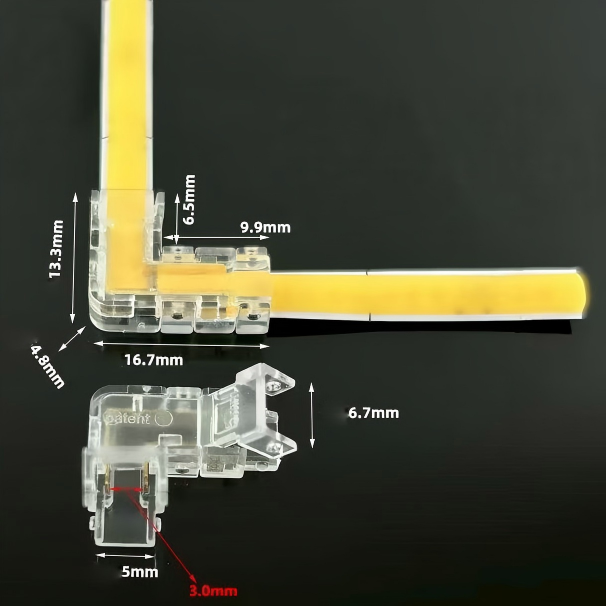
Forcing strips around tight corners damages wiring and can cause short circuits. Make gentle bends or use corner connectors designed for 90° turns.
10. Relying Solely on Adhesive Tape
Pre-fitted adhesive is for convenience, not permanence – especially outdoors, in heat, or on vertical surfaces. For heavy or exposed installations, use aluminium profiles, mounting clips, or screws as backup.
Final Thoughts
Most LED strip failures trace back to one of these ten mistakes. A little planning, proper measurement, and the right components make the difference between a professional installation and a frustrating failure.
Need help planning your next project? Our team offers free design consultations – and every strip comes with detailed installation guidance. Get it right the first time.
 Hot News
2026-07-24
2026-07-24
2026-07-24
2026-07-24
2026-07-24
2026-07-24
 EN
EN