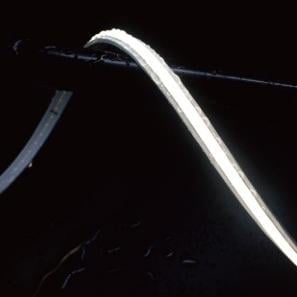
Have you ever wondered what goes into the LED strips you install in homes, offices, or commercial spaces? Behind every reel of flexible lighting lies a sophisticated manufacturing process involving precision machinery, stringent quality control, and advanced materials science. Here’s a behind-the-scenes look at how LED strip lights are manufactured.
Step 1: The Foundation – Flexible PCB
Every LED strip starts with a Flexible Printed Circuit Board (FPCB) – the backbone that determines durability and performance. Premium manufacturers use double-layer pure copper boards with 2–4 oz copper weight for superior conductivity and heat dissipation. The PCB is cut into panels, each containing multiple strip sections.
Step 2: Solder Paste Application
A stainless steel stencil (or mold) is placed over the bare PCB. Lead-free solder paste is spread across the stencil, filling the apertures to create perfectly formed solder pads. Each solder point is inspected to ensure the correct amount of paste.
Step 3: Pick-and-Place Assembly
The PCB panel moves to a Surface-Mount Technology (SMT) placement machine – also called a pick-and-place machine. This high-speed robot precisely positions resistors and LED chips onto the solder pads. Modern machines can place up to 80,000 components per hour. After placement, another quality check ensures no components are missing.
Step 4: Reflow Soldering
The populated PCB panels enter a reflow oven – a long tunnel with multiple temperature zones. As the panels travel through, the solder paste melts and solidifies, permanently securing all components. Upon exit, every strip is inspected for uniform intensity across all LEDs.
Step 5: Phosphor Coating (COB Strips)
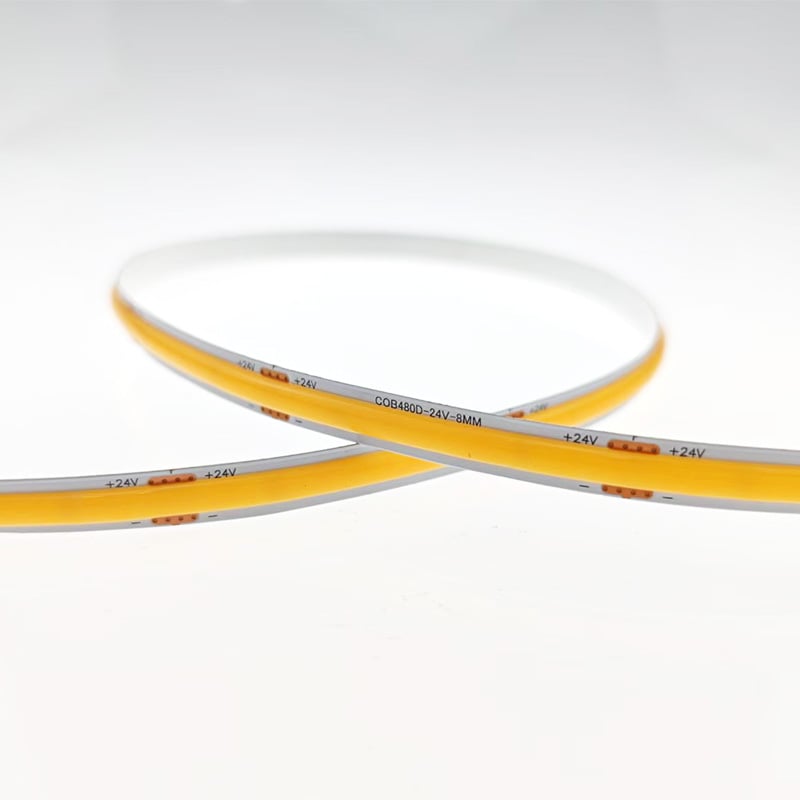
For COB (Chip on Board) strips, the process differs. LED chips are bonded directly onto the PCB, eliminating individual SMD packages. Tiny gold wire bonds (99.99% pure gold) connect each chip. A precise mixture of fluorescent powder and silicone is dispensed over the chips by automated glue machines. The strips are then baked in ovens to cure the phosphor layer. This creates the seamless, dot-free light COB strips are known for.
Step 6: Waterproofing (Optional)
For outdoor or wet-area applications, strips receive protective coatings:
· IP65: Silicone, epoxy, or polyurethane coating
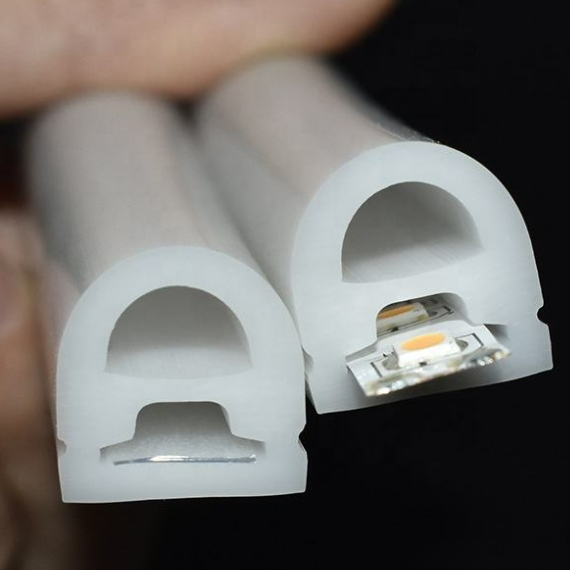
· IP67/IP68: Full silicone tube encapsulation
Step 7: Cutting, Soldering, and Reeling
Long PCB panels are cut into standard lengths (typically 5 metres per reel). Technicians reinforce solder pads and may add wires or connectors. The finished strips are rolled onto reels.
Step 8: Rigorous Testing and Quality Control
Quality control happens at every stage:
· Electrical tests verify voltage, current, and light output
· Colour consistency tests confirm uniform colour temperature and brightness
· Aging tests run strips at full power for 24–48 hours to catch early failures
· Waterproofing tests ensure moisture resistance
· Visual inspections check for uniform illumination, dark segments, and physical defects
Step 9: Packaging and Shipping
Each batch is labelled with specifications – wattage, voltage, CRI rating, and colour temperature. Strips are sealed in anti-static, moisture-barrier bags and prepared for shipment.
Why Manufacturing Quality Matters
The difference between a strip that lasts 50,000 hours and one that fails in months often comes down to the factory floor. Quality manufacturers use branded LED chips, thick copper PCBs, gold bond wires, and strict binning for colour consistency.
Next time you install an LED strip, remember: you're not just sticking lights to a surface – you're benefitting from one of the most precise manufacturing processes in modern electronics.
Curious about the quality behind our strips? Every product comes with full manufacturing traceability and test reports. Contact us to learn more.
 Hot News
2026-07-24
2026-07-24
2026-07-24
2026-07-24
2026-07-24
2026-07-24
 EN
EN