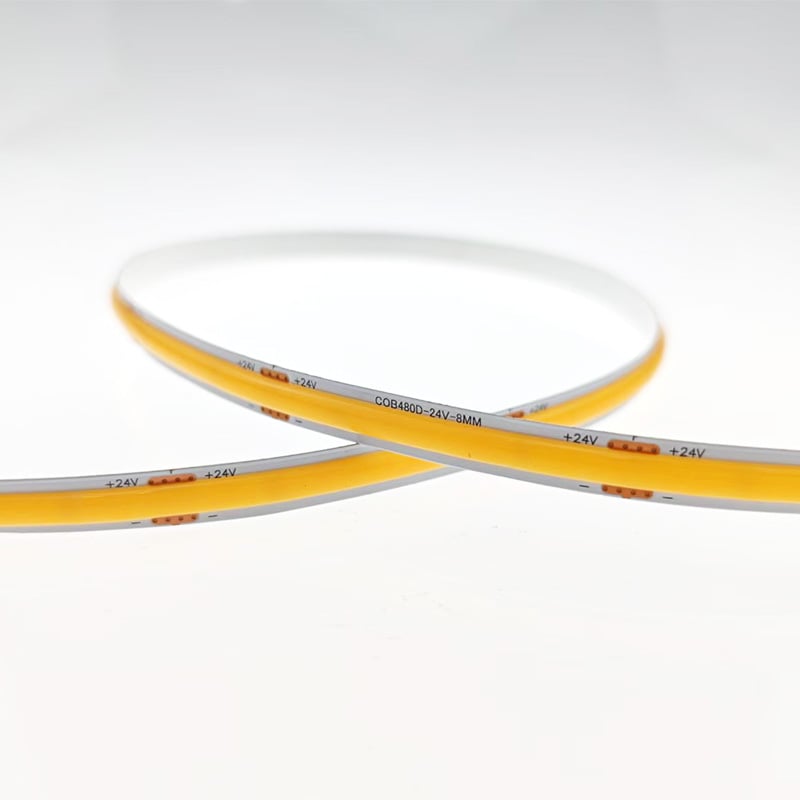
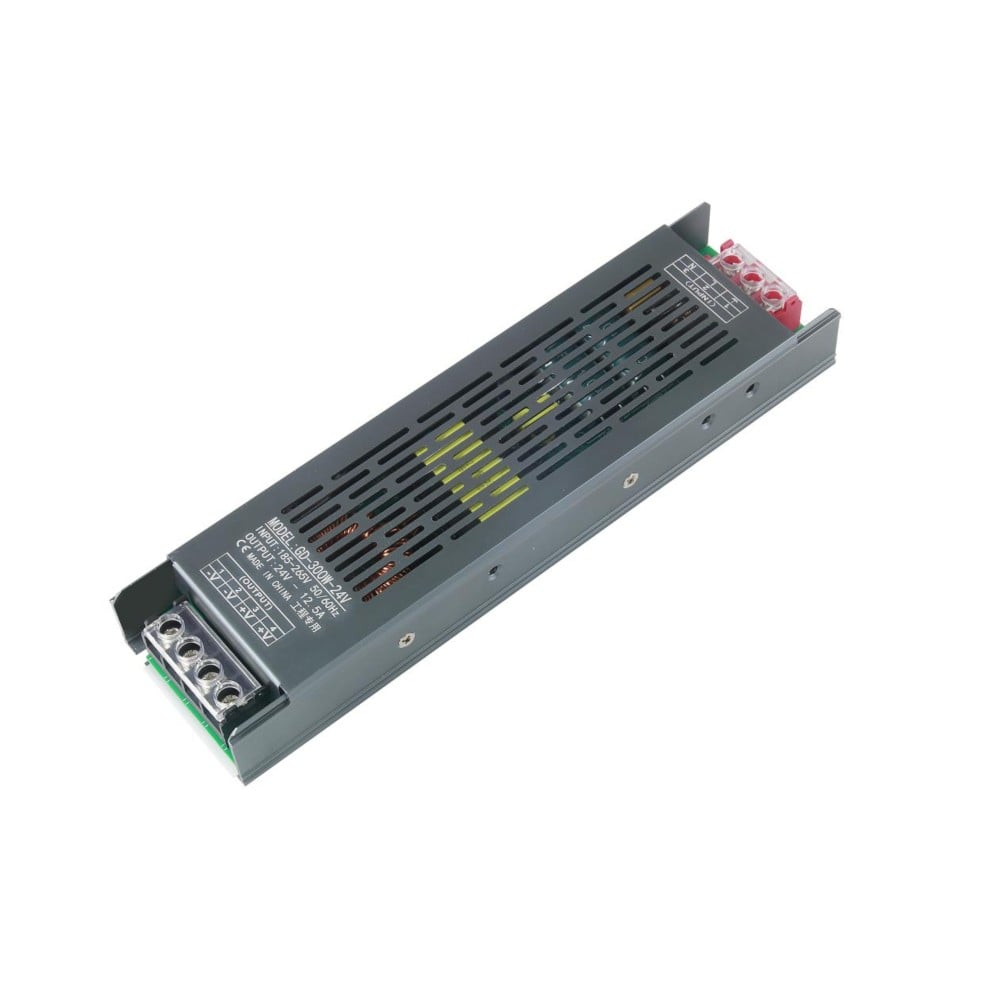
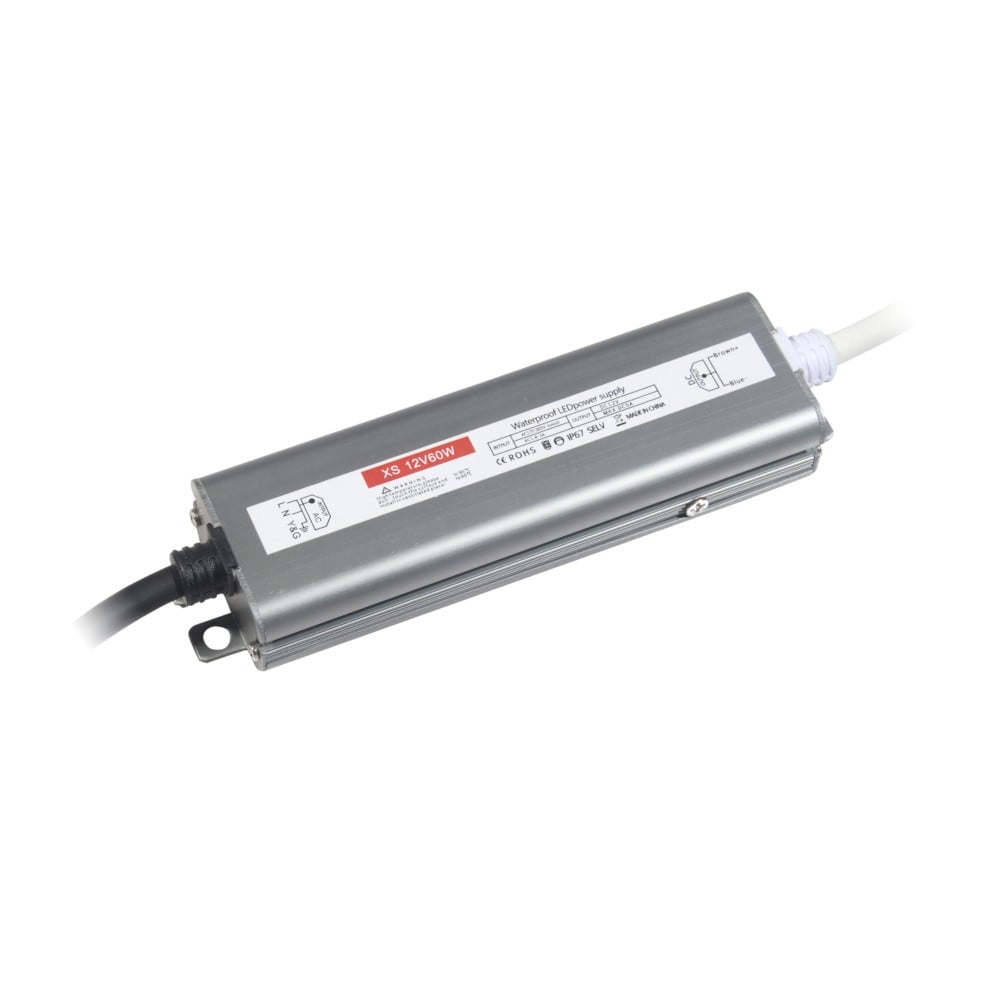
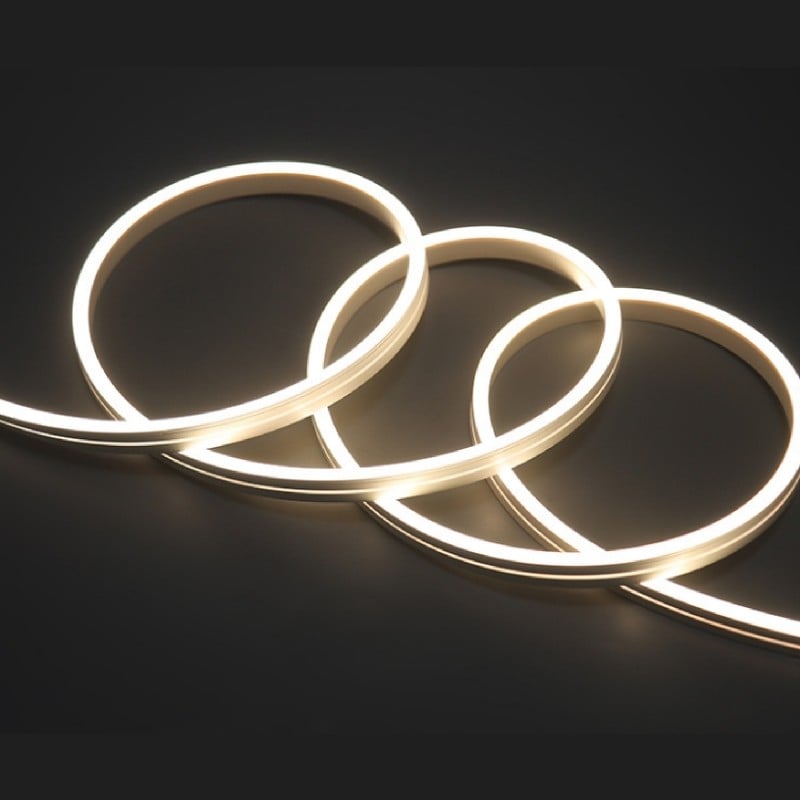
Installing LED strip lights can transform any space—but a single oversight can turn a dream project into a frustrating experience. From flickering lights to burnt-out sections, most problems are entirely preventable.Whether you’re a DIY enthusiast or a professional installer, here are 7 common mistakes and exactly how to sidestep them.
Mistake #1: Skipping the Layout Plan
Many buyers unroll the strip and start sticking immediately, only to realise they’re short by a few feet or that the connector lands in an awkward spot.
The Fix: Before you cut or peel, map your entire run on paper. Measure every turn, corner, and gap. Mark where the power supply, controller, and connectors will sit. Always add 10–15% extra length as a buffer—it’s better to have leftover than to come up short.
Mistake #2: Ignoring Voltage Drop
Voltage drop is the gradual loss of brightness along the strip. It’s most noticeable on runs longer than 5 metres (16 ft) for 12V systems, or 10 metres (33 ft) for 24V systems. The far end will look noticeably dimmer.
The Fix:
· Choose 24V strips for longer installations.
· For runs over 10 meters, feed power from both ends or use a higher-gauge wire.
· If you must use 12V, keep each run under 5 metres and use multiple power injection points.
Mistake #3: Undersizing the Power Supply
Using a power supply that can’t deliver enough wattage is a recipe for flickering, overheating, and premature failure. Many people simply match voltage and ignore total wattage.
The Fix: Calculate total wattage = (watts per metre) × (total metres). Then multiply by 1.2 for a safety margin. For example, if your strip draws 60W total, buy a 72W (or higher) power supply. Never run a supply at 100% capacity—it shortens its life and risks fire.
Mistake #4: Using the Wrong Connectors or Soldering Poorly
Cheap snap-on connectors or poor solder joints cause intermittent connection, flickering, or complete failure. This is especially common when connecting strips at corners or joining two pieces.
The Fix:
· For permanent installations, solder the connections and cover with heat-shrink tubing—it’s far more reliable.
· If using connectors, choose screw-terminal or locking-type connectors rated for your strip’s current.
· Always test the connection with a multimeter before sealing it up.
Mistake #5: Neglecting Heat Dissipation
LED strips generate heat, especially high-density or high-power models. Trapping them on a non-heat-conductive surface (like wood or drywall) without airflow can degrade the LEDs and reduce lifespan.
The Fix:
· Mount strips on aluminium channels—they act as heat sinks and also diffuse light for a cleaner look.
· Leave at least a few millimeters of air gap if mounting directly.
· For outdoor or enclosed spaces, consider strips with a higher copper weight (thicker PCB) for better thermal management.
Mistake #6: Forgetting About Waterproofing in Wet Areas
Installing an IP20 (non-waterproof) strip in a kitchen backsplash or bathroom mirror might seem fine—until steam or splashes cause corrosion and short circuits.
The Fix:
· For kitchens, bathrooms, or outdoor use, choose IP65 (silicone-coated) or IP67 (tubed) strips.
· Even with waterproof strips, seal the ends with silicone or heat-shrink caps to prevent moisture ingress at cut points.
Mistake #7: Not Testing Before Permanent Mounting
The biggest mistake of all: sticking the entire strip down, turning it on, and discovering a dead section, wrong colour temperature, or flicker—then having to peel it off (and ruin the adhesive).
The Fix:
· Always test the full system (strip + power + controller) on a tabletop before mounting.
· Check brightness, colour accuracy, and any dimming or smart functions.
· Only after everything works perfectly, clean the surface with isopropyl alcohol, peel the tape, and press firmly.
Final Pro Tips
· Use a dedicated dimmer: Not all dimmers work with LED strips—choose a PWM (pulse-width modulation) dimmer rated for your load.
· Plan for accessibility: Place the power supply and controller in a reachable spot for future maintenance.
· Keep records: Note the strip’s part number, power supply rating, and cut points—it saves time if you need replacements later.
By avoiding these seven pitfalls, your LED installation will be safe, beautiful, and long-lasting. And if you ever feel unsure, remember: a little planning upfront beats hours of rework later.
 Hot News
2026-07-24
2026-07-24
2026-07-24
2026-07-24
2026-07-24
2026-07-24
 EN
EN