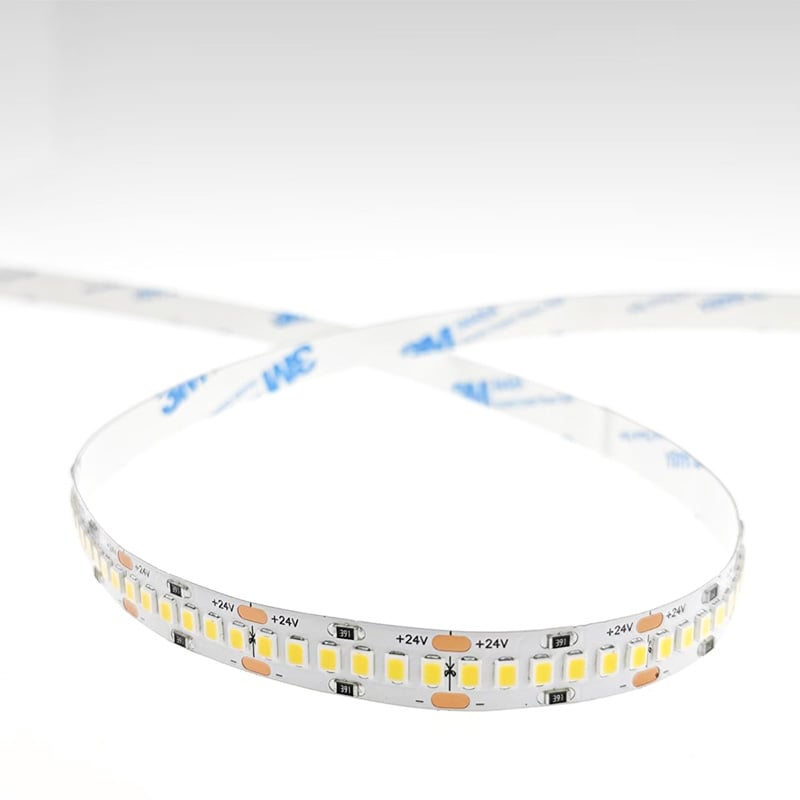
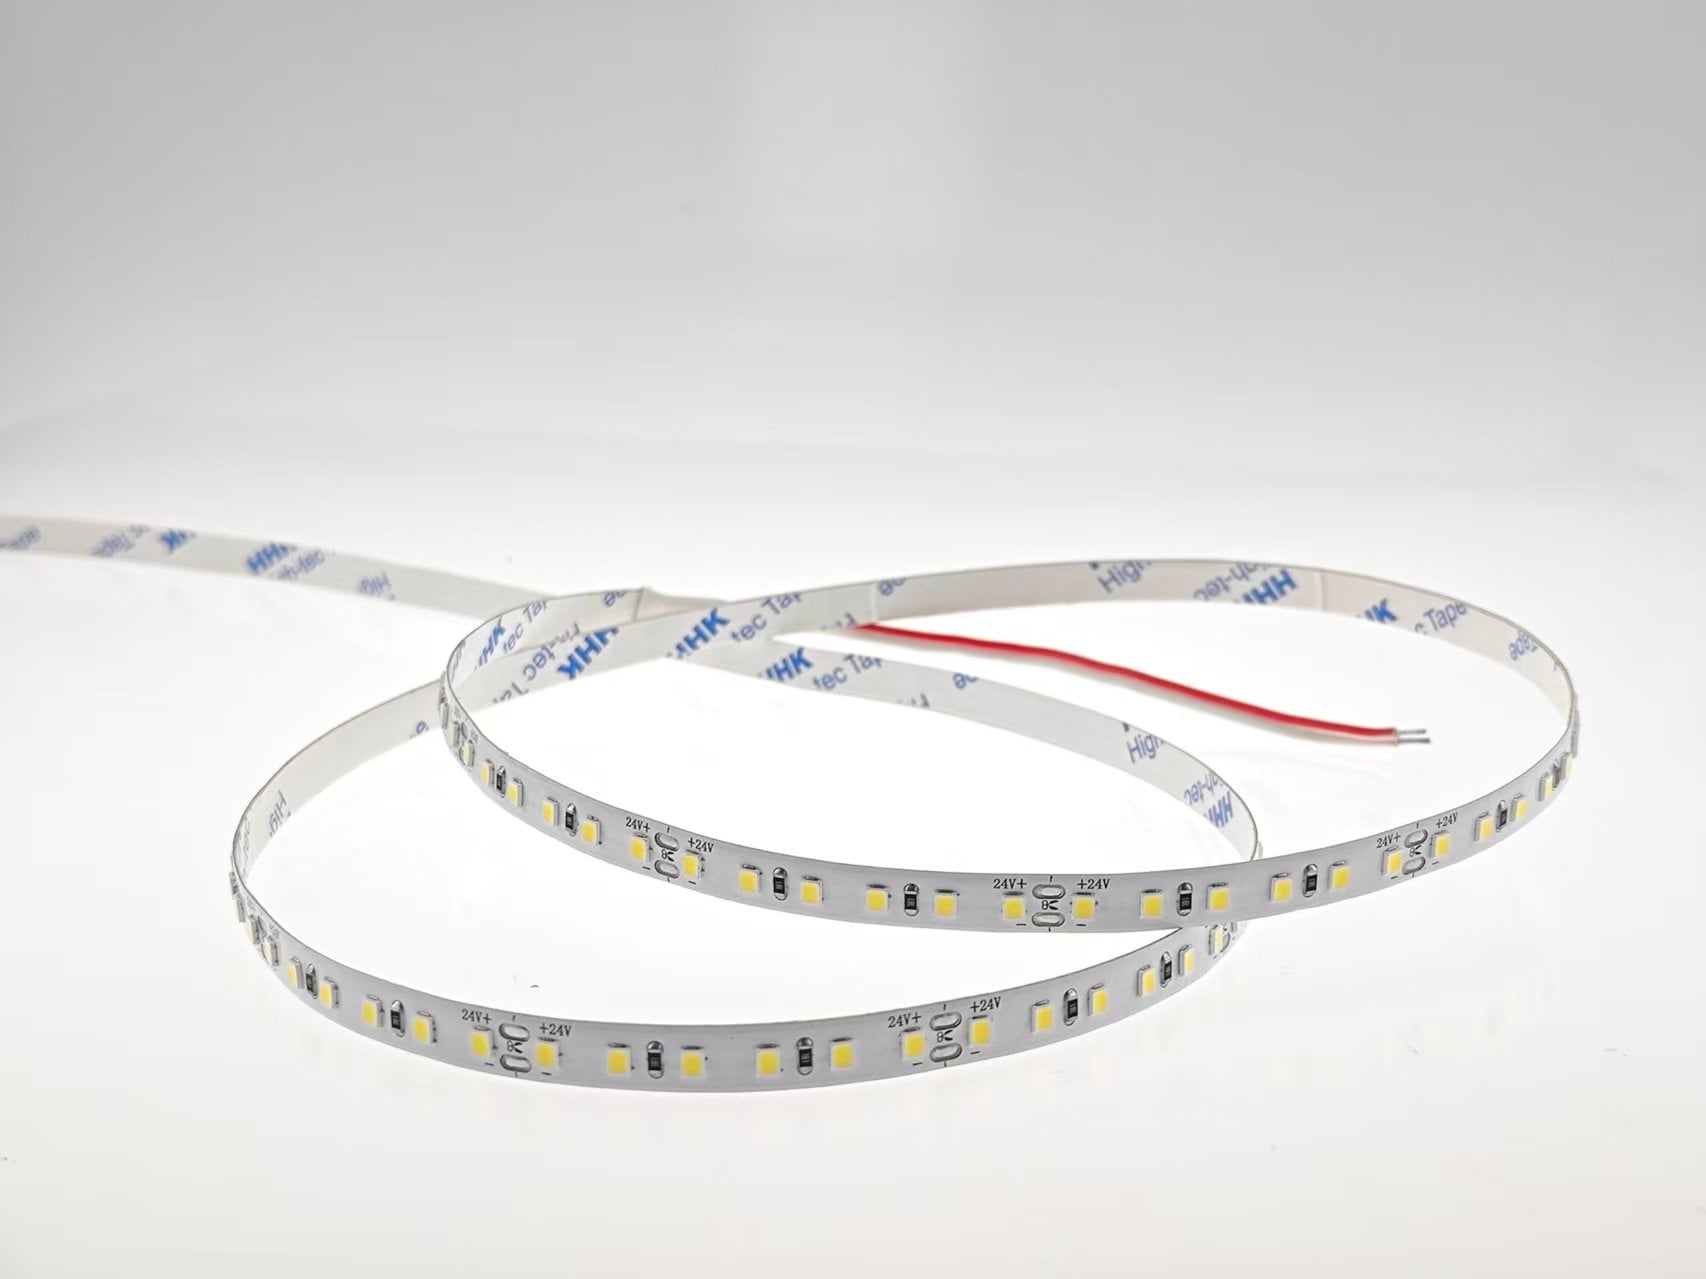
In our previous article, we explored why the Printed Circuit Board (PCB) is the unsung hero of LED strip performance. Now, let's dive deeper into how to choose the right PCB for your specific application—whether you're a DIY enthusiast, a professional installer, or a bulk purchaser.
The PCB isn't just a foundation; it's the backbone that determines reliability, longevity, and installation success. Here's what you need to know to make the right choice.
Part 1: PCB Width – Does Size Matter?
LED strips come in various widths, typically 5mm, 8mm, 10mm, and 12mm. The width affects both heat dissipation and flexibility.
PCB Width Best For Pros Cons
5mm Narrow spaces, tight corners Very flexible, fits small profiles Limited heat dissipation; lower power capacity
8mm General residential use Good balance of flexibility and performance Standard option; not suitable for high-power strips
10mm Commercial and high-power applications Better heat dissipation; handles higher wattage Less flexible; requires wider profiles
12mm Premium installations, COB strips Maximum heat dissipation; supports dense LED arrays Bulky; limited profile compatibility
Pro tip: For COB strips or any strip running above 10W/m, choose 10mm or 12mm width. The extra copper surface area significantly improves thermal management.
Part 2: Substrate Material – What's Underneath?
The base material affects flexibility, heat resistance, and durability.
· Polyimide (PI) – The industry standard for flexible LED strips. Withstands temperatures up to 400°C, ideal for soldering, and maintains flexibility over years of use. Choose PI for any permanent installation.
· PET (Polyester) – A cheaper alternative, but with lower heat resistance (max 150°C). PET strips are more prone to yellowing and warping over time. Only suitable for low-power, temporary applications.
· FR-4 (Rigid) – A glass-reinforced epoxy used for rigid LED bars. Not flexible, but excellent for high-power fixtures requiring maximum heat dissipation.
Our recommendation: Always specify polyimide for flexible strips. The small cost premium is insignificant compared to the reliability benefits.
Part 3: Copper Weight – Matching to Your Power Needs
As we covered in the previous article, copper weight is measured in ounces (1oz = 35µm thickness). Here's a practical guide:
Copper Weight Best For Max Recommended Run (24V)
0.5–0.7oz Low-power accent strips (< 5W/m) 3–5 metres
1oz Standard residential strips (5–8W/m) 5–8 metres
2oz High-power or commercial strips (8–15W/m) 10–15 metres
3oz+ Very high power ( 15W/m) or extra-long runs 15–20+ metres
Critical rule: Always match copper weight to both wattage and run length. Using a 1oz PCB for a 15m run at 12W/m will result in significant voltage drop—even with 24V.
Part 4: Cut Marks and Pad Design
The cut marks are where you'll shorten the strip. Design quality here impacts installation ease and reliability.
Good PCB design:
· Clearly marked cut lines with copper pads on both sides.
· Pads are large enough for easy soldering.
· Pads are gold-plated (ENIG finish) to resist oxidation.
Poor PCB design:
· Faint or missing cut marks.
· Tiny pads that are hard to solder.
· Bare copper pads that oxidise quickly.
Pro tip: ENIG (Electroless Nickel Immersion Gold) is the superior pad finish. It provides a flat, corrosion-resistant surface that solders easily—essential for reliable connections.
Part 5: Colour and Reflectivity
Did you know the PCB colour affects light output?
· White PCB – Reflects light, improving overall brightness by up to 5–8% compared to black PCBs. This is why premium strips often use white solder masks.
· Black PCB – Looks sleek but absorbs light, reducing efficiency. Some manufacturers use black for aesthetics, but it's a performance compromise.
· Yellow/Red/Other colours – Rare; mostly used for branding. Performance is similar to white if reflectivity is good.
Our advice: Choose white PCBs for maximum light output. If black is required for visual reasons (e.g., dark fixtures), accept the slight efficiency loss.
Part 6: Adhesive Backing – The Overlooked Feature
Many buyers focus on the PCB itself but ignore the adhesive that holds it in place.
· 3M VHB (Very High Bond) tape – The gold standard. Handles temperature extremes and provides a strong, permanent bond.
· Standard double-sided tape – Cheaper but prone to peeling, especially in warm environments.
Pro tip: Even with high-quality adhesive, never rely on tape alone for outdoor or high-heat installations. Use mounting clips or aluminium channels as a secondary securing method.
Part 7: PCB and Environmental Factors
Different installation environments demand different PCB considerations:
Environment PCB Requirement
Indoor, dry Standard polyimide, 1–2oz copper, white solder mask
Kitchen, bathroom IP65 coating + 2oz copper (humidity resistance)
Outdoor, exposed IP67/68 + 2oz+ copper + UV-resistant silicone
High temperature Thick copper (2oz+) and wide PCB for heat dissipation
High humidity ENIG finish to prevent pad corrosion
Part 8: Testing PCB Quality – What to Look For
Before committing to a supplier, test these aspects:
1. Flexibility – Bend the strip gently. Quality PCBs flex smoothly without cracking. Cheap PCBs feel brittle.
2. Copper visibility – Look at the cut end. Can you see a thick, bright copper layer? Thin copper appears faint.
3. Pad adhesion – Try soldering a test wire. Quality PCBs accept solder smoothly; cheap ones have pads that lift or oxidise.
4. Voltage drop test – Run a full-length sample at rated power. Measure voltage at both ends—the difference should be under 5%.
Part 9: Common PCB Pitfalls and How to Avoid Them
Pitfall Solution
Voltage drop on long runs Choose 2oz copper, 24V, and inject power at multiple points
Pads lifting during soldering Use proper temperature (under 350°C) and quality PCBs with good adhesion
Adhesive failure Use aluminium profiles and mounting clips as backup
Corrosion in humid environments Choose ENIG pad finish and waterproof coating
Brittle PCBs cracking Specify polyimide, not PET, for flexibility
Part 10: Making the Right Choice – Decision Matrix
Your Project Needs PCB Specification
Short run (< 5m), low power (< 5W/m) 8mm, 1oz, polyimide, white
Standard room installation (5–10m, 5–10W/m) 10mm, 2oz, polyimide, white
Commercial long run (10–15m, 10–15W/m) 12mm, 2oz+, polyimide, white, ENIG
Outdoor or wet location As above + IP65/IP67 coating
Very high power ( 15W/m) 12mm, 3oz+, aluminium profile mandatory
Final Thoughts
The PCB is the foundation of every LED strip—and like any foundation, cutting corners here compromises everything built on top. By understanding copper weight, substrate material, pad design, and environmental factors, you can select strips that deliver consistent performance and long service life.
Don't settle for cheap PCBs that sag, drop voltage, or fail early. Invest in quality—your projects and your reputation will thank you.
 Hot News
2026-07-24
2026-07-24
2026-07-24
2026-07-24
2026-07-24
2026-07-24
 EN
EN