LED strips aren't just for ceilings and walls – they're transforming furniture design. From glowing shelves and illuminated bed frames to backlit wardrobes and floating desks, integrated lighting adds functionality, ambiance, and a premium aesthetic.
Here's how to design and install LED strips into furniture pieces.
1. Choose the Right Strip for Furniture
COB vs. SMD
For visible installations – such as open shelves or glass display cases – choose COB strips. Their seamless, dot‑free light creates a professional, high‑end look. SMD strips are better for hidden applications, such as under bed frames or inside drawers, where the strip itself isn't visible.
Low-Profile Options
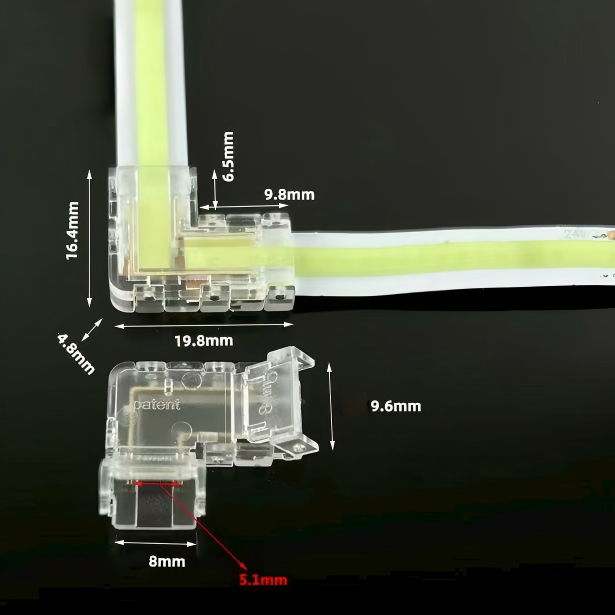
Furniture often has tight spaces. Choose strips with a narrow PCB (5mm or 8mm) for fitting into thin gaps. Flexible strips allow bending around corners, but ensure the minimum bend radius is respected.
Colour Temperature
Warm whites (2700–3000K) create a cosy, inviting feel – ideal for bedroom furniture and living rooms. Neutral whites (3500–4000K) work well for office furniture, kitchens, and display cabinets.
2. Placement Ideas for Furniture
Shelving
Install strips along the front edge or back of shelves to illuminate displayed items. For glass shelves, mount strips underneath to create a glowing effect.
Bed Frames
Place strips behind the headboard for a floating halo effect, or under the bed frame for a subtle nightlight. Use motion sensors for automatic activation when you get up at night.
Cabinets and Wardrobes
Install strips inside wardrobes, pantries, or kitchen cabinets – either along the top or sides. Door-activated magnetic switches ensure lights turn on when opened and off when closed.
Desks
Under-desk strips provide task lighting for workspaces, reducing eye strain. Use dimmable strips to adjust brightness for different tasks.
Display Cases
Strips inside glass display cases highlight collectibles, artwork, or merchandise. Choose high CRI (90+) for accurate colour rendering.
3. Installation Techniques
Recessed vs. Surface Mount
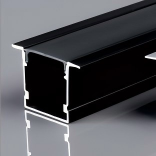
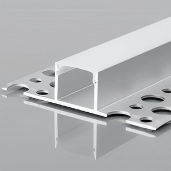
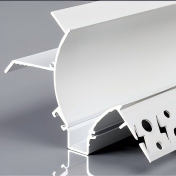
For a flush, built‑in look, route a groove into the furniture surface and recess the strip with a diffuser cover. Surface mounting using aluminium profiles offers easier installation and heat dissipation.
Heat Management
Even low‑power strips generate heat. In enclosed furniture (e.g., inside a wardrobe), use aluminium profiles or ensure adequate ventilation. Avoid trapping strips in tight, enclosed spaces without airflow.
Wiring and Cable Management
Conceal cables within furniture channels or use adhesive clips along the back of panels. Keep connections accessible for maintenance.
Sensors and Controls
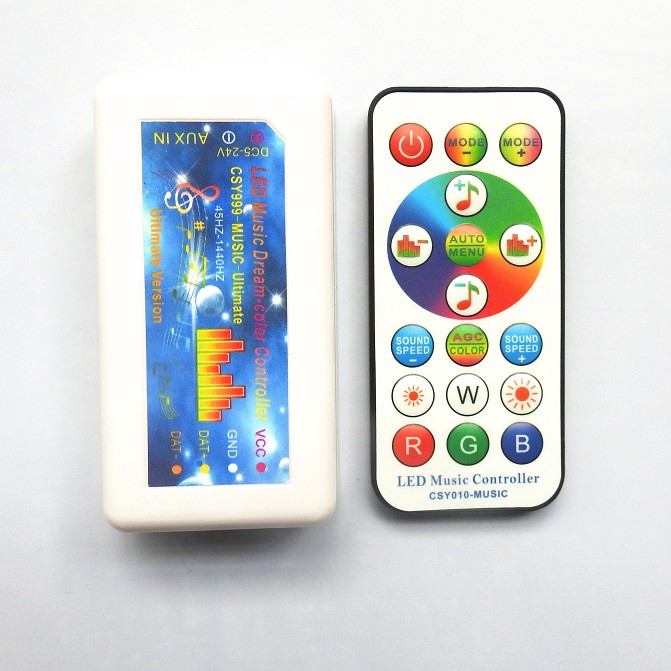
Integrate magnetic reed switches for door activation, or use motion sensors for walk‑in wardrobes. Dimmer switches allow brightness adjustment for different moods.
4. Safety Considerations
· Use 12V or 24V low‑voltage strips – safe for DIY furniture projects
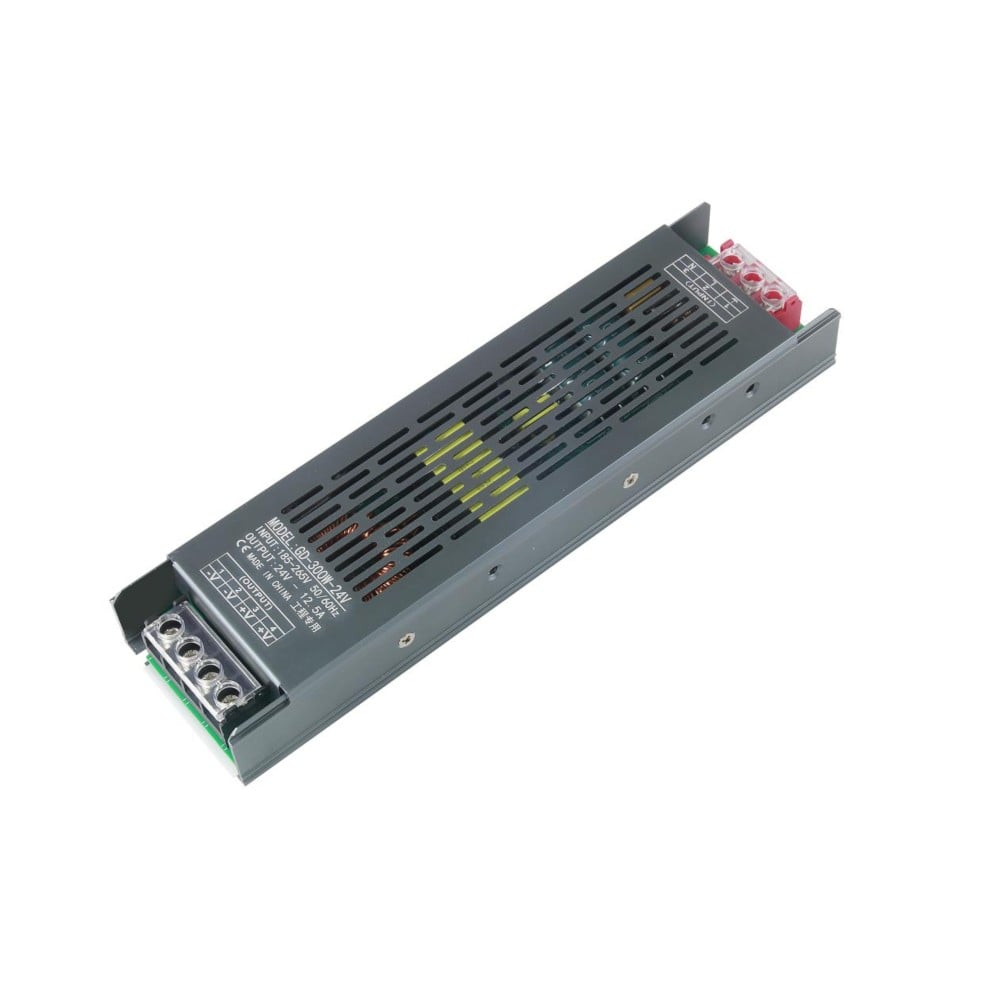
· Keep drivers accessible but hidden (e.g., inside a cabinet base)
· Insulate all connections with heat‑shrink tubing or electrical tape
· Ensure strips are securely attached to avoid peeling or falling onto occupants
5. Material Compatibility
· Wood: Adhesive bonds well; pre‑drill for clips if needed
· Metal: Clean with alcohol; use mounting clips for heavy strips
· Glass: Use clear, double‑sided tape for temporary installations; for permanent, use silicone adhesive
Final Thoughts
Integrating LED strips into furniture elevates both function and form. With careful placement, the right product selection, and proper wiring, you can create stunning, customised pieces that enhance any interior.
Explore our furniture‑friendly LED strips – available in narrow widths, COB options, and various colour temperatures. Contact us for design advice and custom cut‑to‑length services.
 Hot News
2026-07-24
2026-07-24
2026-07-24
2026-07-24
2026-07-24
2026-07-24
 EN
EN