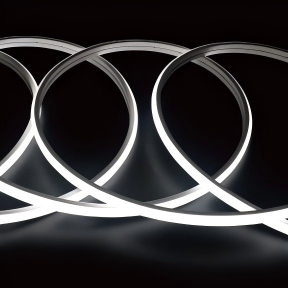
You've seen the stunning photos online—glowing cove ceilings, perfectly lit kitchen counters, and immersive TV backlighting. You're ready to create your own. But where do you start?
The most common mistake buyers make is skipping the planning phase. They guess the length, order a reel, and discover they're short by two metres—or worse, they have leftover strips but no idea how to connect them.
This guide walks you through the essential planning steps: measuring, calculating, designing layouts, and accounting for all the hidden details. Follow these steps, and your installation will be smooth, professional, and frustration‑free.
Step 1: Measure Your Space Accurately
Grab a tape measure, a notepad, and sketch your installation area. Be precise—every centimetre counts.
For straight runs:
· Measure the exact distance from start to finish.
· Round up to the nearest 10cm to allow for slight adjustments.
For corners and curves:
· For 90° corners, measure along the path the strip will take (not straight‑line distance).
· For curved surfaces, use a flexible tape or a piece of string, then measure the string.
For cove ceilings or perimeter lighting:
· Measure the entire perimeter of the room. Don't forget to subtract doorways or sections where lighting isn't needed.
Pro tip: Always add 10–15% extra length as a buffer. It's better to have a little leftover than to come up short and wait for a second order.
Step 2: Map Your Layout
Now that you have measurements, sketch the layout on paper. Mark the following:
· Start point – Where the power supply will be located.
· Strip path – The route the strip will follow.
· Cut points – Where you'll cut the strip to fit corners or shorter sections.
· Connection points – Where you'll join multiple strips together.
· Power injection points – For long runs over 10 metres (more on this later).
This visual plan will reveal potential issues before you buy. For example, you might realise that a corner is too tight for a rigid strip, or that your chosen power supply location is too far from the strip.
Step 3: Calculate Total Length and Power Requirements
Total length:
· Sum all the measurements from your sketch. Add the 10–15% buffer.
Total power consumption:
· Check your strip's specification: watts per metre.
· Multiply by the total length.
· Add a 20% safety margin for the power supply.
Example:
· Strip draws 10W/m.
· Total length: 8 metres.
· Power needed: 10 × 8 = 80W.
· With 20% margin: 80 × 1.2 = 96W → choose a 100W power supply.
Step 4: Plan for Corners and Transitions
Corners are where many installations go wrong. You have three options:
1. Cut and reconnect – Cut the strip at a designated cut mark, then use a corner connector (L‑shaped) to change direction. Clean and reliable.
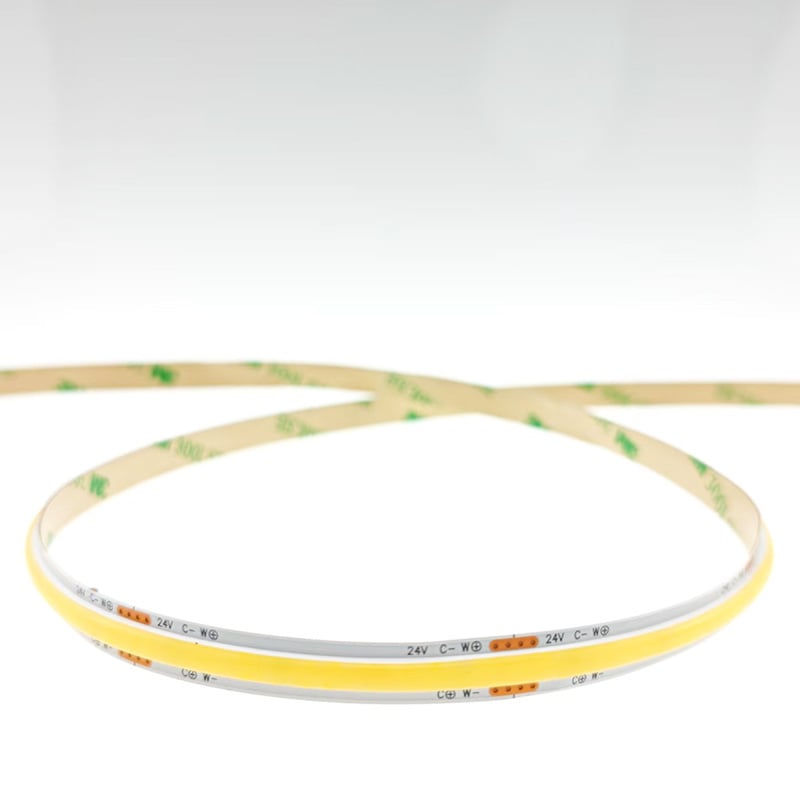
2. Bend the strip – COB strips are highly flexible and can bend around tight corners (minimum radius ~20mm). SMD strips are less flexible—avoid sharp bends.
3. Use a pre‑made corner connector – These are available for SMD strips and allow a clean 90° turn without soldering.
Pro tip: For a truly professional look, use aluminium profiles with corner pieces. They hide the transition completely.
Step 5: Account for Voltage Drop
Voltage drop is the gradual dimming of LEDs as the strip gets further from the power source. It's a physics issue—copper traces have resistance, and longer runs lose voltage.
General guidelines:
· 12V strips: Keep runs under 5 metres to avoid visible drop.
· 24V strips: Runs up to 10 metres are safe.
· Beyond 10 metres: You need power injection.
Power injection means supplying power at multiple points along the strip. For example, feed at the beginning, the middle, and the end. This keeps brightness uniform.
If you're planning a long run, choose 24V strips—they handle longer distances with less drop.
Step 6: Consider Your Power Supply Location
The distance between your power supply and the strip affects both voltage drop and installation complexity. Ideally:
· Place the driver within 2 metres of the strip's start point.
· Use thicker wires (18 AWG or lower) for longer distances to reduce resistance.
· Never run the DC output wire more than 5 metres unless you size up the cable.
Safety reminder: The power supply must be mounted in a dry, ventilated location, away from flammable materials.
Step 7: Choose Your Accessories
Before you order, make sure you have everything you need:
Accessory Purpose
Aluminium profile Heat dissipation and diffusion
Diffuser cover Softens light, reduces glare
End caps Seals the profile ends
Mounting clips Secures the profile to the surface
Connectors / solder Joins cut sections
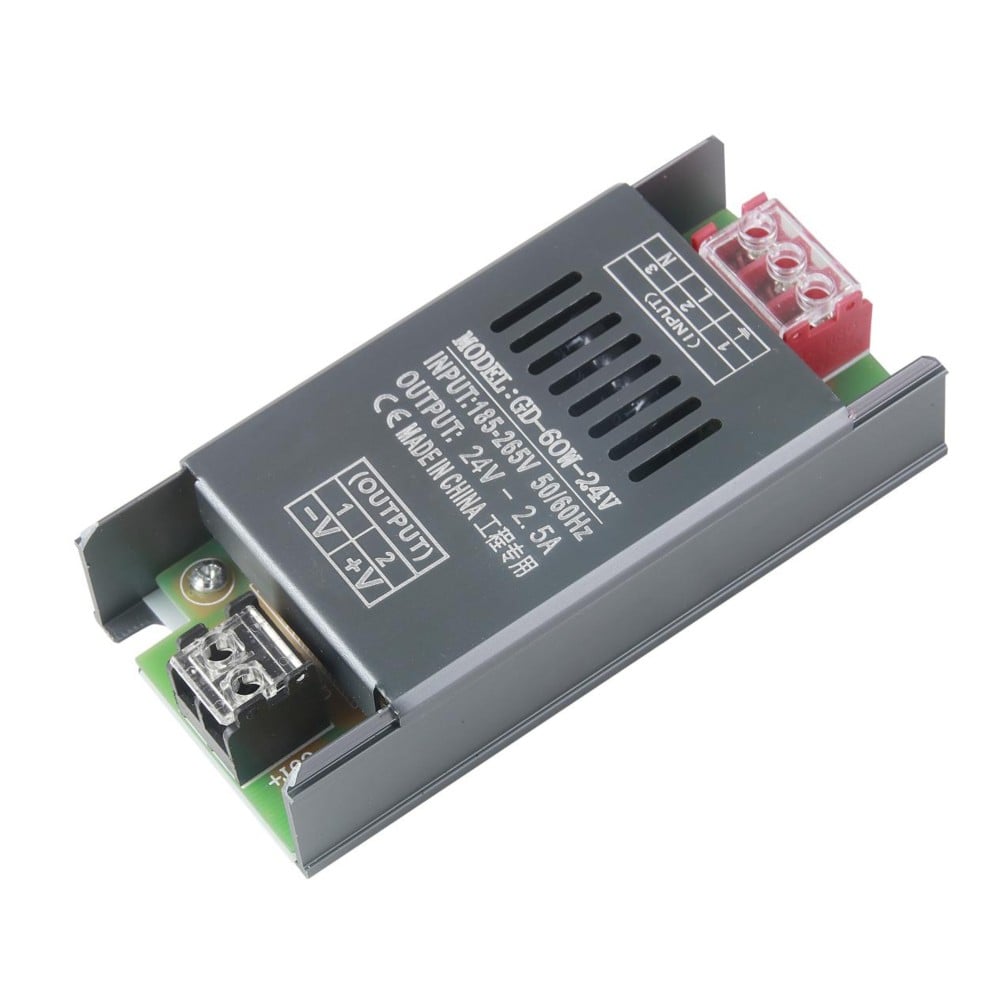
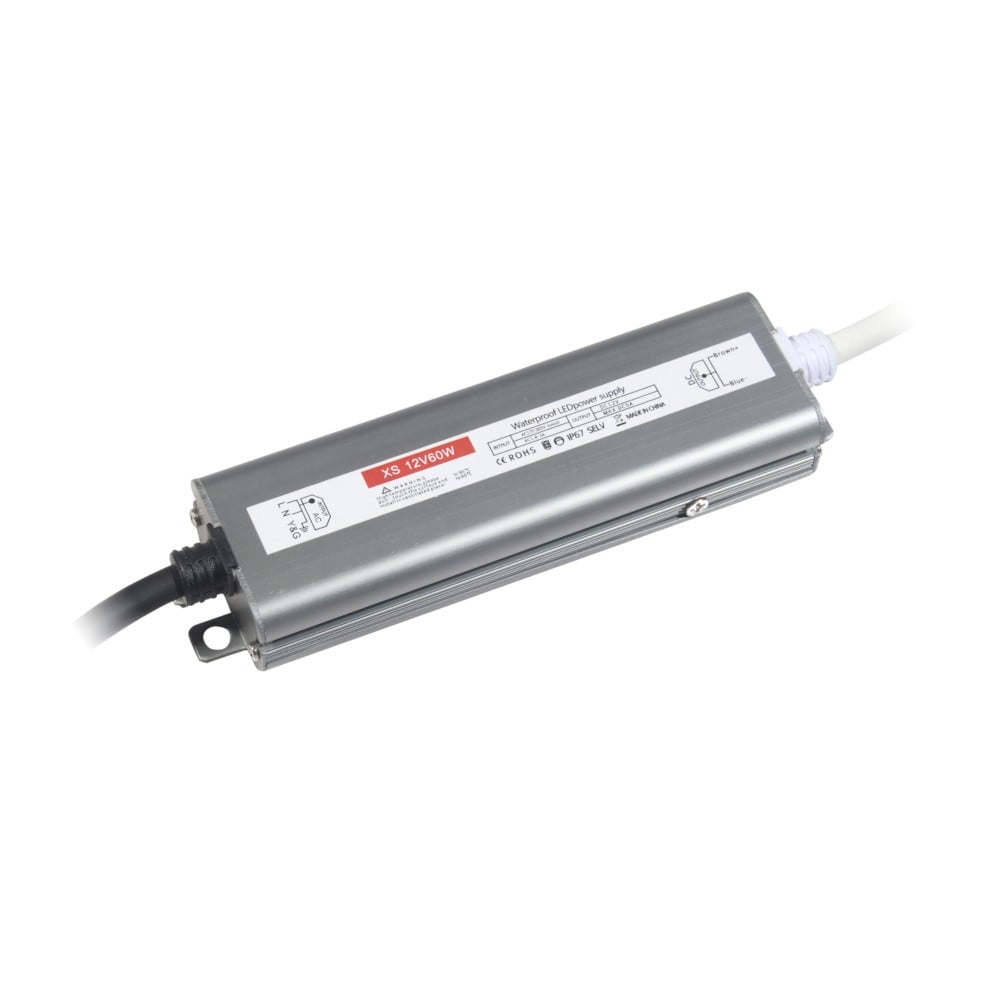
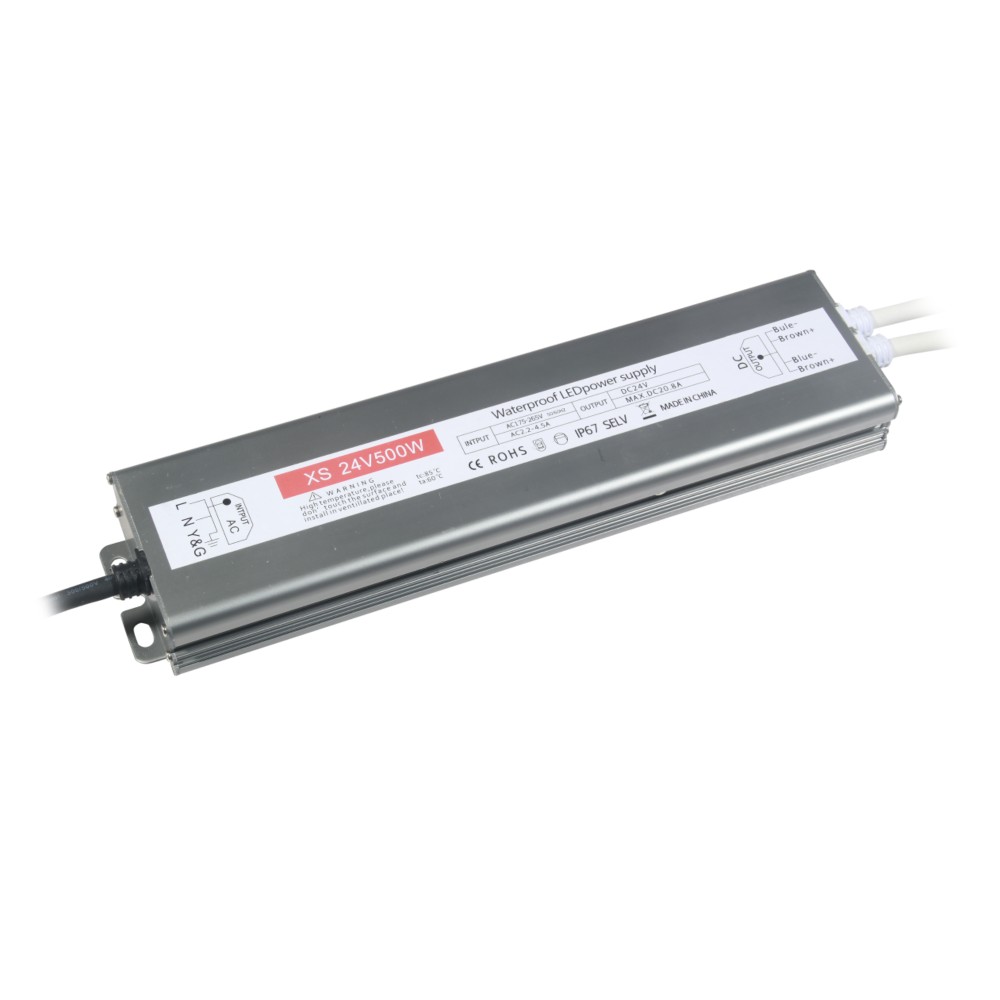
Power supply Converts mains to 12V/24V DC
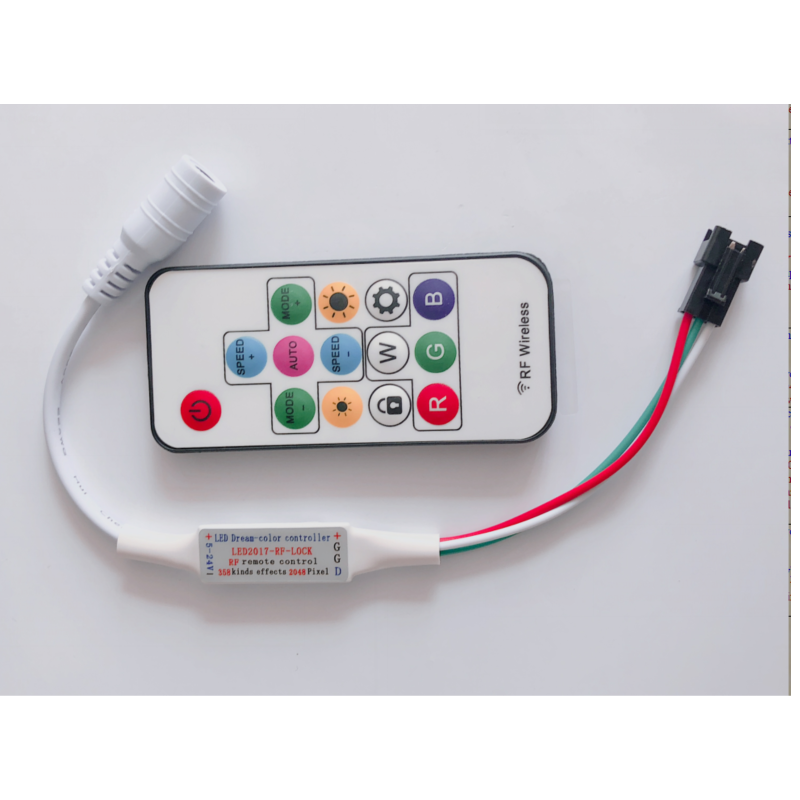
Dimmer / controller For brightness and colour control
Extension wires Connects power supply to strip
Ordering everything together saves shipping costs and ensures compatibility.
Step 8: Test Before You Install
This is the golden rule: always test the complete system on a flat surface before mounting.
· Connect the strip, power supply, and any controllers.
· Turn it on and check:
· Brightness across the entire length
· Colour accuracy (no visible shift)
· Any flickering (swap driver or dimmer if present)
· Dimming response (if applicable)
Only after a successful test should you proceed to installation. This single step saves hours of rework and frustration.
Step 9: Create a Purchase List
Based on your plan, compile a final purchase list:
· LED strip(s) with correct length and colour temperature
· Matching power supply (with 20% margin)
· Aluminium profile(s) with diffuser
· End caps and mounting clips
· Connectors or solder kit
· Dimmer / controller (if needed)
· Extension wire (if needed)
· Double‑sided tape or screws (if not included)
Pro tip: Order a sample of the strip and profile combination first—test it in your actual space to confirm the appearance and brightness meet your expectations before buying in bulk.
Final Checklist Before Installation
· Measurements taken and 10‑15% buffer added
· Layout mapped with cut points and connections marked
· Power supply wattage calculated (with 20% margin)
· Voltage drop addressed (power injection for long runs)
· All accessories ordered
· System tested on the tabletop
Conclusion
Good planning is the secret to a perfect LED installation. By measuring accurately, mapping your layout, calculating power needs, and testing beforehand, you'll avoid the common pitfalls that turn exciting projects into frustrating experiences.
The extra hour spent on planning will save you hours of rework—and ensure your finished project looks as stunning as you imagined.
Need help with your project plan? Our team offers free design consultations—just send us your measurements and we'll recommend the right products, accessories, and configurations. Start your project confidently with our expert support.
Explore our full range of LED strips, profiles, power supplies, and connectors—all carefully selected for quality and compatibility. Shop with confidence and get it right the first time.
 Hot News
2026-07-24
2026-07-24
2026-07-24
2026-07-24
2026-07-24
2026-07-24
 EN
EN