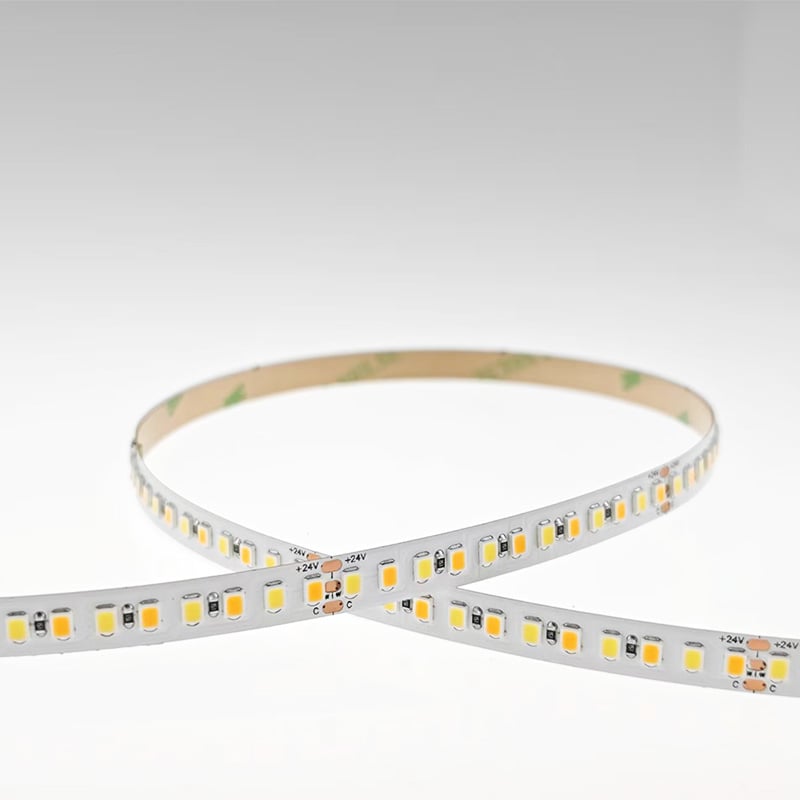
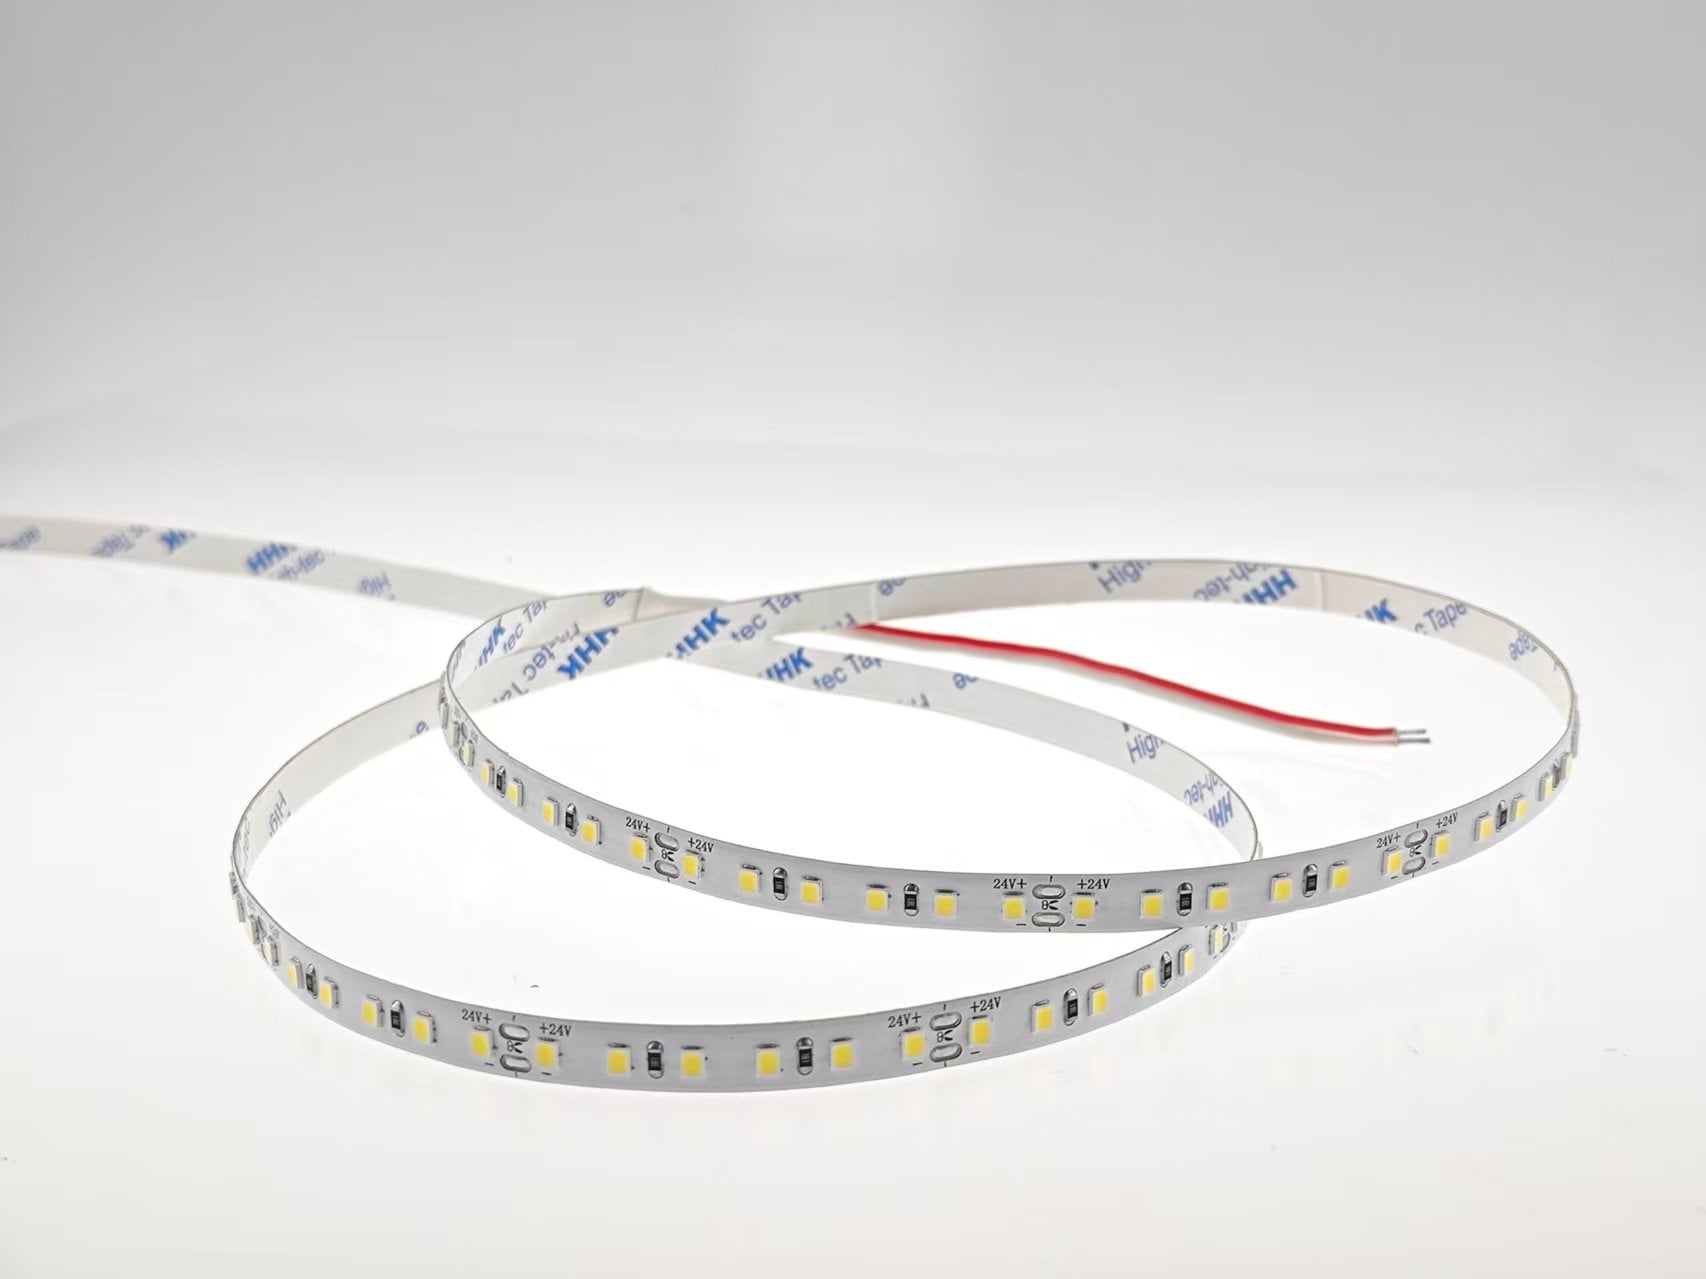
LED strips aren't just for indoor cove lighting and kitchen cabinets. When chosen and installed correctly, they can transform outdoor spaces—illuminating garden paths, deck railings, patio perimeters, and building facades with stunning, energy-efficient light.
But outdoor environments are harsh. Rain, UV radiation, temperature swings, and dust all threaten unprotected strips. This guide covers everything you need to know about selecting, installing, and maintaining outdoor LED strip lighting that lasts.
1. Understanding IP Ratings: The First Line of Defence
The Ingress Protection (IP) rating tells you how well a product resists dust and moisture. For outdoor use, this is non-negotiable.
IP Rating Protection Level Suitable For
IP20 No dust or water protection Indoor, dry locations only
IP44 Splash-proof from any direction Covered outdoor areas (e.g., under eaves)
IP65 Dust-tight and protected against low-pressure water jets Open outdoor areas, rain exposure
IP67 Dust-tight and protected against temporary immersion Garden ponds, fountains, wet zones
IP68 Continuous immersion (depth & time specified by manufacturer) Underwater applications
Our recommendation: For most outdoor applications—patios, decks, garden paths, and building outlines—IP65 is the minimum. For areas with direct water contact (e.g., along a pool edge), choose IP67 or IP68.
2. Beyond IP: UV Protection and Material Quality
Waterproofing isn't the only concern. Sunlight contains ultraviolet (UV) radiation that degrades plastics and silicones over time.
· Standard PVC or silicone sleeves can turn yellow, become brittle, and crack within 12–24 months of direct sun exposure.
· UV-resistant silicone is formulated with additives that block UV degradation, maintaining clarity and flexibility for years.
What to look for: Choose strips with UV-resistant coating or sleeving, especially for exposed installations facing direct sunlight. If you're using aluminium profiles outdoors, ensure they are anodised or powder-coated to prevent corrosion.
3. Power Supply Placement: Keep It Dry
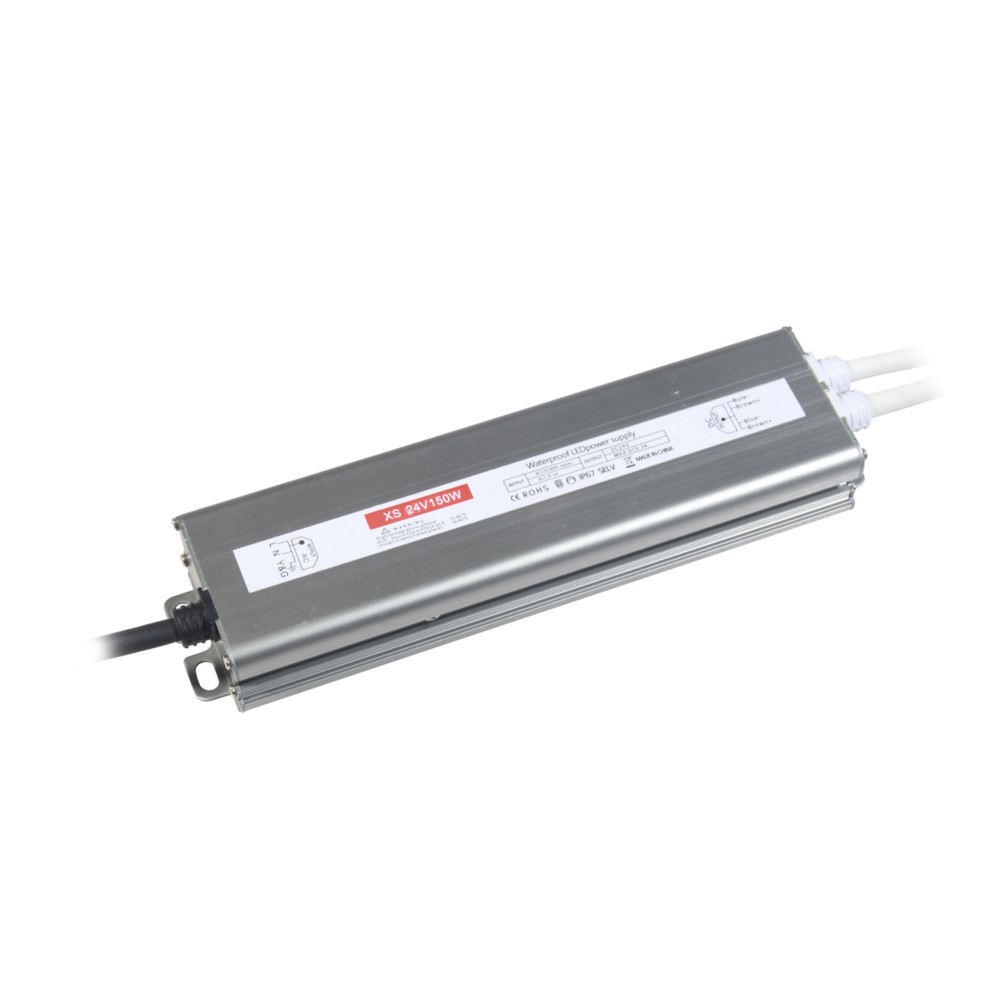
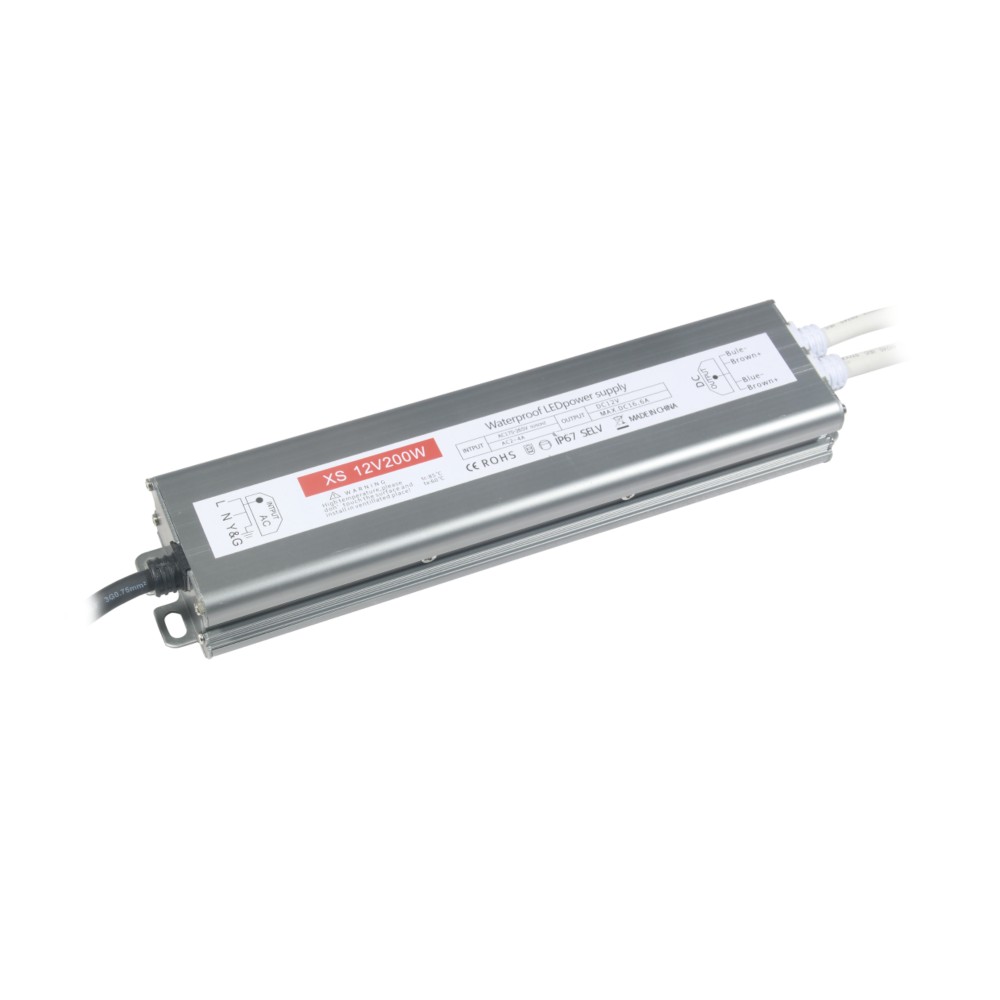
Your LED strip may be waterproof, but your power supply almost certainly isn't. Exposing the driver to rain or moisture is a fire hazard and will void warranties.
Best practices:
· Mount the power supply indoors (e.g., inside a garage, shed, or utility room) and run low-voltage DC wires to the outdoor strip.
· If the driver must be outdoors, place it inside a weatherproof enclosure rated IP65 or higher.
· Ensure all AC connections (mains to driver) are inside a waterproof junction box.
· Keep the power supply off the ground—mount it on a wall or post to avoid flooding.
Pro tip: For long outdoor runs, consider using multiple smaller drivers placed at different points, rather than one large driver—this reduces voltage drop and simplifies waterproofing.
4. Installation Methods for Outdoor Strips
Outdoor strips require more robust mounting than indoor peel-and-stick. Adhesive tape weakens in heat, humidity, and cold.
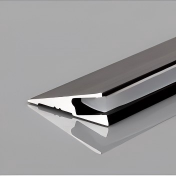
Option 1: Aluminium profiles with clips
· Mount an aluminium channel using screws or masonry anchors.
· Insert the LED strip into the channel, then snap on the diffuser.
· This provides heat dissipation, physical protection, and a clean look.
Option 2: Direct mounting with clips
· Use dedicated mounting clips (plastic or metal) screwed into the surface.
· Slide the strip into the clips—this avoids relying on adhesive tape alone.
· Ideal for under-eaves, deck edges, and along fences.
Option 3: Recessed installation
· Rout a groove into wood or stone, then embed the strip flush with the surface.
· Use a clear or frosted cover to protect the strip while maintaining a seamless appearance.
Never rely solely on the factory adhesive tape for outdoor installations. It will fail within months.
5. Sealing Cut Ends and Connections
Even with an IP65 strip, the cut ends are vulnerable. Moisture can wick into the exposed copper pads and cause corrosion or shorts.
How to seal cut ends:
· Use silicone end caps designed for your strip width.
· Apply a dab of neutral-cure silicone sealant over the cut end before capping.
· For soldered connections, cover with heat-shrink tubing that has an adhesive inner lining (this creates a watertight seal).
Connectors: Outdoor-rated connectors with gaskets or O-rings are available. For permanent installations, soldering + heat-shrink is the most reliable method.
6. Voltage Drop in Outdoor Long Runs
Outdoor projects often involve longer runs—along fences, around gardens, or up building facades. Voltage drop becomes a significant issue beyond 10 meters.
Solutions:
· Choose 24V strips over 12V—they handle longer distances with less drop.
· Inject power at multiple points along the run (e.g., at the start, middle, and end).
· Use thicker extension wires (e.g., 16 AWG or 14 AWG) to reduce resistance between the driver and the strip.
· For very long runs (over 20 metres), consider using multiple independent drivers for separate zones.
7. Outdoor Application Ideas
Application Recommended Specs Installation Tips
Deck perimeters IP65, 3000K warm white, aluminium profile Recess into deck boards or mount under railings
Garden paths IP67, 2700–3000K, low brightness Use ground-level profiles with angled covers
Building facades IP65, 4000K cool white, high brightness Mount behind gutters or along architectural lines
Patio ceilings IP65, dimmable tunable white Install in coves or under pergola beams
Pool edges IP68, 12V for safety, RGBW for effects Submerge in dedicated watertight channels
Stair risers IP65, motion-sensor controlled Recess into risers or mount under treads
8. Winter and Extreme Weather Considerations
For climates with freezing temperatures, snow, or intense heat:
· Cold: LEDs perform well in cold (even better than warm). However, silicone sleeving can become stiff—handle carefully during installation.
· Heat: High ambient temperatures reduce LED lifespan. Use aluminium profiles for heat dissipation and ensure the driver is rated for the temperature range (check datasheet for operating limits).
· Snow: Heavy snow loads may physically damage strips. Install under eaves or use protected channels.
Pro tip: If you're in a region with frequent freeze-thaw cycles, seal all connections and ends with extra silicone—expansion and contraction can open gaps over time.
9. Maintenance for Outdoor Strips
Outdoor strips accumulate dirt, leaves, and pollen, which block light and trap moisture.
Maintenance routine:
· Clean the diffuser or strip surface twice a year with a soft cloth and mild soapy water.
· Inspect end caps and seals for cracking or gaps—re-seal if necessary.
· Check mounting clips for rust or loosening—tighten or replace as needed.
· Test the system after heavy storms to ensure no water ingress.
10. Safety First: Low Voltage and GFCI
· Always use low-voltage strips (12V or 24V) for outdoor installations—this reduces shock risk.
· The power supply should be plugged into a GFCI (Ground Fault Circuit Interrupter) outlet.
· Ensure all outdoor wiring is rated for wet locations and properly insulated.
Final Thoughts
Outdoor LED lighting opens up a world of design possibilities—from subtle garden accents to dramatic architectural statements. But the outdoors demand respect. Choose the right IP rating, use proper sealing techniques, and invest in robust mounting hardware.
With careful planning and quality materials, your outdoor LED installation will withstand the elements and look stunning for years.
Explore our outdoor-ready LED strip collection—featuring UV-resistant IP65, IP67, and IP68 strips, aluminium profiles, waterproof connectors, and weatherproof power supplies. Need help with your project? Our team offers free design consultations for outdoor installations.
 Hot News
2026-07-24
2026-07-24
2026-07-24
2026-07-24
2026-07-24
2026-07-24
 EN
EN