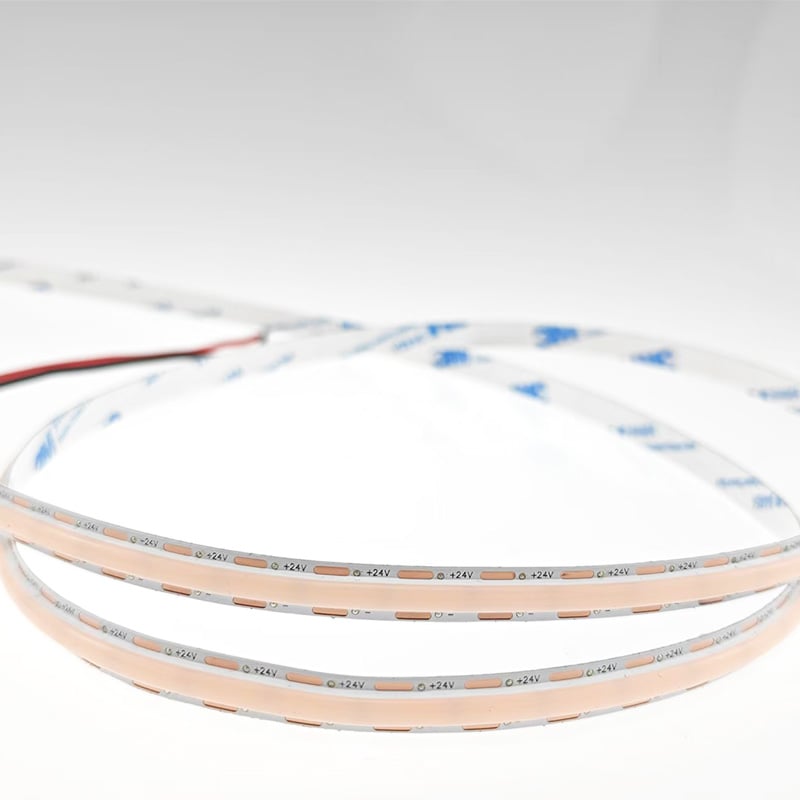
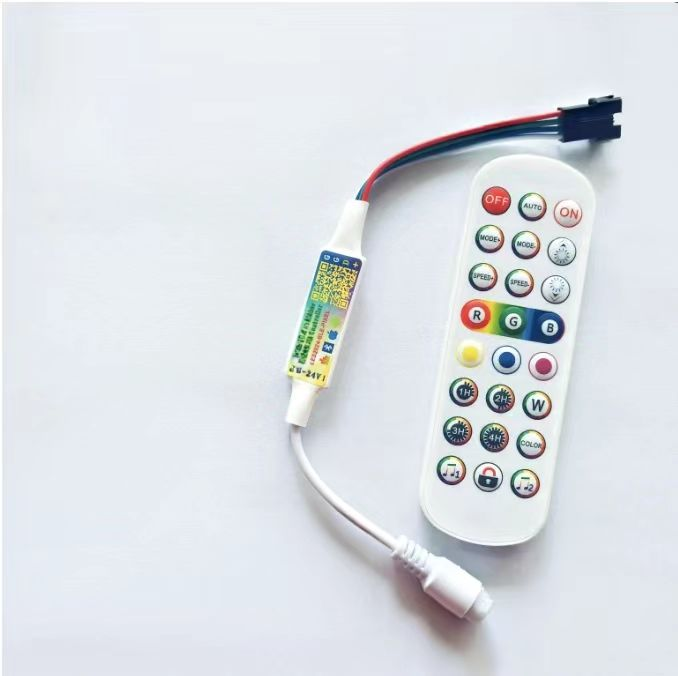
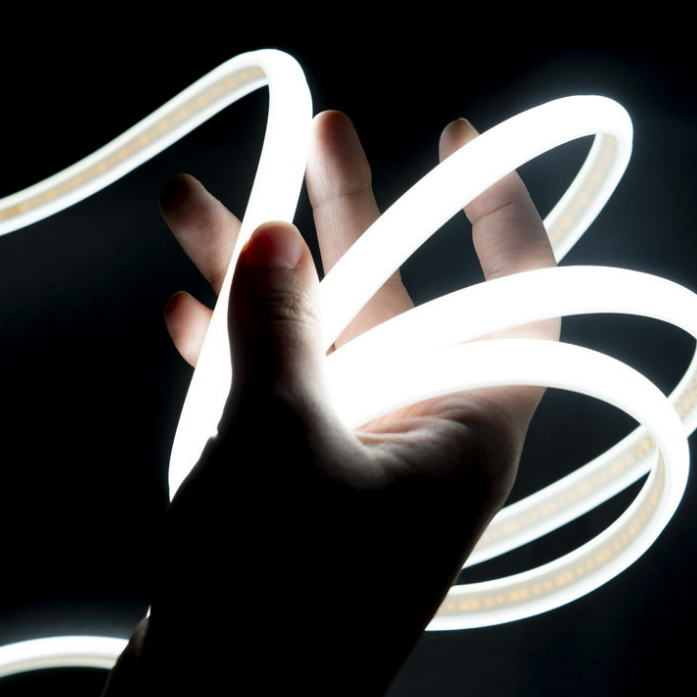
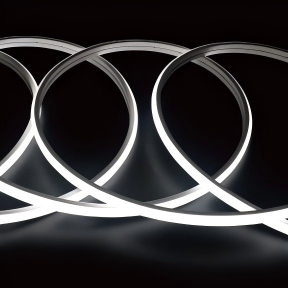
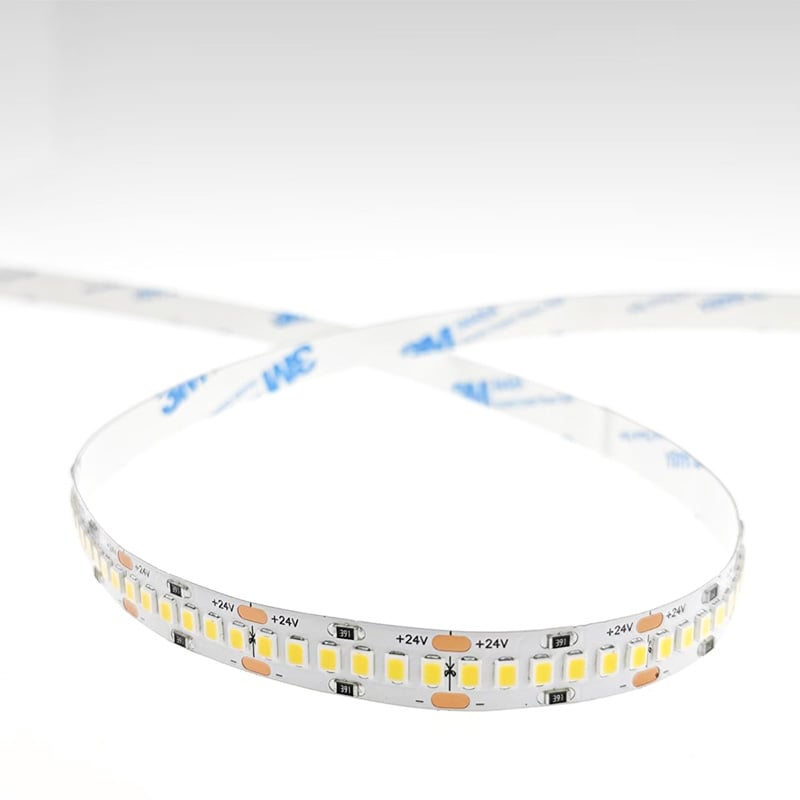
You've specified the right LED strips. The CRI is high. The colour temperature is perfect. The power supply is correctly sized. Then installation day arrives — and the team struggles. Uneven light. Visible dots. Adhesive failure. Connections that don't hold. In commercial projects, installation quality determines whether a lighting design succeeds or fails. A poorly installed strip looks unprofessional, fails prematurely, and damages your reputation. A properly installed strip delivers years of reliable, beautiful light. This guide outlines seven essential steps for professional LED strip installation in commercial environments — drawn from real project experience and field-tested best practices.
Step 1: Pre-Installation Planning — The Foundation of Success
Before any tools are used, confirm the run length, total wattage, and placement environment. Evaluate whether the selected strips match humidity levels, ceiling coves, shelf lighting, or exterior applications.
Critical pre-installation checks:
· Voltage matching — Use a 12V power supply for 12V strips and 24V for 24V strips
· Power supply sizing — Add 20-30% margin to total wattage
· Driver placement — Plan power supply locations in advance (e.g., air conditioning access points, cabinets) to ensure aesthetics and safety
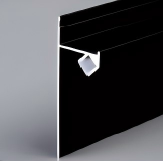
· Aluminum channel selection — Verify profile depth and width match your strip specifications
For pre-buried installations: Groove ceilings, walls, and cabinets in advance (depth ≥15mm) and embed special profiles (aluminum channel + PC diffuser) for uniform, grain-free light.
Step 2: Surface Preparation — Clean, Dry, and Ready
Adhesive failure is one of the most common complaints in commercial LED strip installations. The cause is almost always poor surface preparation.
The professional process:
· Clean the mounting surface thoroughly to remove dust, grease, and oil
· Ensure the surface is completely dry before applying adhesive
· For rough or textured surfaces, adhesive alone is insufficient — use dedicated mounting clips for secure double fixation
Pro tip: For outdoor or ceiling projects, always combine adhesive with mechanical fixing (clips or brackets). Adhesive alone will fail over time.
Step 3: Cutting and Measuring — Precision Matters
LED strips must be cut only at designated cutting marks to protect internal circuitry.
The professional approach:
· Measure the lighting route accurately before cutting
· Look for the scissors logo on the strip — cut only at these points
· For corners, use special flexible strips or flexible PCB strips — arcs should be natural and smooth
· Avoid hard bending that can damage lamp beads
For long runs: When a single strip length isn't enough, use strips of the same brand and specification with special connectors to ensure stable voltage and consistent light colour.
Step 4: Concealed Installation — "See the Light, Not the Source"
High-end commercial lighting follows one principle: see the light, not the light source.
Concealment techniques:
· Use furniture structures (behind shelves, above skirting boards, under beds) and curtain boxes to hide the strip body, leaving only the glow
· For surface-mounted installations, use aluminum channels with diffusers to create a professional finished appearance
· Ensure the diffuser cover is properly attached for uniform light distribution
Why this matters: Visible LED dots look unprofessional and cheap. Concealed installation with proper diffusion elevates the entire space.
Step 5: Connections — Soldering vs Solderless for Commercial Reliability
In commercial projects, every connection is a potential failure point. Choose your connection method based on project requirements.
For permanent, critical installations (soldering recommended):
· Use a soldering iron capable of 700°F+ with silver-based electronics solder
· Heat the pad first — let the solder flow naturally onto the pad
· Test each connection before proceeding
For fast-track projects (solderless connectors):
· Match connectors to strip width, pin count, and voltage
· Use seamless connectors to eliminate breakpoints and dark areas
· Ensure connectors are properly secured — loose connections are the most common failure mode
For waterproof connections: Place silicone end caps on wires before making any connections — retroactive installation is not possible. Apply RTV silicone thoroughly within the cap and allow 24 hours of undisturbed curing time.
Step 6: Waterproofing — Protecting Against the Elements
In commercial environments, inadequate waterproofing is one of the most common causes of LED strip failure.
IP rating selection by environment:
· Indoor dry areas — IP20 (no waterproofing required)
· Kitchens, bathrooms, humid areas — IP65 (splash-proof)
· Outdoor, fully exposed — IP67 or higher
Professional waterproofing techniques:
· Silicone sealing — Apply neutral-cure silicone around exposed cut faces, ensuring edges and cable exits are filled without voids
· End caps — Use fitted end caps where possible
· Heat shrink — For soldered joints, use heat shrink tubing with adhesive lining for a watertight seal
For outdoor channel installations: Pre-waterproofing LED strips before channel insertion adds an important initial defence layer.
Step 7: Testing and Verification — Before It's Too Late
A completed installation still needs performance verification. Test before permanently fixing strips in place.
Verification checklist:
· Brightness uniformity — Check for voltage drop along the entire run
· Colour consistency — Ensure no visible colour shift between segments
· Dimming performance — Test all dimming levels and scenes
· Connection integrity — Verify every connection is secure
For commercial chains, architectural lighting, or interior accent lines, these adjustments help finalise the atmosphere the project requires.
Final Thoughts
Professional LED strip installation in commercial projects isn't complicated — but it requires attention to detail at every step. From pre-buried installation planning to waterproof soldering, each phase builds on the previous one.
 Hot News
2026-07-24
2026-07-24
2026-07-24
2026-07-24
2026-07-24
2026-07-24
 EN
EN