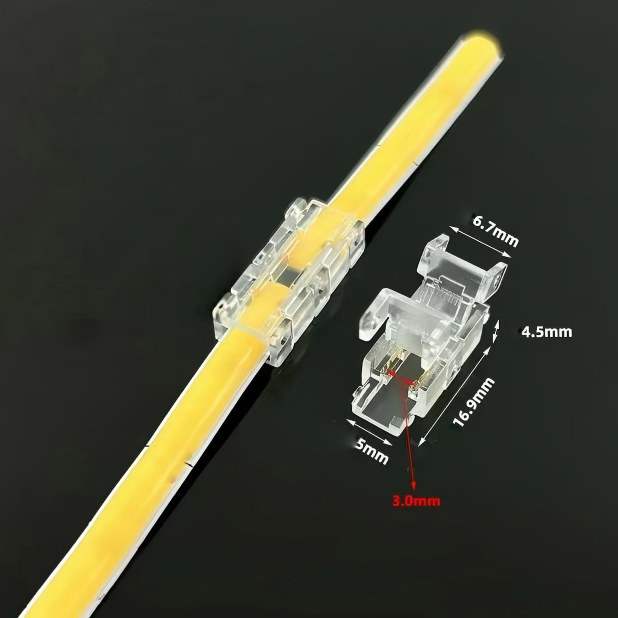
You've planned a beautiful lighting project—cove lighting in the living room, under‑cabinet strips in the kitchen, or perhaps a full retail display. But you have multiple strips and only one power supply. Can you connect them all together? And if so, how?
The answer is yes—but it requires careful planning. Connecting multiple strips incorrectly can lead to voltage drop, dim sections, or even driver failure. This guide walks you through the safe, effective methods to power multiple strips from a single driver.
Part 1: The Golden Rule – Total Wattage
Before you connect anything, do the maths.
Calculate total wattage:
· Check your strip's wattage per metre (e.g., 10W/m).
· Multiply by the total length of all strips combined.
· Add a 20% safety margin.
Example:
· You have three strips: 2m + 3m + 4m = 9m total.
· Strip draws 10W/m → 9 × 10 = 90W.
· With 20% margin: 90 × 1.2 = 108W.
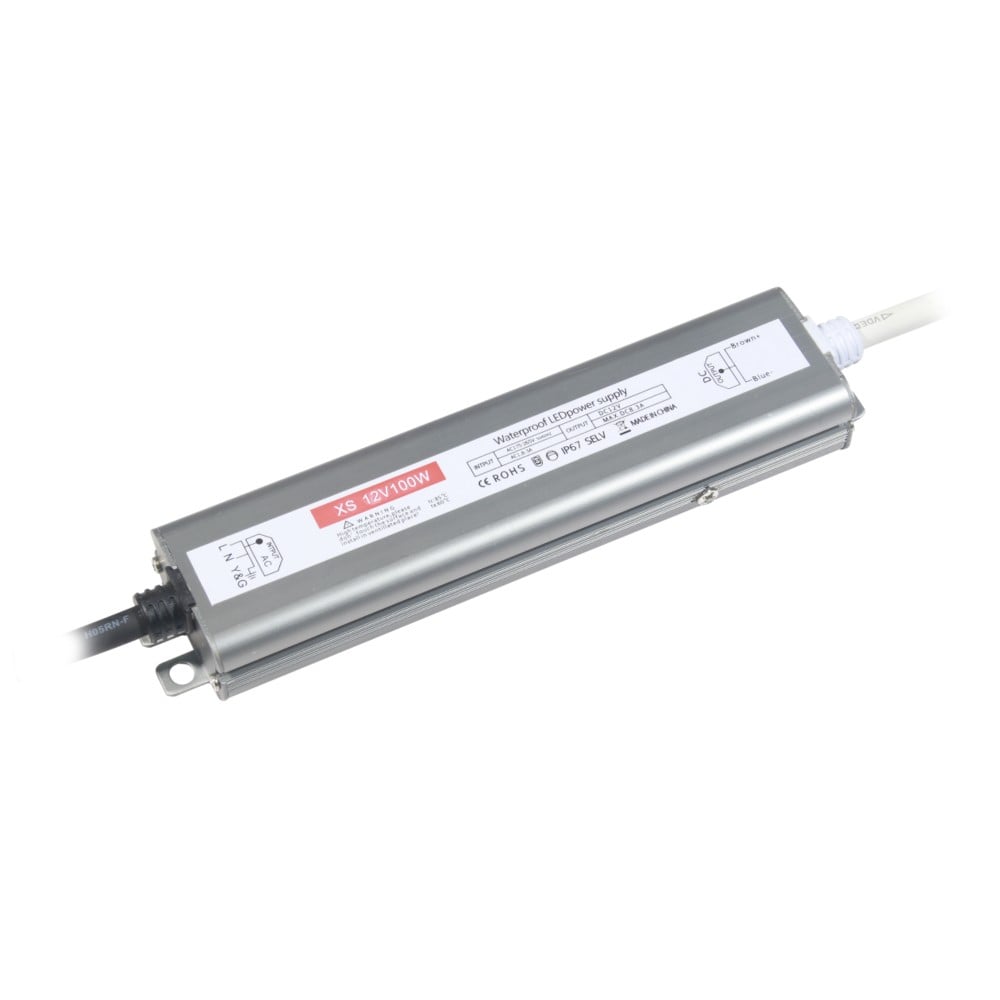
· You need a power supply rated at at least 108W (e.g., 120W).
Critical: If your total wattage exceeds the driver's capacity, the driver will overheat, flicker, or shut down. Always upsize.
Part 2: Two Connection Methods
There are two primary ways to connect multiple strips to one power supply:
Method 1: Daisy‑Chaining (Series Connection)
This means connecting one strip to the end of another, creating a single continuous run.
How to do it:
· Connect the positive (+) wire from the power supply to the first strip.
· Connect the negative (−) wire to the same strip.
· At the end of the first strip, connect a second strip using strip‑to‑strip connectors or solder.
Pros: Simple, uses fewer wires, clean layout.
Cons: Voltage drop accumulates along the run. The last strip will be dimmer than the first, especially with 12V systems.
When to use: For short total runs under 5 metres (12V) or 10 metres (24V), where voltage drop is minimal.
Method 2: Parallel Connection (Recommended)
This means running separate wires from the power supply to each individual strip. All strips receive power directly from the driver.
How to do it:
· Connect the driver's positive (+) output to a distribution block or terminal strip.
· Connect the driver's negative (−) output to the same distribution block.
· Run separate positive and negative wires from the block to each strip's start point.
· Solder or connect each wire pair to its respective strip.
Pros: Each strip gets the same voltage, so brightness is consistent across all sections. Reduces voltage drop dramatically.
Cons: Requires more wiring and a distribution block.
When to use: For any installation with multiple strips in different locations, or total length over 5 metres.
Part 3: Step‑by‑Step Parallel Connection
Tools you'll need:
· Power supply (correct wattage)
· 2‑way or multi‑way terminal block (also called a distribution block or Wago connectors)
· Appropriate gauge wire (18 AWG or thicker for longer runs)
· Wire strippers
· Soldering iron or connectors for strip attachment
Steps:
1. Mount the power supply in a dry, accessible location near the strips.
2. Connect AC power to the driver's input side (mains). Ensure this is done by a qualified electrician if required.
3. Prepare the distribution block – Mount it close to the power supply. Connect the driver's DC output (+ and −) to the block's input terminals.
4. Cut wire lengths for each strip run. Measure the distance from the distribution block to each strip's start point, adding a little extra for flexibility.
5. Strip the wire ends – about 5–10mm of insulation.
6. Connect one pair to each strip – positive (red) to the strip's + pad, negative (black) to the − pad. Solder or use a secure connector.
7. Connect the other ends to the distribution block – all positives together, all negatives together.
8. Test the system – turn on the power and check that all strips light up evenly. If one section is dim, check the connection or consider thicker wires.
Part 4: Wiring Diagrams (Text Description)
Simple parallel with 2 strips:
Power Supply (+) ──┬── Strip 1 (+)
└── Strip 2 (+)
Power Supply (−) ──┬── Strip 1 (−)
└── Strip 2 (−)
Parallel with a distribution block (3+ strips):
Power Supply (+) ── Distribution Block (+) ──┬── Strip 1 (+)
├── Strip 2 (+)
└── Strip 3 (+)
Power Supply (−) ── Distribution Block (−) ──┬── Strip 1 (−)
├── Strip 2 (−)
└── Strip 3 (−)
Part 5: Wire Gauge Selection
Using wires that are too thin causes voltage drop and overheating.
Distance from Driver to Strip Minimum Wire Gauge (AWG)
Under 2 metres 20 AWG
2–5 metres 18 AWG
5–10 metres 16 AWG
10–15 metres 14 AWG
Over 15 metres 12 AWG or consult an electrician
Pro tip: When in doubt, go thicker. The cost difference is minimal, and the performance improvement is significant.
Part 6: Common Mistakes to Avoid
Mistake Consequence Fix
Daisy‑chaining long runs Severe voltage drop at the end Switch to parallel connection
Undersized power supply Overheating, flickering, failure Re‑calculate and upgrade driver
Mixing different strip types Uneven brightness or colour Use identical strips from the same batch
Loose connections in distribution block Arcing, heat, fire risk Tighten all terminals securely
Running AC and DC wires together Electrical interference Keep them separated
Forgetting fusing No protection against shorts Add an inline fuse on the positive line
Part 7: Real‑World Example
Project: A kitchen with 3 separate under‑cabinet zones – 2m above the sink, 3m above the prep area, and 2m above the breakfast bar. Total = 7m of 10W/m strip = 70W. With 20% margin = 84W → choose a 100W, 24V driver.
Connection: Use parallel wiring. Mount the driver inside a nearby cupboard. Run individual 18 AWG wires from a 3‑way distribution block to each zone. All three zones are evenly bright, and each can be controlled separately with compatible dimmers if desired.
Part 8: When to Use Multiple Power Supplies
Sometimes, one driver isn't the best solution:
· Total run over 20 metres – even with parallel, voltage drop becomes challenging. Consider splitting into zones with separate drivers.
· Different voltage requirements – some strips are 12V, others 24V – never mix on one driver.
· Remote locations – if strips are far apart, multiple small drivers closer to each strip may be more efficient than long wire runs.
Final Thoughts
Connecting multiple LED strips to a single power supply is entirely achievable—as long as you respect the wattage limits, choose the right connection method, and use appropriate wire gauges. Parallel connection is almost always the better choice for consistency and performance.
With careful planning, you can power entire rooms or displays from a single, efficient driver, saving space and cost while achieving professional‑grade results.
Need help designing your multi‑strip layout? Our team can calculate your exact power requirements and recommend the best connection setup. We also stock distribution blocks, high‑quality wires, and pre‑matched driver kits—everything you need for a flawless installation.
 Hot News
2026-07-24
2026-07-24
2026-07-24
2026-07-24
2026-07-24
2026-07-24
 EN
EN