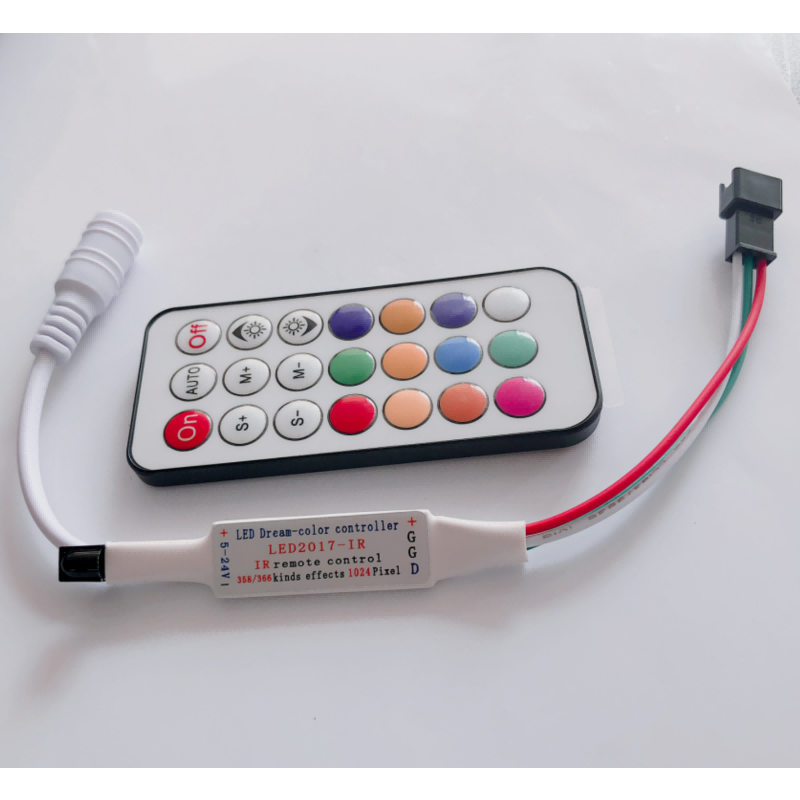
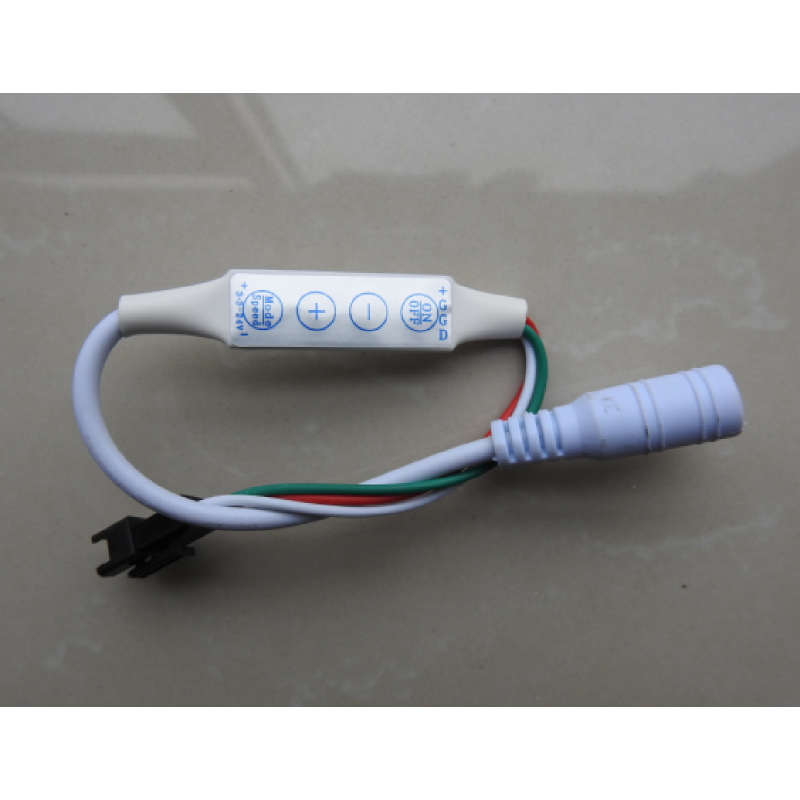
You've installed your LED strips, and they look beautiful at full brightness. But sometimes you want a softer glow – for movie nights, romantic dinners, or simply to reduce eye strain in the evening. That's where dimming comes in.
Yet dimming LED strips isn't as straightforward as screwing in a dimmable bulb. Choose the wrong dimmer, and you'll get flickering, flashing, or strips that won't dim at all. This guide explains everything you need to know about LED dimming – from the technology behind it to practical installation tips.
1. Why Dimming Matters
Dimming isn't just about lowering brightness. It offers real benefits:
· Mood control – Adjust light levels to match any activity or time of day.
· Energy savings – Dimmed LEDs consume less power, extending lifespan.
· Reduced eye strain – Softer light is more comfortable, especially in the evening.
· Extended LED life – Running strips at lower power reduces heat and stress on components.
When done correctly, dimming transforms a simple lighting installation into a versatile, adaptable system.
2. How LED Dimming Works
Unlike traditional incandescent bulbs that dim by reducing voltage (which makes them glow orange), LEDs require a different approach.
The most common method is PWM (Pulse Width Modulation) . Think of it as turning the power on and off incredibly fast – thousands of times per second. The human eye perceives this as a steady light, but the brightness depends on the ratio of "on" time to "off" time.
· 100% brightness – Power is always on.
· 50% brightness – Power is on half the time, off half the time.
· 10% brightness – Power is on only 10% of the time.
The key to good dimming is the frequency – how fast the switching happens. A low frequency (under 200Hz) can cause visible flicker or strobing. High frequency (2000Hz or more) is perceived as perfectly smooth.
3. Types of Dimming
Not all dimmers work with LED strips. Here are the common types:
Dimming Type How It Works Best For
PWM (Pulse Width Modulation) Rapid on/off switching; most common for LED strips Virtually all LED strip installations
0‑10V Dimming Analog signal (0–10V) controls brightness; requires extra wires Commercial and architectural lighting
DALI (Digital Addressable Lighting Interface) Digital communication; allows individual control of each fixture Large commercial buildings, hotels
Triac / Leading‑Edge Dimming Cuts the AC waveform; used for mains‑voltage dimmable bulbs Not suitable for most low‑voltage LED strips
Trailing‑Edge Dimming Smoother than leading‑edge; works with some LED drivers Higher‑quality mains‑dimmable LED drivers
For most residential LED strip projects, PWM dimming is the standard and most affordable option.
4. Choosing the Right Dimmer
Your dimmer must match your strip and driver. Here's what to consider:
a. Compatibility
· Ensure your dimmer is designed for constant‑voltage LED strips (12V or 24V).
· Check that it works with your driver – some drivers have built‑in dimming; others require an external dimmer.
· For smart setups, choose a dimmer that integrates with your chosen protocol (Wi‑Fi, Zigbee, etc.).
b. Dimming Range
A good dimmer should reduce brightness smoothly from 0% to 100% . Many cheap dimmers only work from 20% to 100%, leaving the lower range non‑functional.
c. Flicker‑Free Performance
Look for dimmers with high PWM frequency (≥ 2000Hz) . This eliminates visible flicker and ensures comfortable viewing, especially with video cameras.
d. Load Rating
Check the dimmer's maximum wattage. It must exceed your strip's total wattage (with a 20% safety margin). Never overload a dimmer – it will overheat and fail.
5. Common Dimming Problems and Solutions
Problem Likely Cause Solution
Flickering or flashing Incompatible dimmer; low PWM frequency; overloaded driver Use a dedicated PWM dimmer; increase frequency; reduce load
Strips won't turn off completely Minimum dimming level too high Adjust dimmer's minimum setting; choose a dimmer with true 0‑100% range
Humming or buzzing Driver not compatible with dimmer; Triac dimmer used incorrectly Switch to a PWM dimmer; use a driver designed for dimming
Uneven dimming across multiple strips Voltage drop; strips connected in series Use parallel wiring; inject power at multiple points
No dimming at all Wrong dimmer type (e.g., Triac on low‑voltage strip) Use a proper LED PWM dimmer
Pro tip: If you experience any dimming issues, test the system with a known‑working dimmer to isolate the problem. Sometimes the driver is the culprit, not the dimmer.
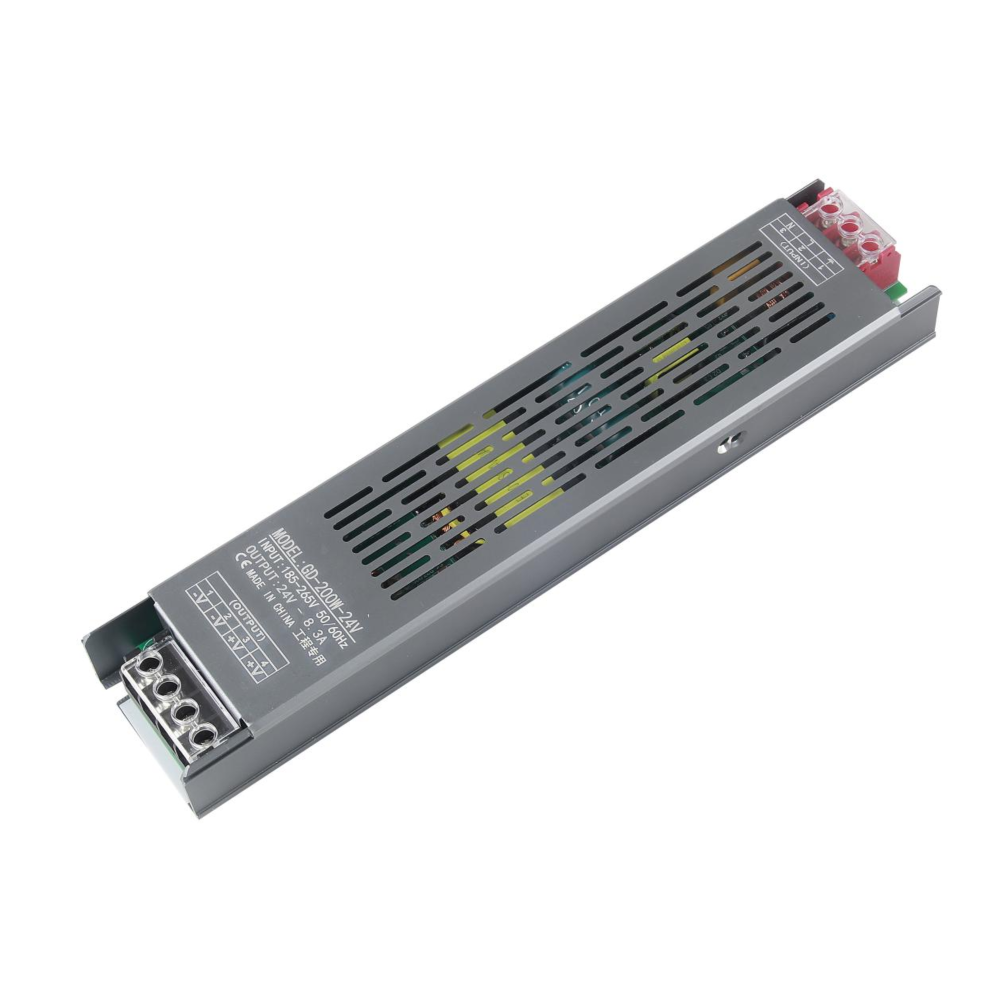
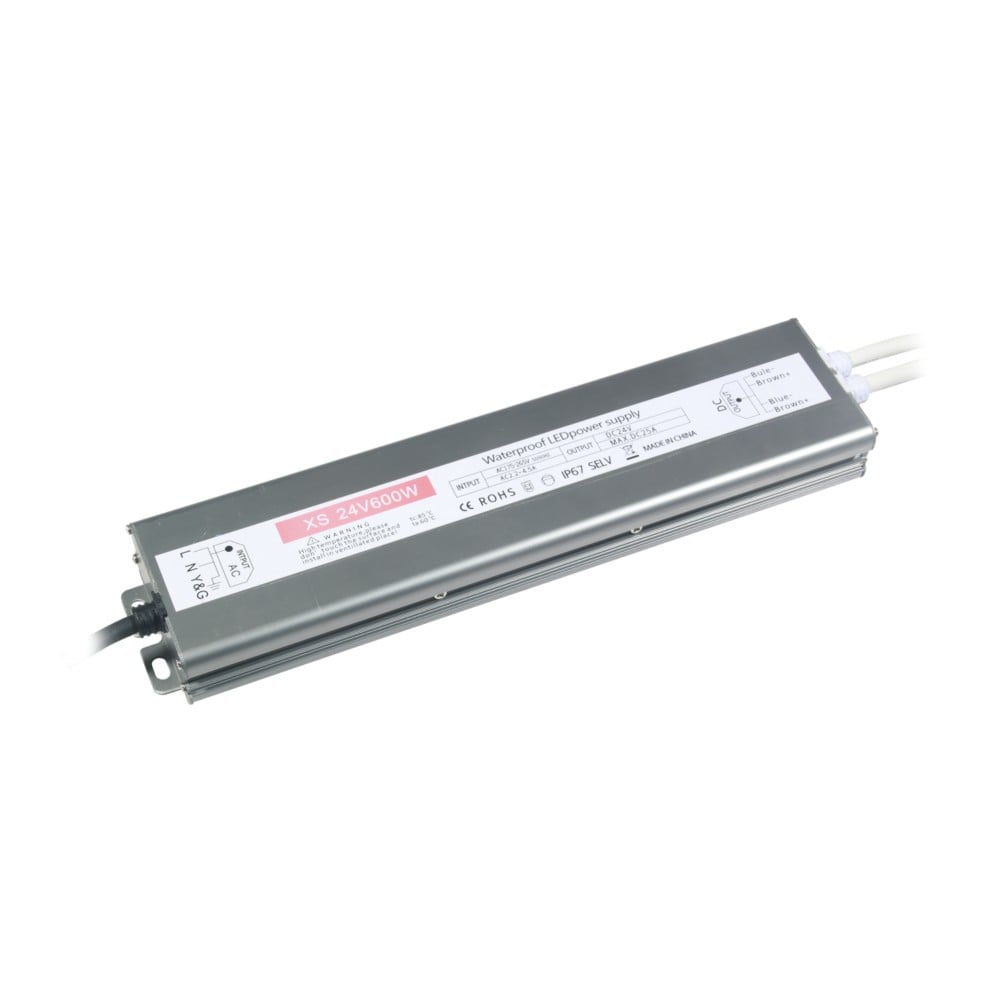
6. Dimming and Driver Selection
Not all drivers support dimming. You have two main options:
Option 1: Dimmable Driver + External Dimmer
· The driver has a dimming input (usually PWM, 0‑10V, or DALI).
· Connect an external dimmer or smart controller to this input.
· This gives you smooth, professional dimming.
· Best for: Permanent installations where quality matters.
Option 2: Integrated Dimmer (Plug‑and‑Play)
· The dimmer is built into the driver or power supply.
· Usually controlled by a remote or smartphone app.
· Convenient and simple, but may have limited dimming range or compatibility.
· Best for: Small DIY projects, temporary setups.
Our recommendation: For the best results, choose a dimmable driver and a separate high‑quality PWM dimmer. This combination offers superior dimming performance and flexibility.
7. Smart Dimming – Taking Control Further
Smart dimmers connect to your home network, enabling:
· Voice control – "Alexa, dim living room to 30%."
· Scheduling – Automatically dim lights in the evening.
· Scene creation – Save your favourite brightness levels for different activities.
· Remote access – Adjust lights from anywhere in the world.
Smart dimmers typically use Wi‑Fi, Zigbee, or Bluetooth. Zigbee and Z‑Wave offer more reliable local control, while Wi‑Fi is simpler to set up.
Note: Not all smart dimmers are flicker‑free. Always check the specifications, especially if you shoot video in the same space.
8. Dimming and LED Lifespan
Dimming actually extends the life of your LED strips. When dimmed:
· Lower current reduces junction temperature.
· Less heat means slower lumen depreciation.
· Reduced stress on components improves overall reliability.
Running a strip at 50% brightness can extend its lifespan from 50,000 to over 70,000 hours – a significant bonus.
9. Installation Tips for Reliable Dimming
1. Place the dimmer correctly – Install the dimmer after the driver, not before. The driver converts AC to DC; the dimmer controls the DC side.
2. Keep wires short – Long wires between the driver and dimmer can introduce interference. Keep them under 5 metres where possible.
3. Use shielded cables – For 0‑10V or DALI systems, use shielded twisted‑pair cables to prevent signal interference.
4. Test thoroughly – After installation, test dimming across the full range. Check for flicker at low levels and any unevenness.
5. Label everything – Mark wires and connections clearly. Future maintenance will be much easier.
10. Quick Selection Guide
Project Type Recommended Dimming Setup
Small DIY (single room) Plug‑and‑play driver with remote dimmer
Whole‑home system Dimmable driver + PWM dimmer + smart hub
Commercial installation 0‑10V or DALI dimming system
Video/photo studio Flicker‑free PWM dimmer (≥ 4000Hz)
Temporary event lighting Basic remote dimmer (budget option)
Final Thoughts
Dimming transforms LED strips from simple lighting into an adaptable, mood‑enhancing tool. But achieving smooth, flicker‑free dimming requires the right components – a compatible dimmer, a quality driver, and proper installation.
Don't settle for cheap dimmers that flicker or buzz. Invest in a professional solution, and your lighting will reward you with years of beautiful, adjustable illumination.
Explore our range of dimmable LED strips, flicker‑free drivers, and smart dimmers – all matched for perfect compatibility. Need help choosing the right dimming setup? Contact our team with your project details, and we'll recommend the ideal solution for your needs.
 Hot News
2026-07-24
2026-07-24
2026-07-24
2026-07-24
2026-07-24
2026-07-24
 EN
EN