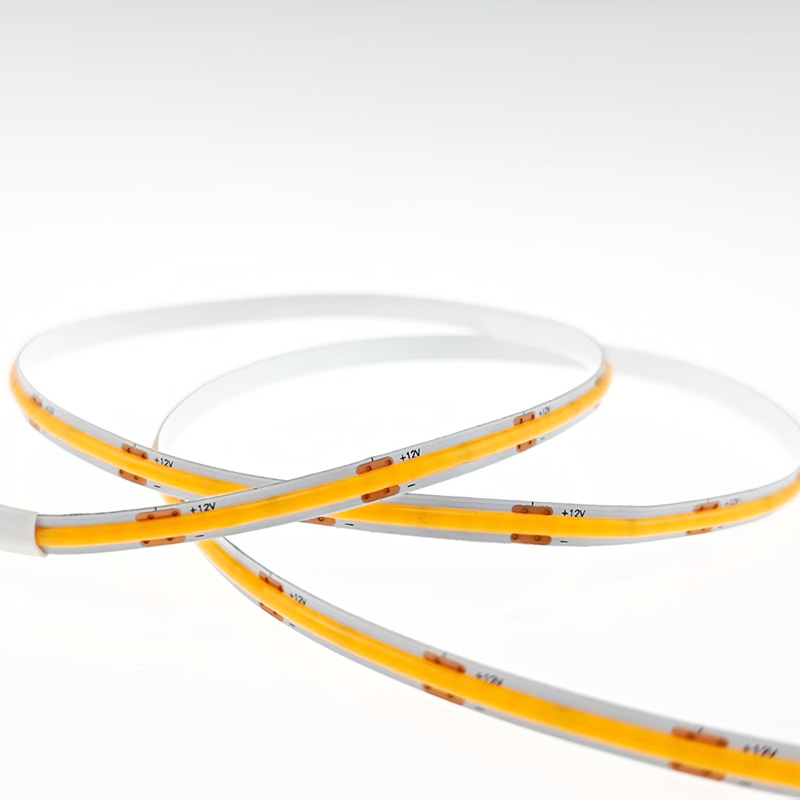
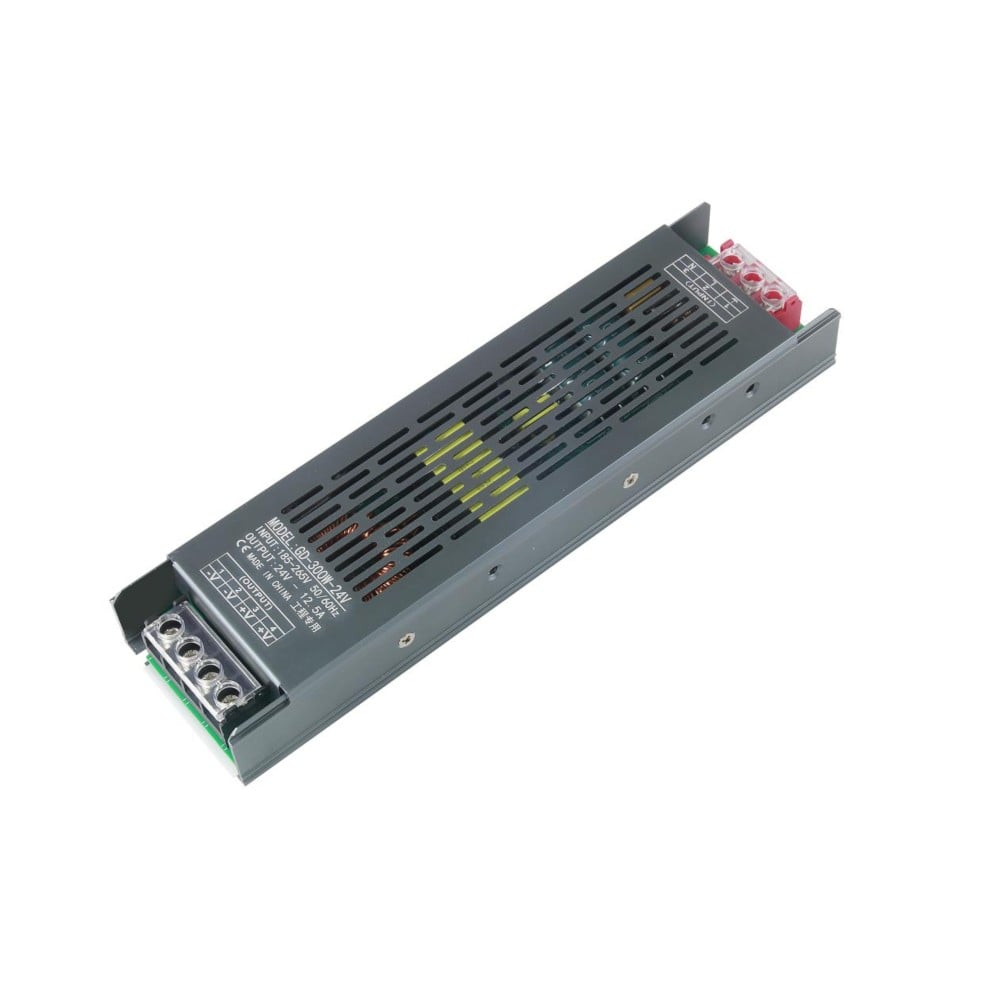
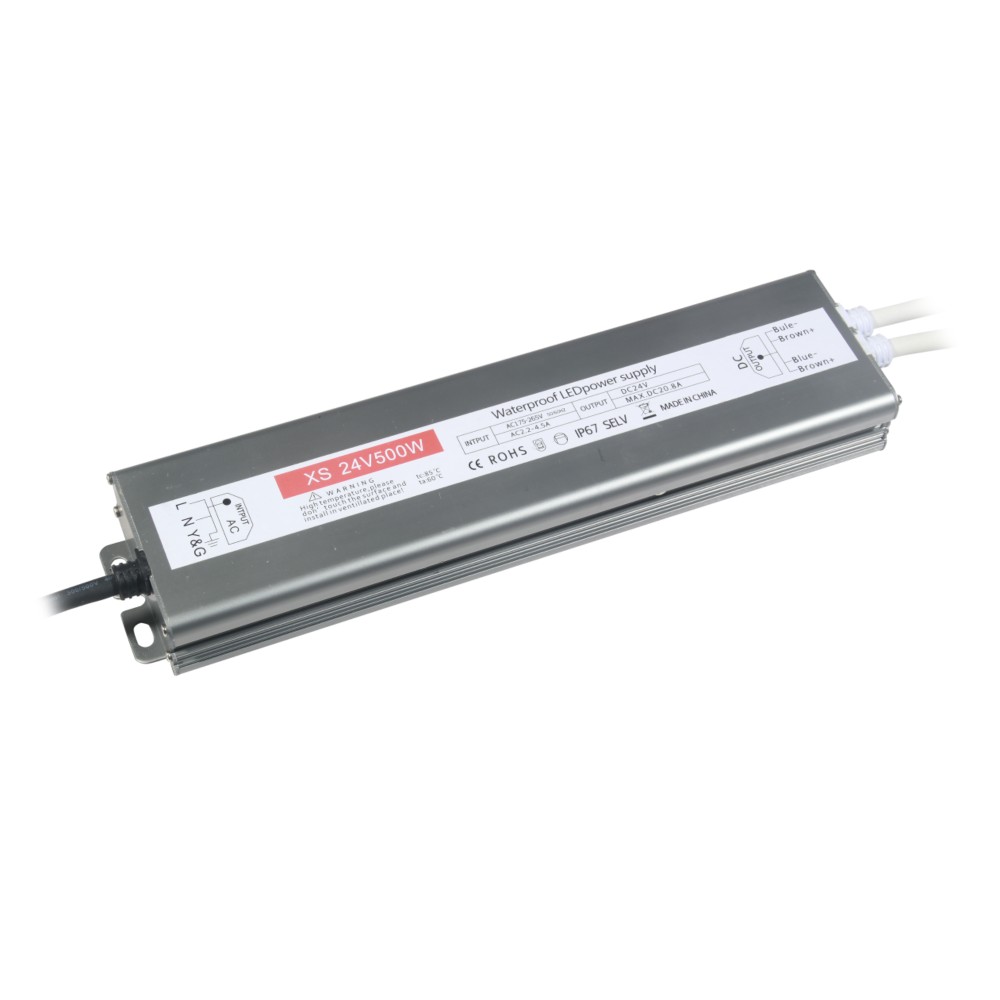
Even with careful planning and quality components, LED lighting systems can develop issues. When problems arise, systematic troubleshooting saves time, money, and client satisfaction. This field guide covers the most common LED strip problems and their solutions.
Part 1: Preparation – Before You Start
Essential Tools
· Multimeter (digital, with continuity and voltage measurement)
· Non-contact voltage tester
· Screwdrivers (insulated)
· Wire strippers and cutters
· Spare connectors and heat-shrink tubing
· Manufacturer documentation (datasheets, wiring diagrams)
· Smartphone (for documentation and manufacturer support access)
Safety First
· Isolate power before inspecting any wiring
· Use PPE (Personal Protective Equipment) – insulated gloves and safety glasses where appropriate
· Work in a well-lit, dry area
· Never bypass protective devices (fuses, circuit breakers)
Part 2: The Troubleshooting Process
Step 1 – Visual Inspection
· Check for physical damage: cuts, kinks, crushed sections, or water ingress
· Look for discolouration, burning, or melting (heat damage)
· Verify adhesive integrity – peeling or lifting strips
· Inspect connections for corrosion, loose wires, or poor solder joints
Step 2 – Power Supply Check
· Measure voltage at the driver output: should match strip specification (12V or 24V)
· Check for voltage fluctuations – should be stable within ±5%
· Listen for unusual sounds: humming, buzzing, or clicking
· Check for overheating – driver should be warm, not hot
Step 3 – Continuity Testing
· Use multimeter continuity mode to check for breaks in the circuit
· Test from the driver output to the far end of the strip
· Check each connection point individually
Step 4 – Voltage Drop Measurement
· Measure voltage at the driver output
· Measure voltage at the far end of the strip
· Acceptable drop: under 5%
· Example: 24V output → 22.8V at far end (5% drop) is acceptable
Step 5 – Component Isolation
· If multiple strips are connected, test each section individually
· Bypass the dimmer/controller – test strip directly from the driver
· Substitute known-good components to isolate the fault
Part 3: Common Faults and Solutions
Fault: No Light Output
Possible Cause Quick Fix
No power to driver Check circuit breaker, wall switch, and mains input
Driver failure Test driver output voltage; replace if no output
Polarity reversal Check + and – connections – swap if necessary
Damaged strip Inspect for physical damage – replace affected section
Loose connection Tighten or re-solder all connections
Fault: Dim or Flickering Lights
Possible Cause Quick Fix
Under-spec driver Calculate total wattage – upgrade driver if overloaded
Voltage drop Inject power at far end or use 24V system
Loose wiring Check all connections – solder for permanent fix
Incompatible dimmer Replace with LED-compatible PWM dimmer
Low PWM frequency Upgrade to high-frequency dimmer (≥ 2000Hz)
Fault: Strip Overheating
Possible Cause Quick Fix
No heat sinking Install aluminium profile
Enclosed installation Add ventilation or use lower power strip
Overdriving Check driver wattage – reduce if too high
Poor thermal contact Ensure strip sits flat in profile
Fault: Uneven Brightness Across Run
Possible Cause Quick Fix
Voltage drop Inject power at multiple points
Damaged section Replace affected segment
Different strip batches Order strips from same batch (≤ 3 SDCM)
Fault: Colour Temperature Mismatch
Possible Cause Quick Fix
Different batches Replace mismatched sections with same batch
Ageing If over 30,000 hours, consider replacement
Heat damage Check for overheating – install heat sinking
Part 4: Diagnostic Flowchart
Start: Power off → Visual inspection → Power on → Measure voltage at driver → Voltage correct?
No: Check mains → Check driver → Replace if needed
Yes: Measure voltage at strip start → Correct?
No: Check wiring between driver and strip → Repair/replace
Yes: Measure voltage at strip end → Drop < 5%?
No: Inject power at far end → Use thicker wire → Upgrade to 24V
Yes: Check for flicker/colour issues → Replace driver/dimmer if needed → System OK
Part 5: Emergency Quick-Fix Solutions
Issue Temporary Fix Permanent Solution
Dead driver Use spare driver (on-site) Replace with correct spec
Faulty connector Bypass connector – solder direct Install quality connector
Voltage drop Temporarily feed from both ends Install larger gauge cable
Flickering Bypass dimmer – run at full power Install compatible dimmer
Damaged section Cut out damaged part – reconnect Replace entire run
Part 6: Documentation and Reporting
Log the following for each fault:
· Date and time
· Fault description
· System voltage and wattage
· Driver make and model
· Strip specification
· Environmental conditions
· Steps taken to diagnose
· Outcome and parts replaced
· Photos of the issue (if applicable)
This information is critical for:
· Warranty claims
· System reliability analysis
· Future project planning
· Client reporting
Part 7: Recommended Spare Parts
For field engineers and installers, maintain a kit with:
· 10m spare strip (most common specification used)
· 1x spare driver (matching wattage and voltage)
· Assorted connectors (straight, L‑shaped, and T‑shaped)
· Heat-shrink tubing (various sizes)
· Solder and flux
· 3M VHB tape
· Installation clips
· Cable ties and cable management accessories
· Screwdriver set, wire strippers, and a quality multimeter
Final Thoughts
Most LED system problems are simple and can be resolved quickly with a systematic approach. Always start with the basics: visual inspection and voltage checks. Document everything – for warranty and client peace of mind.
When in doubt, consult the manufacturer's documentation. And for complex commercial installations, consider a professional site survey.
Need technical support or replacement parts? Our engineering team is available to assist with diagnosis and supply of genuine components. Contact us for expert help.
 Hot News
2026-07-24
2026-07-24
2026-07-24
2026-07-24
2026-07-24
2026-07-24
 EN
EN