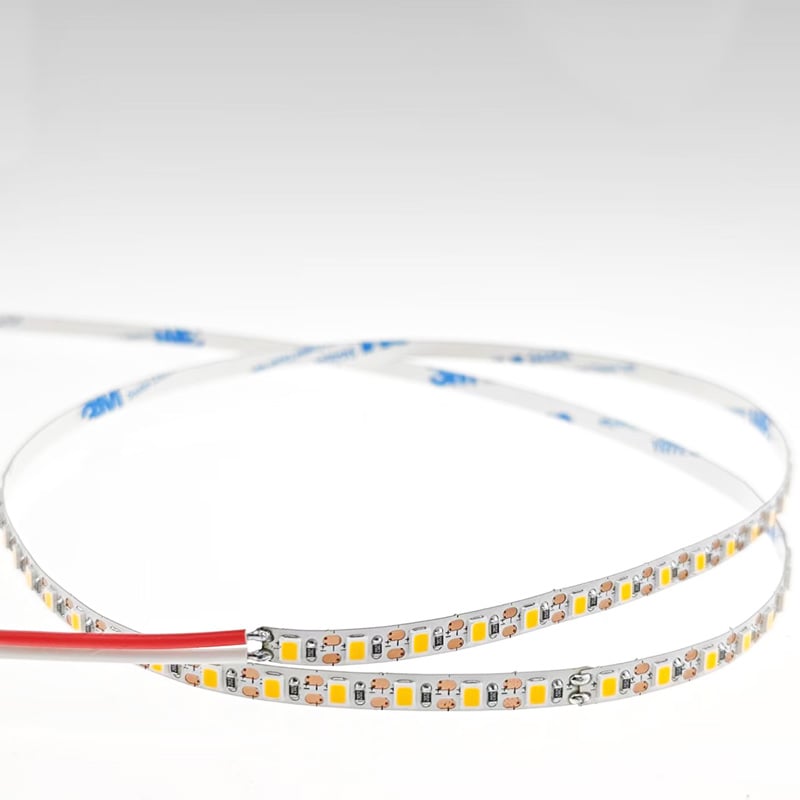
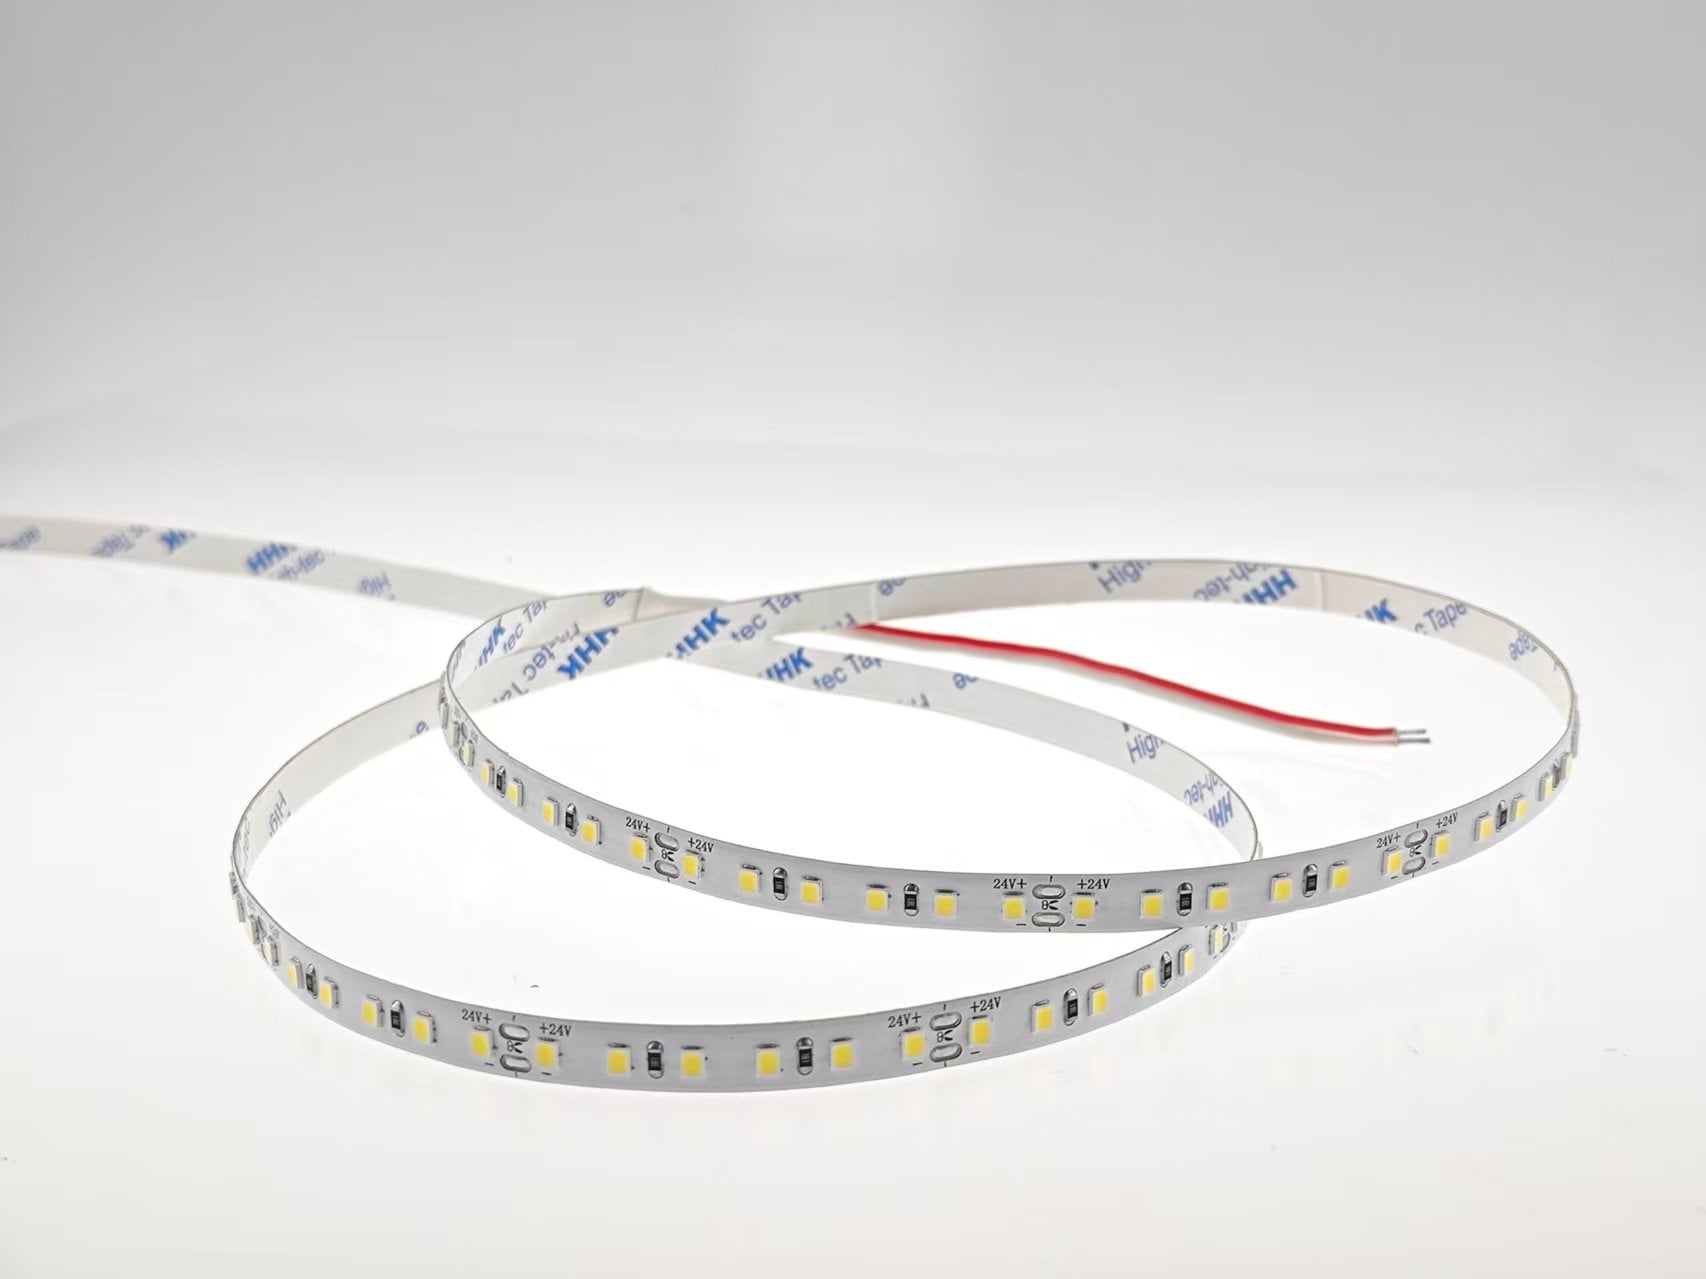
A successful LED strip installation depends on more than just the strip itself. The accessories you choose – from power supplies to connectors to mounting hardware – determine the system's performance, reliability, and longevity. This guide covers the essential components of any LED lighting system.
Part 1: The Core Components
Every LED system consists of four essential elements:
1. LED Strip
The light source itself – available in various lengths, colour temperatures, and technologies (SMD, COB, RGB).
2. Power Supply (Driver)
Converts AC mains voltage (110–240V) to low-voltage DC (12V or 24V) required by the strip. Available in plug-in adapters, metal-cased drivers, and waterproof units.
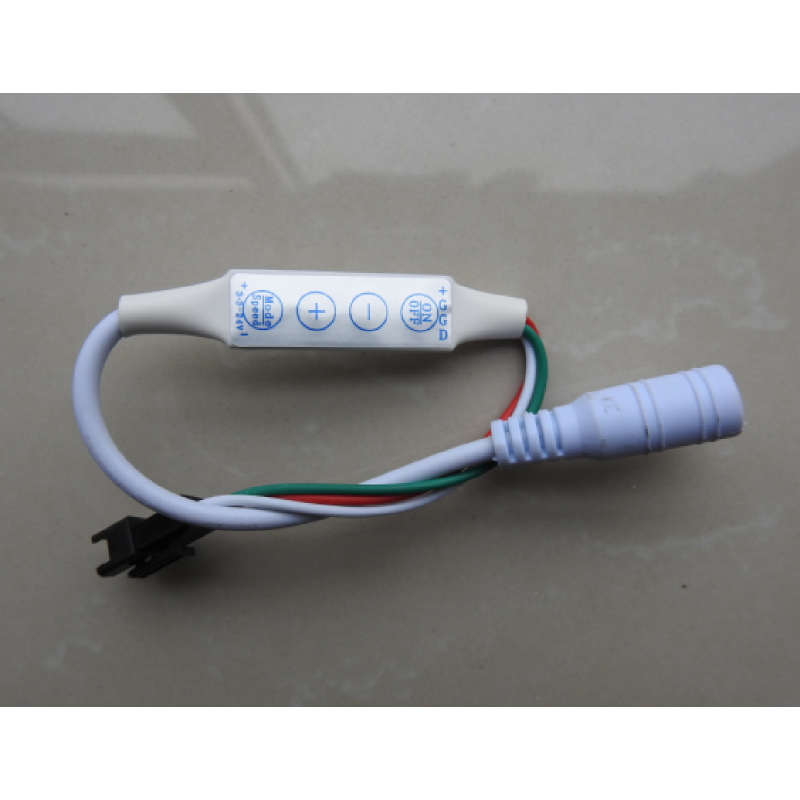
3. Controller / Dimmer
Adjusts brightness, colour temperature, or RGB effects. Simple controllers use IR remotes; advanced controllers offer Wi‑Fi, Zigbee, or Bluetooth connectivity.
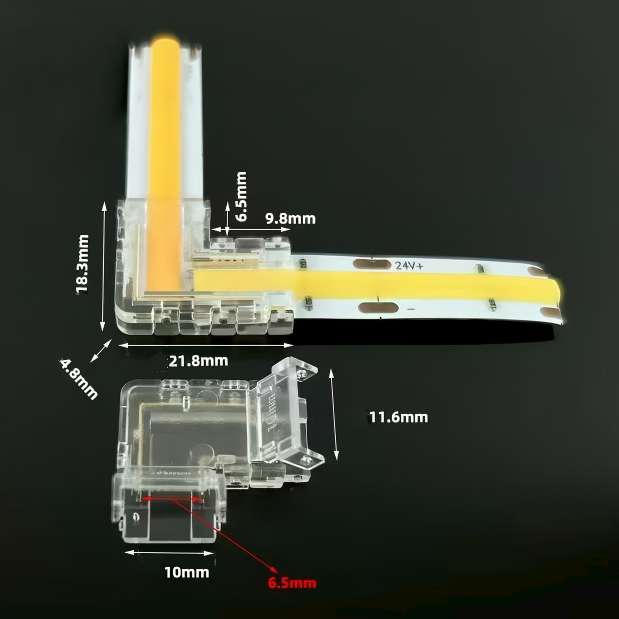
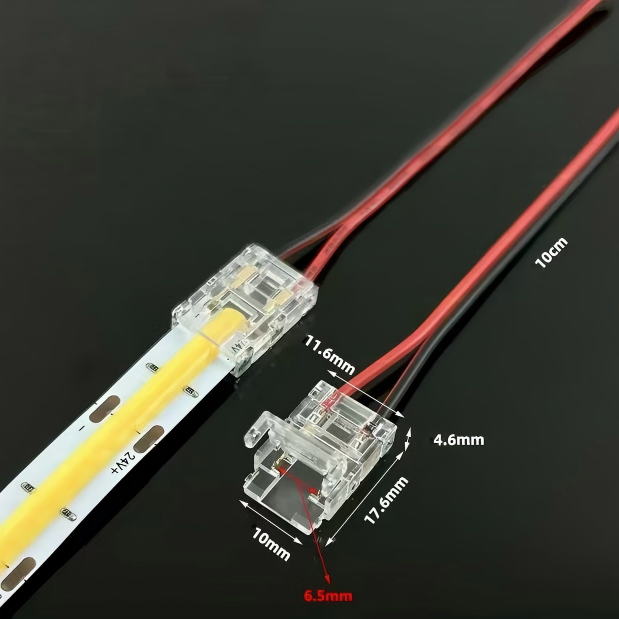
4. Cabling and Connectors
Transfers power and data from the driver and controller to the strip. Includes wires, connectors, and termination hardware.
Part 2: Choosing the Right Power Supply
Form Factors and Applications
Power Supply Type Application Features
Plug-in adapter Small residential, single strip Compact, pre-wired, low power (under 60W)
Metal-cased driver Commercial, multiple strips Higher capacity, often active cooling
Waterproof driver Outdoor, damp locations Encased for IP65–IP67 protection
DIN rail driver Industrial, control panels Standardised mounting for electrical cabinets
Selection Criteria
· Voltage: 12V or 24V (must match strip)
· Wattage: At least 20% higher than total strip load
· Efficiency: 85% for commercial projects
· PF: ≥ 0.9 for professional installations
· Certifications: CE, UL, RoHS as required for your market
Part 3: Controllers and Dimming
Types of Controllers
Controller Type Control Method Best For
IR (infrared) remote Line-of-sight remote Simple setups, single room
RF (radio frequency) remote Through walls, no line-of-sight Whole-house control
Wi‑Fi Smartphone app, voice assistant Smart home integration
Zigbee Hub-based, mesh network Advanced automation
0–10V / DALI Wired professional systems Commercial and architectural
Selecting a Dimmer
· PWM frequency: 2000Hz to avoid flicker
· Dimming range: 0–100% for full versatility
· Compatibility: Must match strip type (CV or CC) and driver
· Load rating: Must exceed total strip wattage
Part 4: Cables and Wires
Wire Selection Guidelines
Cable Type Application Benefits
2-core flat cable Fixed indoor wiring Simple, cost-effective
2-core round cable Permanent installations More durable, better strain relief
Silicone cable High-temperature areas Flexible, heat-resistant
LSZH cable Public buildings, commercial Low smoke, reduced toxicity in fire
Sizing Requirements
· Current capacity must exceed expected load
· Voltage drop: target < 5% from driver to far end
· For runs 5 metres, oversize by one gauge
Part 5: Connectors – The Weakest Link
Connectors are the most common point of failure in LED systems. Choose wisely.
Connector Types
Type Reliability Installation Best For
Snap-on (push-fit) Moderate Tool-free, quick Temporary, DIY, low-power
Screw terminal Good Requires screwdriver Permanent, medium-power
Solder + heat-shrink Excellent Tools and skill required Permanent, high-power, outdoor
Waterproof (gel-filled) Excellent Requires crimping Outdoor, damp, marine
Why soldering is preferred
· Lower resistance – less heat, less voltage drop
· No loosening over time
· Handles higher current without failure
· Waterproof when sealed with heat-shrink or silicone
Part 6: Mechanical Accessories
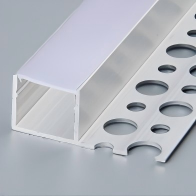
Aluminium Profiles
· Provide heat sinking (essential for 10W/m)
· Diffuse light and eliminate hotspots
· Protect strip from physical damage
Profile Type Installation Best For
Surface-mount Screws or adhesive Existing surfaces
Recessed Routed into surface Flush, professional finish
Corner 45° or 90° Stair, wall-ceiling junction
Suspended Hanging cables Reception, signage, display
Mounting Hardware
Accessory Purpose Notes
Mounting clips Secure strip to surface Use with adhesive for redundancy
End caps Seal profile ends Essential for IP65 installations
Connector clips Join profiles Aligns and joins profiles cleanly
Part 7: Integration for Professional Installations
System Planning
1. Calculate total load – wattage and current
2. Select driver – capacity, voltage, form factor
3. Choose controller – matching protocol and power
4. Specify cabling – length and gauge
5. Plan power injection – for runs over 5–10 metres
6. Design layout – strip route, connection points, component locations
Distribution and Control
· Use a distribution block for parallel wiring
· Keep driver outputs protected – use fuses if needed
· Label all cables for future maintenance
· Document the system for handover to client
Part 8: Reliability Considerations
Redundancy
· For critical systems, install a backup driver and controller
· Design to allow hot-swapping of drivers
Maintenance
· Accessible components for future service
· Cable slack for connection re-termination
· Standardised connectors (instead of custom) for replacement availability
Part 9: Recommended Accessory Package
For a typical 10m residential installation:
Accessory Quantity Purpose
Power supply 1 Convert AC to 24V DC
RF remote dimmer 1 Brightness and colour control
18 AWG wire 5m Connect driver to strip
Solder + heat-shrink As needed For secure connections
Aluminium profile 10m Heat sinking and diffusion
Mounting clips 20 Secure profile to surface
End caps 2 Seal profile ends
3M VHB tape Pre-applied Initial strip placement
Distribution block As needed Parallel wiring
Part 10: Final Checklist
· Strip wattage calculated
· Driver capacity: total wattage × 1.2
· Voltage matches (12V/24V)
· Dimmer/controller matches strip type (CV dimming)
· Wire gauge selected for current and distance
· Connectors selected for reliability (solder preferred)
· Profiles selected for power and aesthetics
· System tested on the bench before installation
· Spare components on hand for maintenance
Final Thoughts
A high-quality LED strip deserves high-quality accessories. The system is only as strong as its weakest component – and that's often the connector, the wire, or the power supply. By specifying every component carefully, you create a reliable system that performs as intended for its full lifespan.
We supply matched accessory kits for every installation – driver, controller, connectors, and profiles, all verified for compatibility. Contact us to design your complete LED system.
 Hot News
2026-07-24
2026-07-24
2026-07-24
2026-07-24
2026-07-24
2026-07-24
 EN
EN