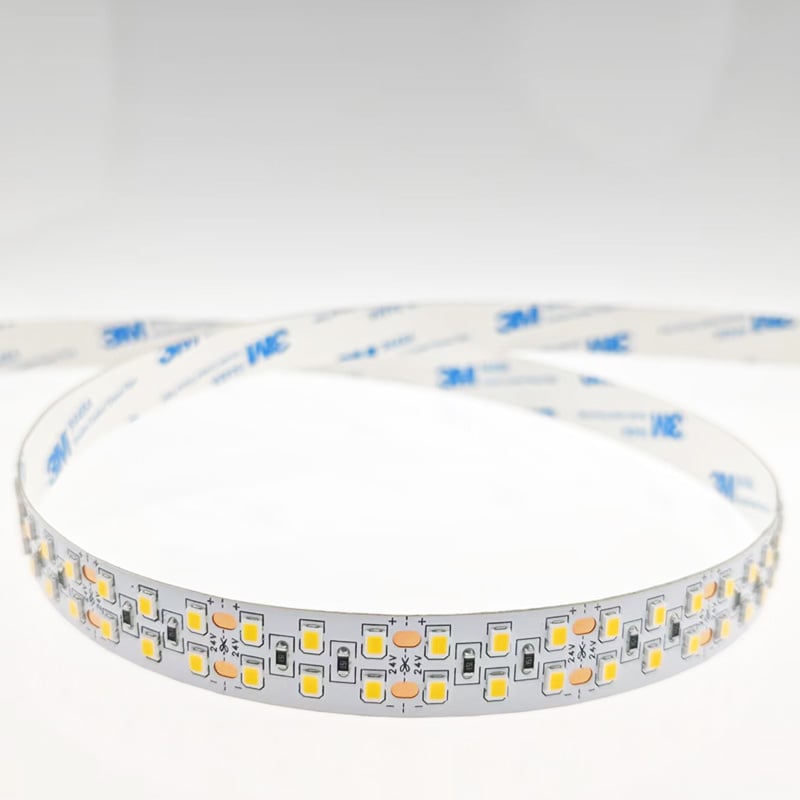
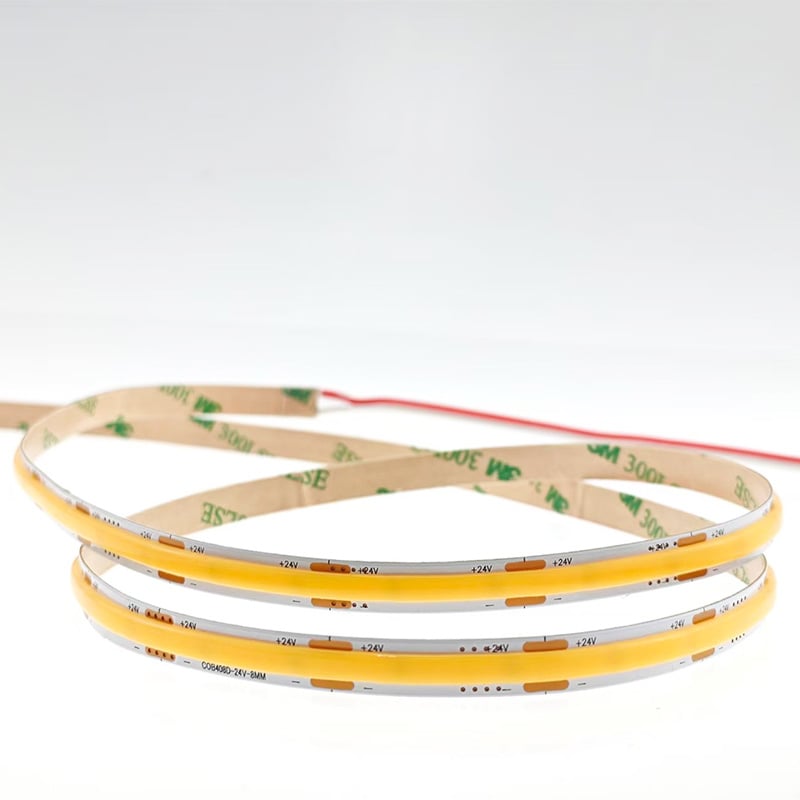
You’ve installed your LED strips, and they look stunning. But like any electronic product, they need a little care to stay that way. Without proper maintenance, even premium strips can degrade prematurely—dimming, yellowing, or failing years before their rated 50,000 hours.
The good news? Most issues are preventable, and many common problems have simple fixes. Here’s your go‑to guide for keeping your LED strips bright, reliable, and long‑lasting.
Part 1: Factors That Shorten LED Lifespan
Understanding what harms LEDs is the first step to protecting them.
Factor Effect Prevention
Excessive heat LEDs lose brightness and shift colour (phosphor degradation) Use aluminium channels; ensure airflow; avoid enclosing in insulation
Voltage spikes / surges Damages driver and LED chips Use a surge‑protected driver; avoid cheap power supplies
Overdriving Running at higher current than rated Always use a driver with correct wattage (with 20% margin)
Humidity / moisture Corrosion on PCB and connections Choose appropriate IP rating (IP65 for kitchens, IP67 for outdoors)
Dust accumulation Blocks light output and traps heat Clean regularly with soft cloth or compressed air
Frequent on/off cycling Minimal effect on LEDs, but may stress driver Use quality driver with soft‑start feature
Part 2: Proactive Maintenance Routine
A few simple checks every 6–12 months will significantly extend your strip’s service life.
1. Visual Inspection
· Look for any discolouration (yellowing of silicone coating) – this indicates UV or heat damage.
· Check for loose connections, exposed wires, or corrosion near cut points.
· Inspect the adhesive tape – if peeling, re‑apply using 3M VHB tape or mounting clips.
2. Cleanliness
· Gently wipe the surface with a slightly damp microfiber cloth (never wet – just damp).
· For IP65/67 strips, avoid abrasive cleaners – use mild soap solution.
· For cove or ceiling strips, use a vacuum with a brush attachment to remove dust without scratching.
3. Driver and Connector Check
· Ensure the power supply’s ventilation holes aren’t blocked – dust can cause overheating.
· Check that all screw‑terminal connections are tight – loose terminals create arcing and heat.
· If using plug‑in adapters, unplug and re‑plug to remove any oxidation on pins.
4. Measure Performance
· Compare brightness against the original installation – if visibly dimmer, check for voltage drop.
· Use a colour meter (or your eyes) to see if white light has shifted toward pink or green – this suggests LED aging.
Part 3: Troubleshooting Common Problems
Here are the most frequent complaints and their solutions – keep this handy for yourself or your customers.
Problem 1: Strip Doesn’t Light Up at All
Possible causes:
· Power supply not switched on or faulty
· Polarity reversed (DC+ and DC‑ swapped)
· Cut at wrong location (damaged copper pads)
· Loose connection between strip and wires
Fix:
· Test the power supply with a multimeter – should read 12V or 24V.
· Check polarity – red to positive, black to negative (for most strips).
· If cut incorrectly, re‑cut at a designated cut mark and re‑solder or use a new connector.
· Reseat all connectors firmly.
Problem 2: Strip Flickers
Possible causes:
· Inadequate power supply (overloaded)
· Loose wiring or poor solder joint
· Incompatible dimmer (not LED‑rated)
· Voltage drop at far end
Fix:
· Calculate total wattage – ensure driver has 20% headroom.
· Check all connections – tighten or re‑solder.
· Replace dimmer with a PWM (pulse‑width modulation) dimmer rated for LEDs.
· For long runs, feed power from both ends or use a thicker wire.
Problem 3: Strip Dims at the End
Cause: Voltage drop – resistance in the copper traces reduces voltage along the length.
Fix:
· Shorten the run or switch to 24V (which handles longer runs).
· Inject power at the far end using an additional driver.
· Use a strip with thicker copper (2 oz PCB) for lower resistance.
Problem 4: One Section Is a Different Colour or Brighter
Cause: Colour binning mismatch – LEDs from different production batches have slight colour variations.
Prevention:
· Always order strips from the same batch (ask your supplier for batch numbers).
· If already installed, replace the mismatched section with one from the same batch.
Fix: If the entire strip is uneven, check if the adhesive backing is lifting – poor contact with the heat sink can cause localised overheating and colour shift.
Problem 5: Strip Overheats or Shuts Down
Cause: Insufficient heat dissipation or driver overload.
Fix:
· Mount on an aluminium channel – it acts as a passive heat sink.
· Ensure the strip isn’t coiled or bunched during operation – unroll fully.
· Reduce the dimming level – lower current generates less heat.
· Upgrade to a higher‑wattage driver if the current one is at 100% load.
Part 4: When to Replace vs. Repair
· Replace: If the strip shows widespread yellowing, multiple dead LEDs, or physical damage (cracks, corrosion). Also if the colour temperature has shifted noticeably (e.g., 3000K now looks 4000K).
· Repair: If only the connector or a short section is faulty – cut out the bad segment and rejoin using solder or a connector.
Part 5: Storage Tips for Spare Strips
If you keep leftover strips for future use:
· Store in a cool, dry place away from direct sunlight.
· Keep them in their original anti‑static packaging.
· Avoid bending tightly – coil loosely to prevent stress on the PCB.
· Test once every 6 months to ensure they still function – oxidation on pads can cause poor connections later.
Final Thoughts
A little care goes a long way. By maintaining your LED strips and understanding how to fix common glitches, you can enjoy years of beautiful, reliable lighting – and avoid unnecessary replacement costs.
For professional installers, sharing these tips with your clients demonstrates expertise and builds long‑term trust. For homeowners, these simple habits protect your investment.
Need replacement connectors, power supplies, or aluminium channels? We stock everything you need to keep your lights shining. Contact our support team for advice – we’re here to help, even after the sale.
 Hot News
2026-07-24
2026-07-24
2026-07-24
2026-07-24
2026-07-24
2026-07-24
 EN
EN