Soldering LED strips can seem intimidating, but it's the most reliable way to join sections and attach wires. Unlike snap-on connectors that can loosen over time, a proper solder joint lasts for the life of the installation.
This guide walks you through the essentials—no prior experience required.
Why Solder Instead of Using Connectors?
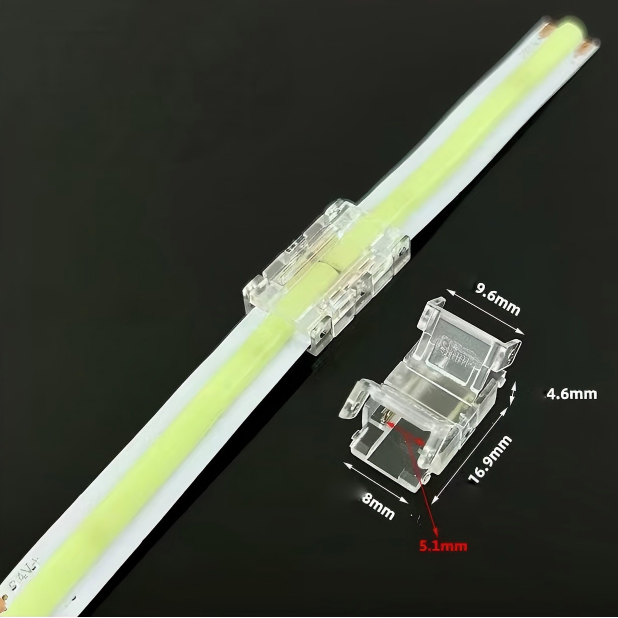
Connectors are quick and convenient, but they have limitations:
· Higher resistance – Creates voltage drop and heat buildup
· Prone to loosening – Vibration or thermal expansion can break the connection
· Limited current capacity – Not suitable for high-power strips
· Weather vulnerability – Most connectors aren't waterproof
Soldering eliminates all these issues, providing a permanent, low-resistance joint that handles high current and outdoor conditions.
Essential Tools
You don't need a professional workshop. Here's your starter kit:
· Soldering iron – 25–40W with a fine tip (temperature-controlled preferred)
· Lead-free solder – 60/40 or 63/37 tin-lead (easier for beginners)
· Flux pen – Improves solder flow and prevents oxidation
· Heat-shrink tubing – Insulates and protects each joint
· Wire strippers – For preparing connection wires
· Helping hands – Keeps the strip steady while you work
Step-by-Step Guide
Step 1: Prepare the strip
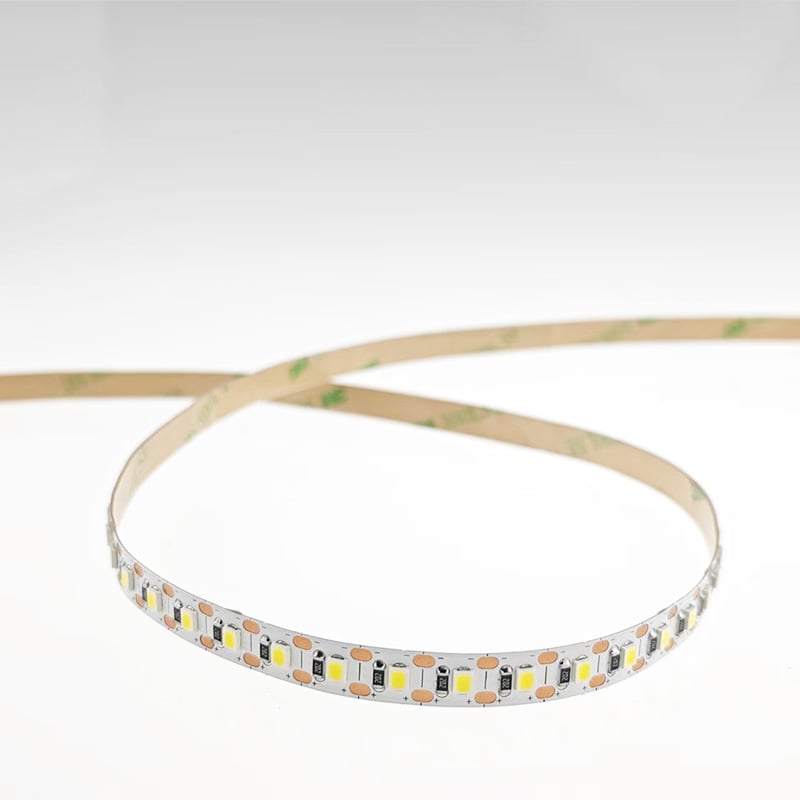
· Cut at the designated copper pad marks.
· Gently scrape the pads with a knife or fine sandpaper to remove oxidation.
· Apply a tiny amount of flux to each pad.
Step 2: Tin the pads
· Heat the pad with the iron for 1–2 seconds.
· Apply solder—it should melt and form a shiny, smooth layer.
· Repeat for both positive (+) and negative (−) pads.
Step 3: Tin the wires
· Strip 5mm of insulation from your connecting wires.
· Twist the strands and apply solder until they're coated.
Step 4: Join them
· Place the tinned wire on the tinned pad.
· Apply heat until both melt together.
· Remove the iron and hold steady until the solder solidifies.
Step 5: Insulate
· Slide heat-shrink tubing over the joint.
· Apply heat (lighter or heat gun) until it shrinks snugly.
Common Mistakes to Avoid
Mistake Fix
Overheating the pad (melts the PCB) Use lower temperature; work quickly
Cold solder joint (dull, grainy) Reheat until shiny and smooth
Bridging pads (accidental short) Use desoldering braid to remove excess
Not tinning first Solder won't flow properly
Forgetting heat-shrink Exposed wires can short
Pro Tips for Perfect Joints
· Work in a well-ventilated area – Solder fumes aren't good to breathe.
· Clean the iron tip regularly – A dirty tip won't transfer heat properly.
· Pre-tin everything – It makes the final join faster and cleaner.
· Test continuity – Use a multimeter to check your connection before powering up.
Soldering vs. Connectors: When to Choose Each
Use Soldering For Connectors Are Fine For
Permanent installations Temporary or test setups
Outdoor or damp locations Indoor, dry areas
High-power strips ( 10W/m) Low-power accent strips
Long runs ( 5 metres) Short runs with low current
Any joint you can't access later Easily accessible connections
Final Thoughts
Soldering is a skill anyone can learn with a little practice. Start with a few test joints on scrap pieces, and you'll quickly gain confidence. The reward is a professional, reliable installation that won't fail or flicker years down the line.
Need soldering supplies? We stock temperature-controlled irons, high-quality solder, flux pens, and heat-shrink tubing—everything you need to get started. Order today and solder like a pro.
 Hot News
2026-07-24
2026-07-24
2026-07-24
2026-07-24
2026-07-24
2026-07-24
 EN
EN