You've chosen the perfect LED strip—right colour temperature, ideal brightness, and premium PCB. You peel the tape, press it into place, and walk away. A week later, it's dangling. What went wrong?
The adhesive backing is one of the most overlooked yet critical components of any LED strip installation. This guide explains everything you need to know about LED strip tape—and how to ensure it stays put.
1. What's on the Back?
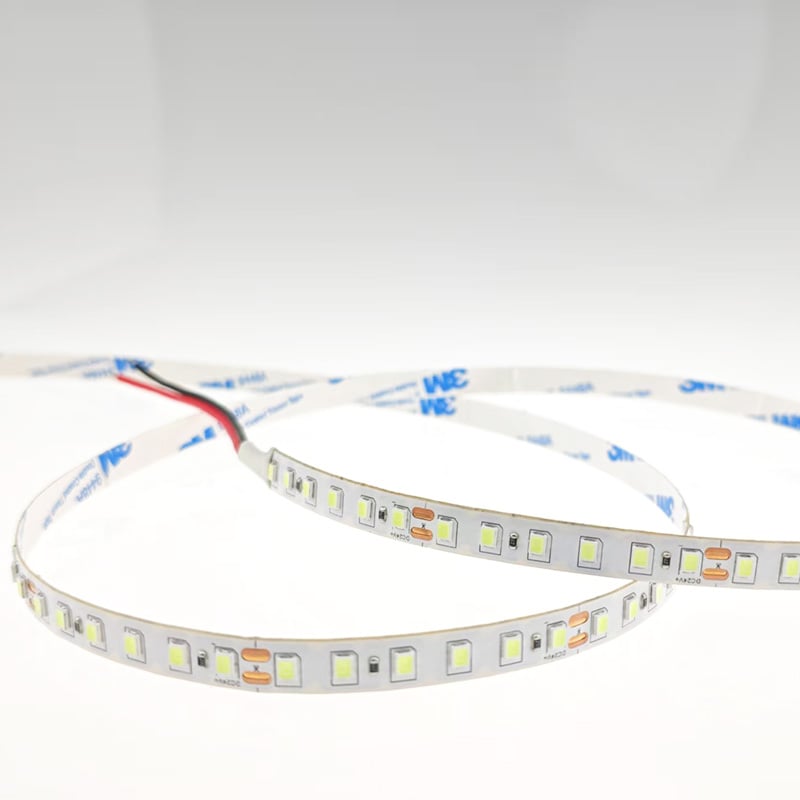
Most LED strips use double-sided acrylic or silicone-based adhesive tape. The most common and reliable brand is 3M VHB (Very High Bond) . Other options include:
· 3M VHB – The gold standard. Handles temperature swings, sticks to most surfaces, and maintains bond strength for years.
· Silicone-based tape – Excellent for high-temperature environments but less common.
· Cheap "generic" tape – Used on budget strips. Prone to peeling, especially in warm conditions.
Our recommendation: Always choose strips with 3M VHB or equivalent high-quality tape. If a supplier doesn't specify the brand, ask.
2. The Adhesive's Weaknesses
Even the best tape has limitations:
· Dust and oil – Surfaces must be clean. Any grease or dust reduces bond strength by up to 80%.
· Temperature – Acrylic adhesives soften above 40°C (104°F) and become brittle below 0°C (32°F).
· Humidity – Moisture weakens the bond over time, especially in bathrooms or outdoor installations.
· Weight – Heavy strips (with thick PCBs or silicone coatings) can pull the adhesive off vertical surfaces.
Pro tip: The adhesive is meant as a "holding" mechanism, not a permanent structural mount—especially for heavy or outdoor strips.
3. Surface Preparation – The Make-or-Break Step
Never stick an LED strip to a dirty or unprepared surface. Follow these steps:
1. Clean thoroughly – Use isopropyl alcohol (70% or higher) to remove grease, dust, and residue. Avoid household cleaners that leave oils.
2. Dry completely – Wait 2–3 minutes for the alcohol to evaporate.
3. Roughen smooth surfaces – Lightly sand glossy paint or tile to improve adhesion (optional but effective).
4. Prime for difficult surfaces – Use a surface primer (e.g., 3M Primer 94) on wood, plaster, or textured surfaces.
Never stick to freshly painted walls (wait at least 2 weeks) or damp surfaces.
4. Application Tips for Maximum Bond
· Peel only a small section of the release liner at a time—don't expose all the tape before positioning.
· Press firmly along the entire length, using a roller or your thumb. Apply at least 5–10 seconds of pressure per section.
· Wait 24 hours before subjecting the strip to weight or stress—the adhesive needs time to reach full strength.
· For corners, avoid sharp bends that lift the tape. Use corner clips or aluminium profiles.
5. When Tape Isn't Enough
In certain situations, adhesive alone will fail. Use additional fastening methods:
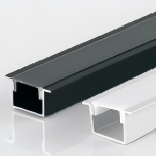
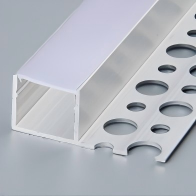
· Aluminium profiles – Mount the profile with screws, then insert the strip. This is the most secure and professional method.
· Mounting clips – Plastic or metal clips screwed into the surface hold the strip in place regardless of adhesive failure.
· Silicone sealant – Apply a bead of clear silicone along the edges to waterproof and secure outdoor strips.
Always use screws/clips for:
· Outdoor installations
· High-temperature areas (near ovens, direct sunlight)
· Vertical surfaces with heavy strips
· Any installation over 5 metres
6. Fixing a Peeling Strip
If your strip starts lifting, don't panic:
· Clean the surface and reapply with fresh 3M VHB tape (available separately).
· Use mounting clips as a permanent backup.
· For silicone-coated strips, gently clean the silicone with alcohol before reapplying—oils from manufacturing can reduce stickiness.
7. Common Mistakes to Avoid
Mistake Consequence
Skipping surface cleaning Weak bond, early peeling
Applying in cold conditions (< 15°C) Adhesive fails to bond properly
Stretching the strip during installation Tape lifts at corners
Removing the liner all at once Misalignment and dirt contamination
Relying on tape alone outdoors Failure within months
Final Thoughts
The adhesive backing on your LED strip is designed for convenience—not as a permanent structural solution for every situation. By cleaning surfaces properly, applying sufficient pressure, and using mechanical fasteners when needed, you can ensure your installation stays secure for years.
Remember: a few extra minutes of preparation saves hours of rework. When in doubt, add mounting clips—they're cheap insurance against gravity.
We pre-fit every strip with 3M VHB tape and offer mounting clips and aluminium profiles for permanent installations. Our team can recommend the best fastening method for your specific project—contact us for advice.
 Hot News
2026-07-24
2026-07-24
2026-07-24
2026-07-24
2026-07-24
2026-07-24
 EN
EN