You've seen the stunning LED lighting transformations on social media—the glowing cove ceilings, the beautifully illuminated shelves, the immersive TV backlighting. But if you're renting, you face a dilemma: how do you achieve that professional look without drilling holes, damaging walls, or losing your security deposit?
The good news is that you can. Here's how to create a stunning LED installation that's fully removable and renter-friendly.
The Golden Rule: Damage Nothing
Every decision should pass this test: Can I remove this completely without leaving a trace? If the answer is no, find another solution. This means:
· No drilling holes into walls
· No permanent adhesives that peel paint
· No hardwiring into existing electrical systems
· No modifications to the property's structure
Choose the Right Products
1. Self-Adhesive Strips with Removable Tape
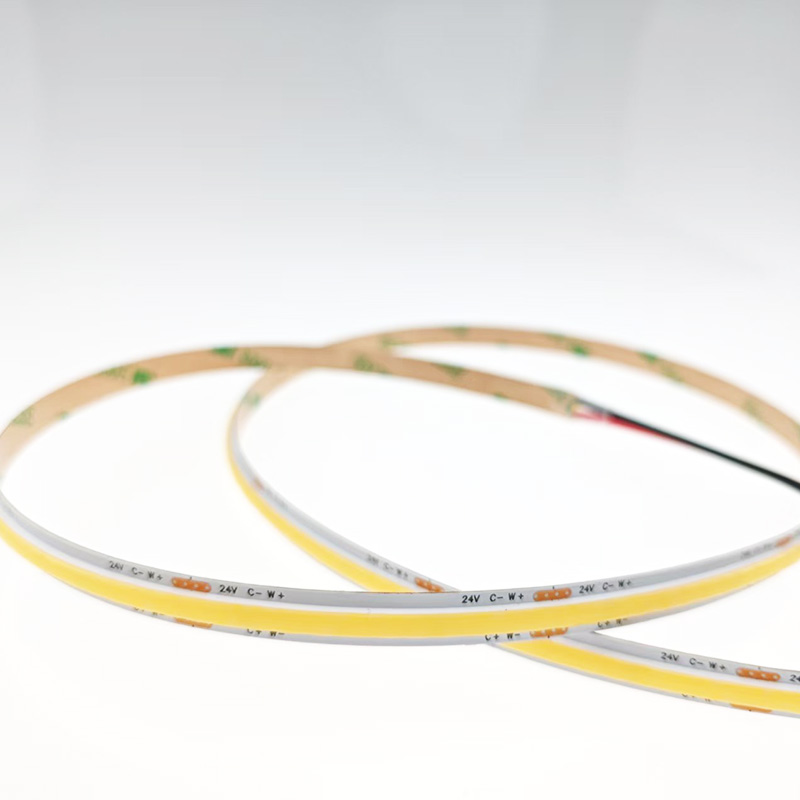
Most LED strips come with 3M VHB tape—which is very strong and can damage paint when removed. Instead, replace it with removable mounting tape (e.g., Command strips or Nano tape). These hold well but release cleanly when stretched or peeled.
Pro tip: Apply the removable tape to the strip's backing, not directly to the wall. This preserves the strip's original adhesive for future use.
2. Magnetic Mounting Kits
A clever solution gaining popularity: attach small magnets to your LED strip and use adhesive metal plates on the surface. The strip clicks into place magnetically and removes instantly—ideal for frequently changing displays.
3. Clip-On Mounting Systems
Plastic or metal clips that stick to the wall with removable adhesive allow the strip to snap in and out. This is especially useful for heavier strips or outdoor installations.
4. Aluminium Profiles with Removable Clips
Profiles not only diffuse light beautifully—they can be mounted with screw-free clips. For renters, choose profiles designed to clip onto surfaces without permanent fixing.
5. Battery-Powered Strips
For truly cable-free solutions, battery-powered LED strips are available. They're self-contained, require no wall mounting, and can be placed anywhere. They're also perfect for wardrobes, cupboards, or under beds.
Installation Techniques That Won't Damage Walls
1.Furniture and Shelving Placement
The safest surfaces are those that belong to you: bookcases, desks, shelves, headboards, TV units, and cabinets. Stick strips to the back or underside of your own furniture—these surfaces are yours to modify.
· Under-shelf lighting: Stick strips underneath existing shelves to illuminate displays below.
· Behind furniture: Place strips behind sofas or cabinets for a soft halo effect.
· TV backlighting: Apply strips to the back of your TV for an immersive home cinema experience.
2.Use Furniture Anchors
For vertical surfaces, attach strips to heavy furniture that's already against the wall, rather than the wall itself. The glow reflects off the wall without any direct contact.
3.Tension Rods for Windows and Doors
Mount a tension rod inside a window frame or doorway and attach the strip to the rod. This creates a gentle upward or downward wash of light without any adhesive whatsoever.
Power Supply Without Permanent Wiring
Avoid hardwiring into the property's electrical system. Instead:
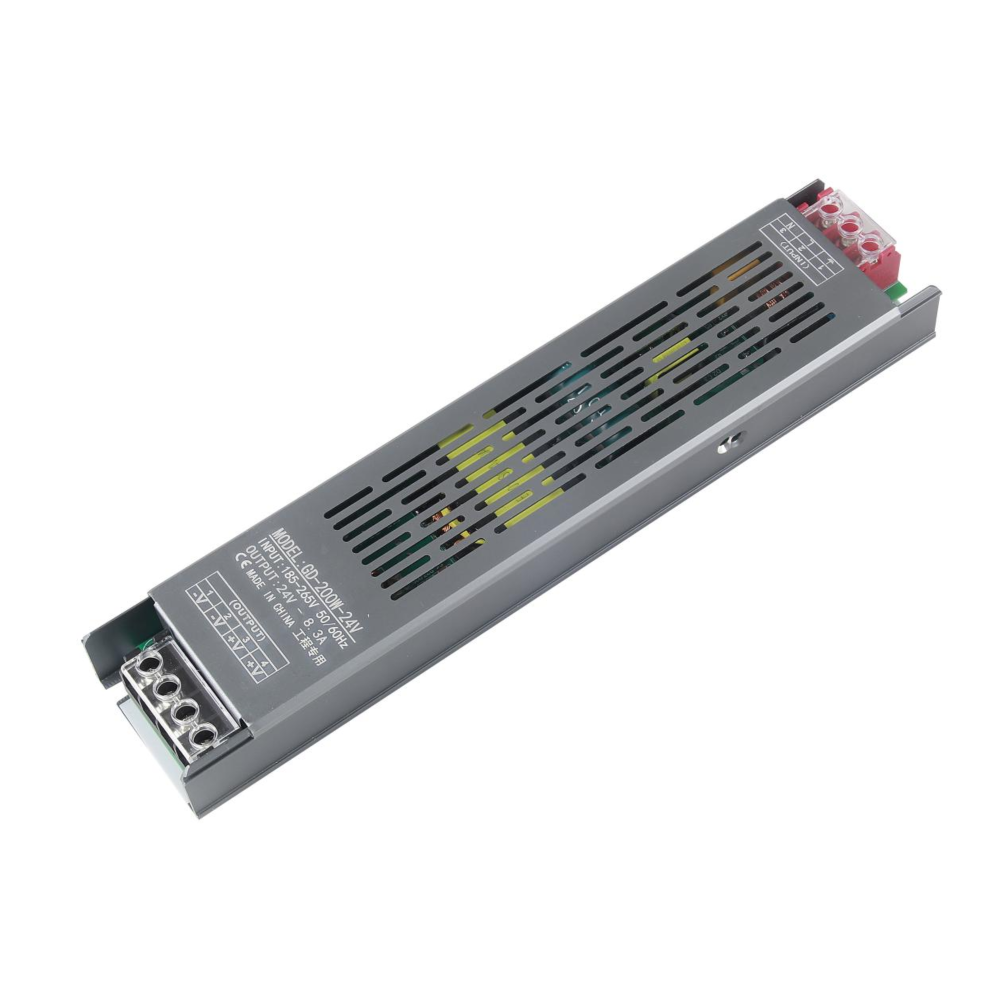
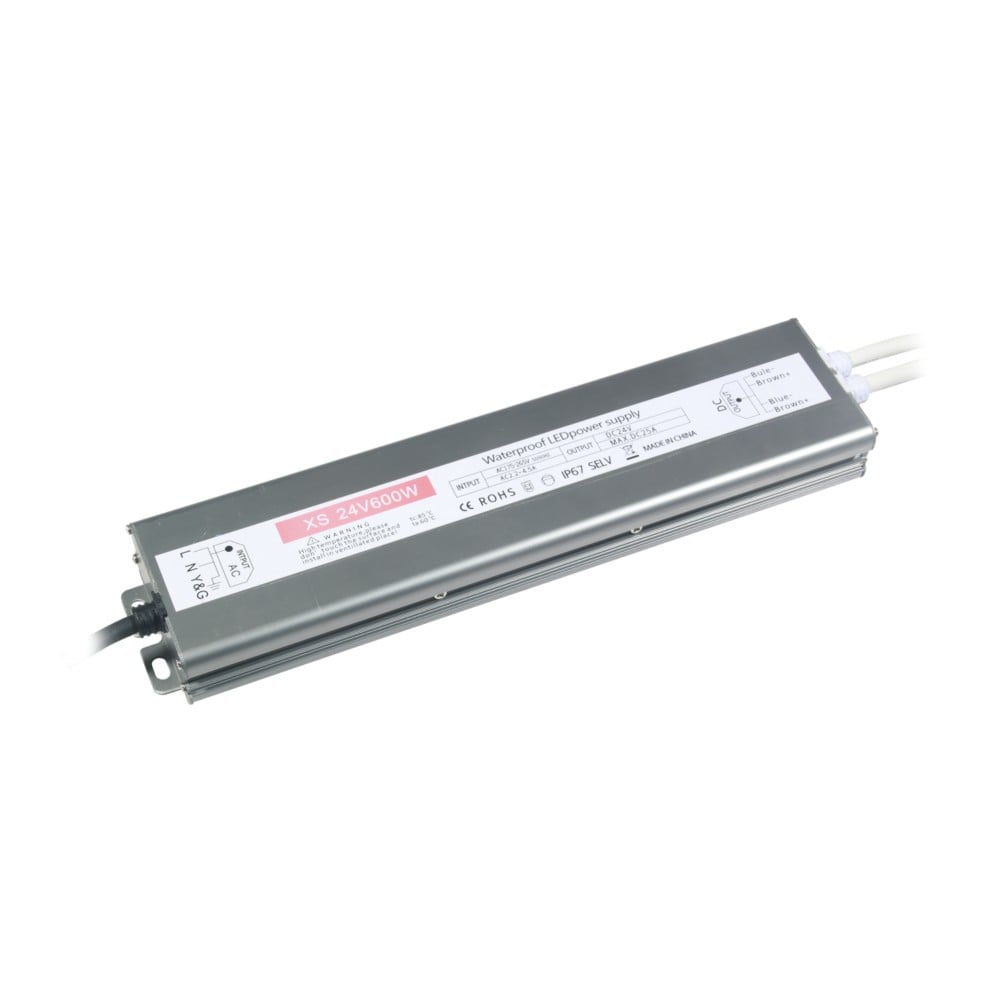
· Plug-in adapters: Use standard wall plugs for power—easily removable.
· Extension leads with USB ports: Many strips now run on USB power, making them ultra-portable.
· Cable management clips: Use removable cable clips to keep wires tidy without drilling holes.
Top Renter-Friendly Applications
1.Living Room TV Backlighting
Stick a strip around the back perimeter of your TV. The adhesive bonds securely to the TV's plastic housing (not the wall) and removes cleanly. Plug into a USB port on the TV itself—no extra outlet needed.
2.Kitchen Under-Cabinet Lighting
Instead of mounting to the wall, stick the strip directly under your upper cabinets. The strip is attached to the cabinet, which is already fixed by the landlord. No new holes—just peel and stick.
3.Bedroom Headboard Glow
Place a strip behind your bed headboard. If the headboard attaches to the bed frame (your property), you're free to mount it. If the headboard is wall-fixed, use removable tape or clips.
4.Wardrobe and Closet Illumination
Stick strips inside wardrobes or along the rod. These are internal surfaces—landlords rarely inspect inside cabinets. Motion-sensor strips are perfect for this.
5.Stair Riser Lighting
In student accommodation or rentals with timber or tiled staircases, install strips under each riser. Use removable tape and ensure the tape's removal process won't damage the surface.
What About the Adhesive Itself?
The right tape makes all the difference:
· 3M Command strips – Hold securely, remove cleanly with a gentle pull.
· Nano tape – Reusable and stretchable, peels off without residue.
· Removable double-sided tape – Less sticky than permanent versions, designed for temporary use.
Removal tip: When removing, pull the tape parallel to the surface (stretch it gently). This breaks the adhesive bond without pulling on the paint. For stubborn residue, use isopropyl alcohol or a hairdryer to soften the adhesive.
What Renters Should Avoid
1. Direct-to-Wall Adhesive Without Backup
Never use the included adhesive directly on painted drywall—it's designed for permanence. Always add a removable mounting tape layer or use clips.
2. Drilling or Screwing
Unless you have explicit permission, avoid any permanent fixtures. Renters often lose deposits over hidden screw holes.
3. Hardwiring
Connecting strips directly to the mains bypasses the plug and can be dangerous—and definitely violates most tenancy agreements.
4. High-Heat Environments
Avoid placing strips near ovens or radiators where adhesive might soften and fail.
A Quick Checklist for Renter-Friendly Installation
· All surfaces are clean and dry
· Removable tape or clips used instead of permanent adhesive
· No drilling or hardwiring
· Power supplied via plug-in adapters
· Strips are fully tested before mounting
· Removal plan in place (stretch not pull)
· All access points (switches, sockets) remain unobstructed
Final Thoughts
Being a renter shouldn't mean sacrificing beautiful lighting. With the right products and a damage-free approach, you can enjoy all the benefits of LED strip lighting without the anxiety of losing your deposit.
The key is to think in reversibility. Every installation should be as easy to take down as it was to put up. Plan ahead, use removable systems, and always test before committing.
Want to see our range of renter-friendly LED strips and accessories? We stock removable tapes, magnetic clips, battery-powered options, and everything you need for a no-commitment installation. Contact us for advice on your specific rental situation.
 Hot News
2026-07-24
2026-07-24
2026-07-24
2026-07-24
2026-07-24
2026-07-24
 EN
EN