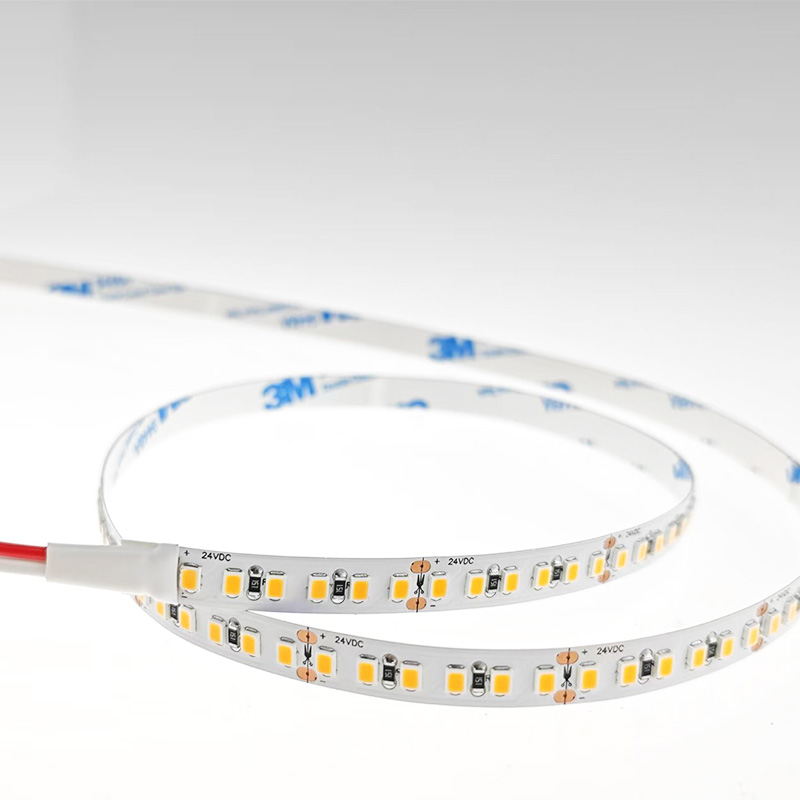
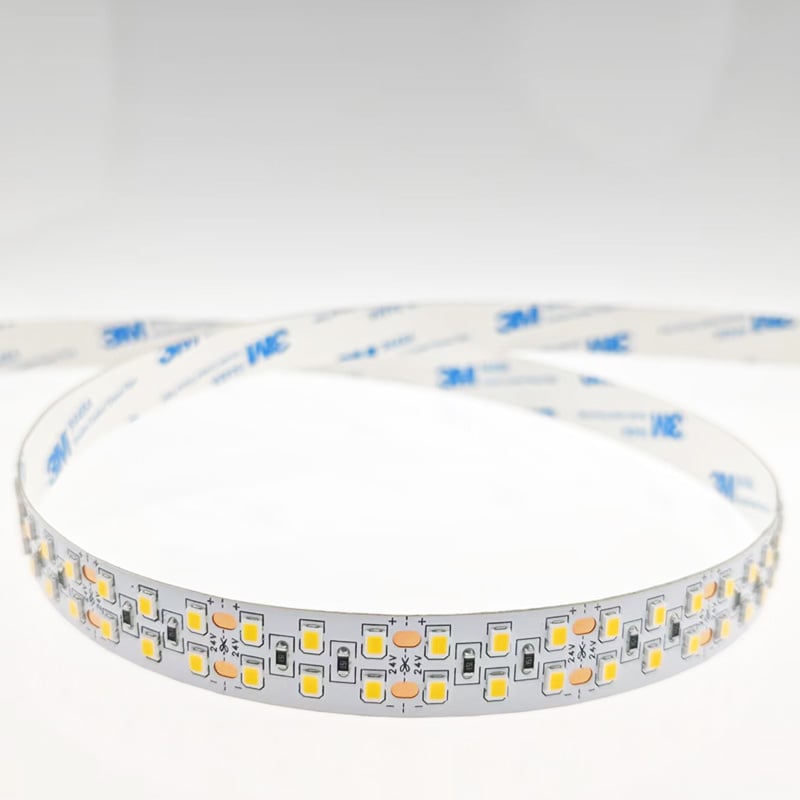
You’ve just installed a beautiful 15-meter LED strip around your living room ceiling. The first 5 meters shine bright white, but halfway through, the light turns noticeably dimmer. By the end, it’s almost yellow. Sound familiar? This is voltage drop–the single most common failure in DIY and even some professional LED strip installations. In this guide, I’ll explain why voltage drop happens, how to predict it, and three practical solutions to keep your lighting uniform from start to finish.
What Is Voltage Drop?
Electricity travels along the copper circuit board of your LED strip. The longer the path, the more resistance the copper creates, which gradually reduces voltage. Lower voltage means less power for the LEDs at the far end→dimmer, sometimes color-shifted light.
For standard 12V strips, noticeable dimming often starts around 5–7 meters. 24V strips double the distance to roughly 10–12 meters before drop becomes visible. And if you’re using thin copper (2 oz vs. 4 oz weight) or cheap aluminum-core boards, the problem hits even sooner.
The Real-World Cost of Ignoring It
· Uneven illumination–Bright near the power source, dark at the tail.
· Color inaccuracy–White turns pinkish or yellow at low voltage.
· Premature failure–The front LEDs run hotter while rear LEDs struggle, shortening lifespan.
Worst of all, voltage drop is often misdiagnosed as a faulty product. Customers ask for refunds, then buy the same type again–only to repeat the disappointment.
How to Check for Voltage Drop Before Buying
Most online listings hide copper thickness and voltage tolerance. Ask these three questions before ordering:
1. What is the rated voltage and max continuous length?–Reputable suppliers publish a “maximum run without injection.” For 12V, expect ≤5m; for 24V, ≤10–12m.
2. Copper weight?–Look for 3 oz or 4 oz copper (thicker = less resistance). Standard cheap strips use 2 oz.
3. Does the strip have dual power feed points?–Some designs allow connecting power at both ends, halving the distance.
Three Ways to Fix (or Prevent) Voltage Drop
1. Use a higher voltage system
Switch from 12V to 24V. For runs over 15 meters, go with 48V strips (available for commercial projects). Higher voltage = lower current for same power = less drop.
2. Inject power along the run
Instead of powering from one end, connect your power supply to the strip at both ends and the middle. Use T-connectors or solder extra wires every 5–7 meters. This resets voltage at each injection point.
3. Choose constant-current LED strips
Most strips are constant-voltage (CV). Constant-current (CC) strips actively regulate power to every segment, virtually eliminating visible drop even over 20+ meters. They cost slightly more but save hours of troubleshooting.
What to Look for When Buying for Long Runs
· Product page says: “Max continuous length 15m” (for 24V) or “CC driver required.”
· Customer reviews mention even brightness on long installations.
· Copper thickness is clearly listed as ≥3 oz.
At our shop, we label every strip with its recommended max run without injection. If a seller can’t tell you that number, walk away.
Conclusion
Voltage drop doesn’t mean your LED strip is broken–it means your system design needs adjustment. By choosing the right voltage, adding power injections, or upgrading to constant-current strips, you can achieve perfect, uniform light across any length.Next time you plan a large installation (kitchen coves, bedroom perimeters, or commercial displays), spend 10 minutes on voltage drop calculations. Your future self–and your customers–will thank you.
 Hot News
2026-07-24
2026-07-24
2026-07-24
2026-07-24
2026-07-24
2026-07-24
 EN
EN